Audience Network is an advertisement service by Facebook that provides the chance for mobile app developers to earn money.
Login and Creating App
If you are using “Facebook for Developers” for the first time, follow these steps.
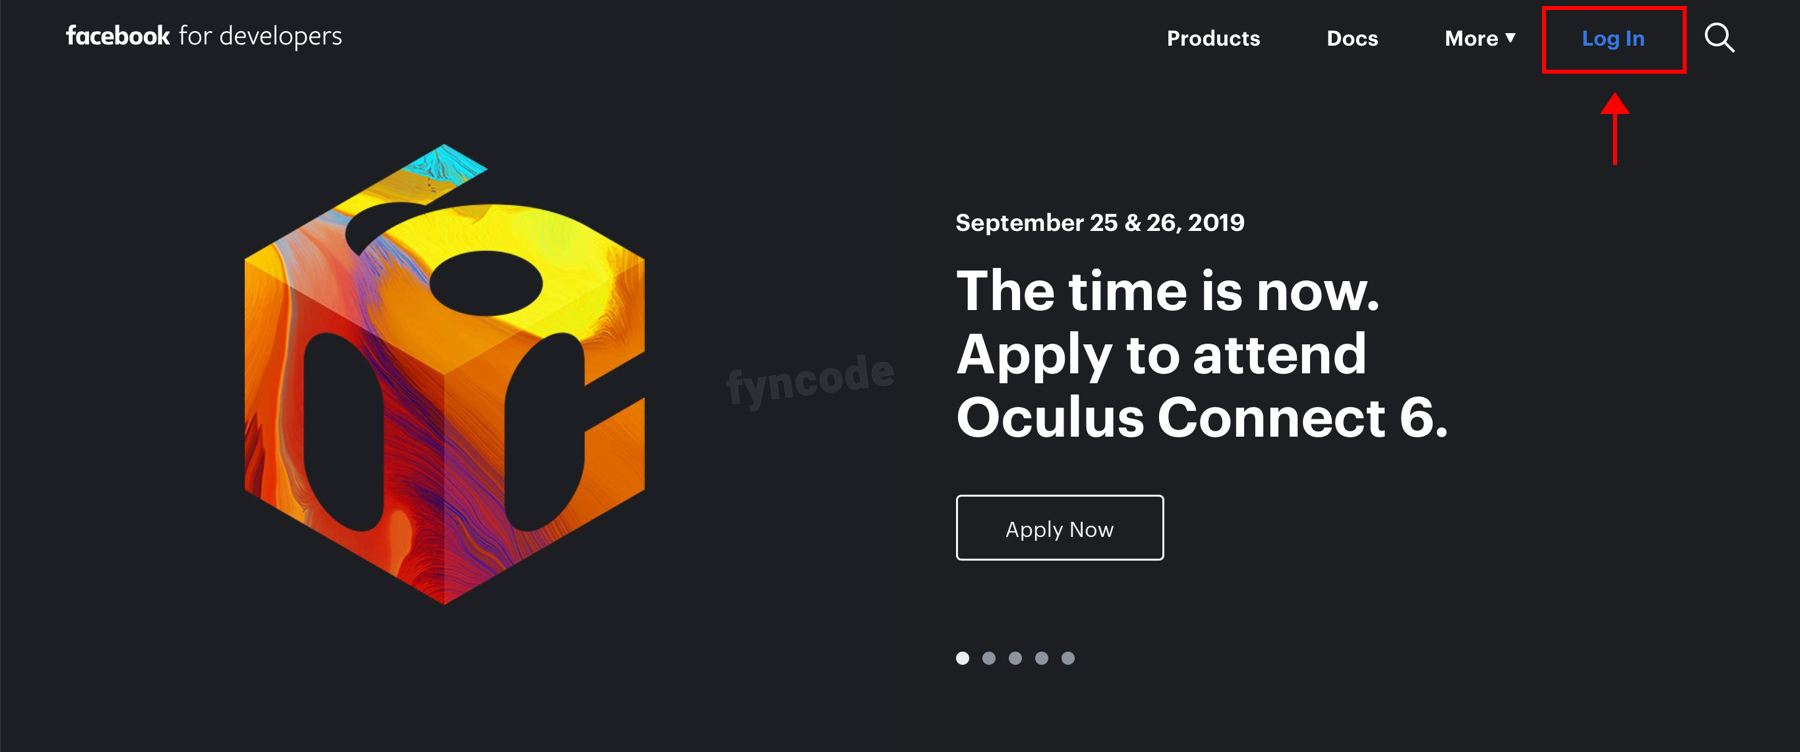
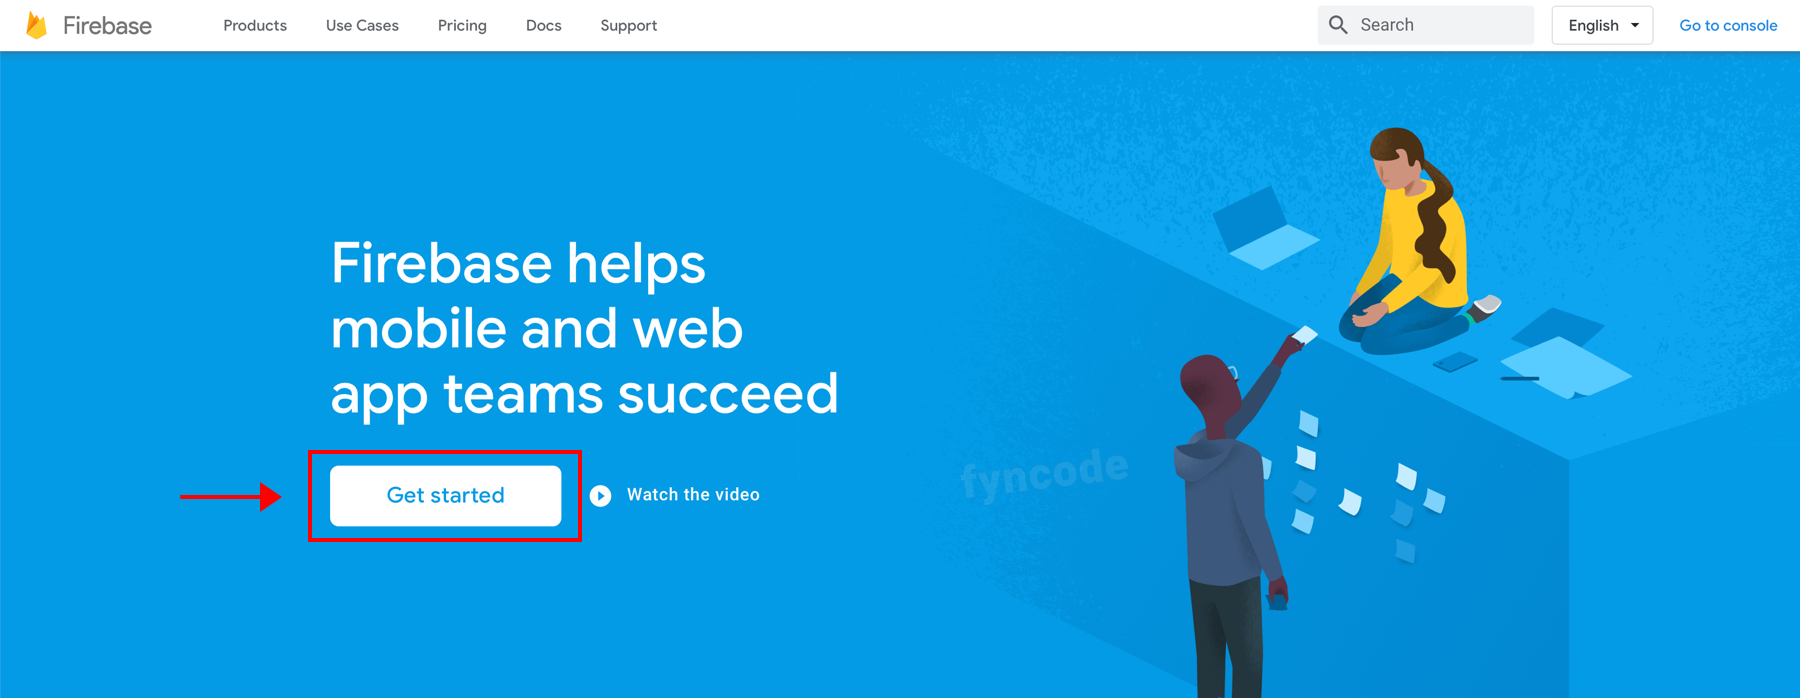
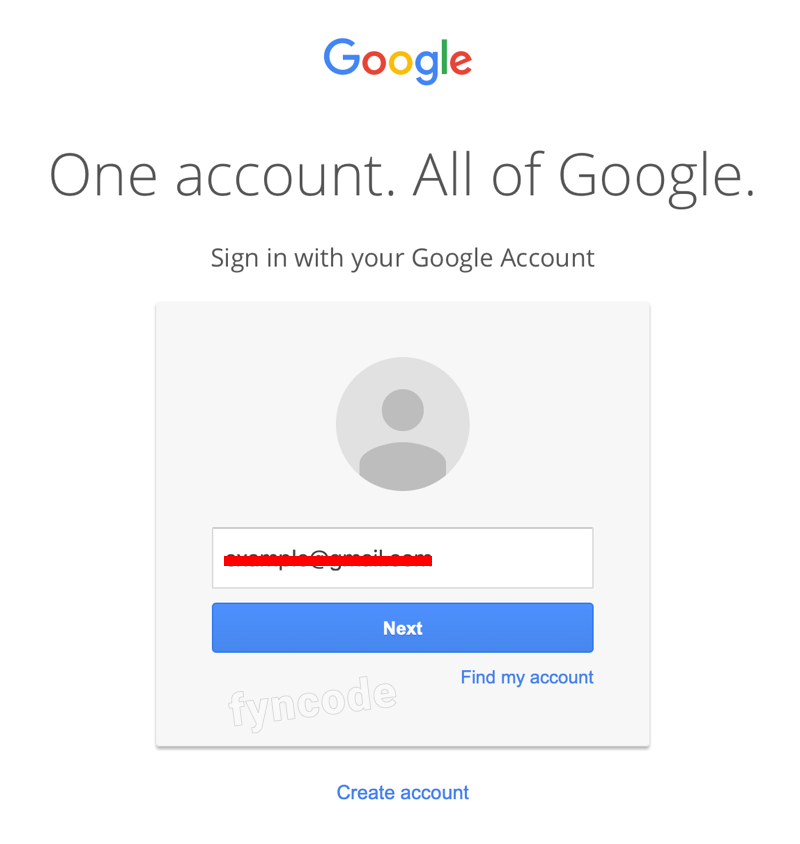
- Go to https://developers.facebook.com and click “Log In” button. If you have a Facebook account, login with your credentials. If you don’t have a Facebook account, register for one and then login.
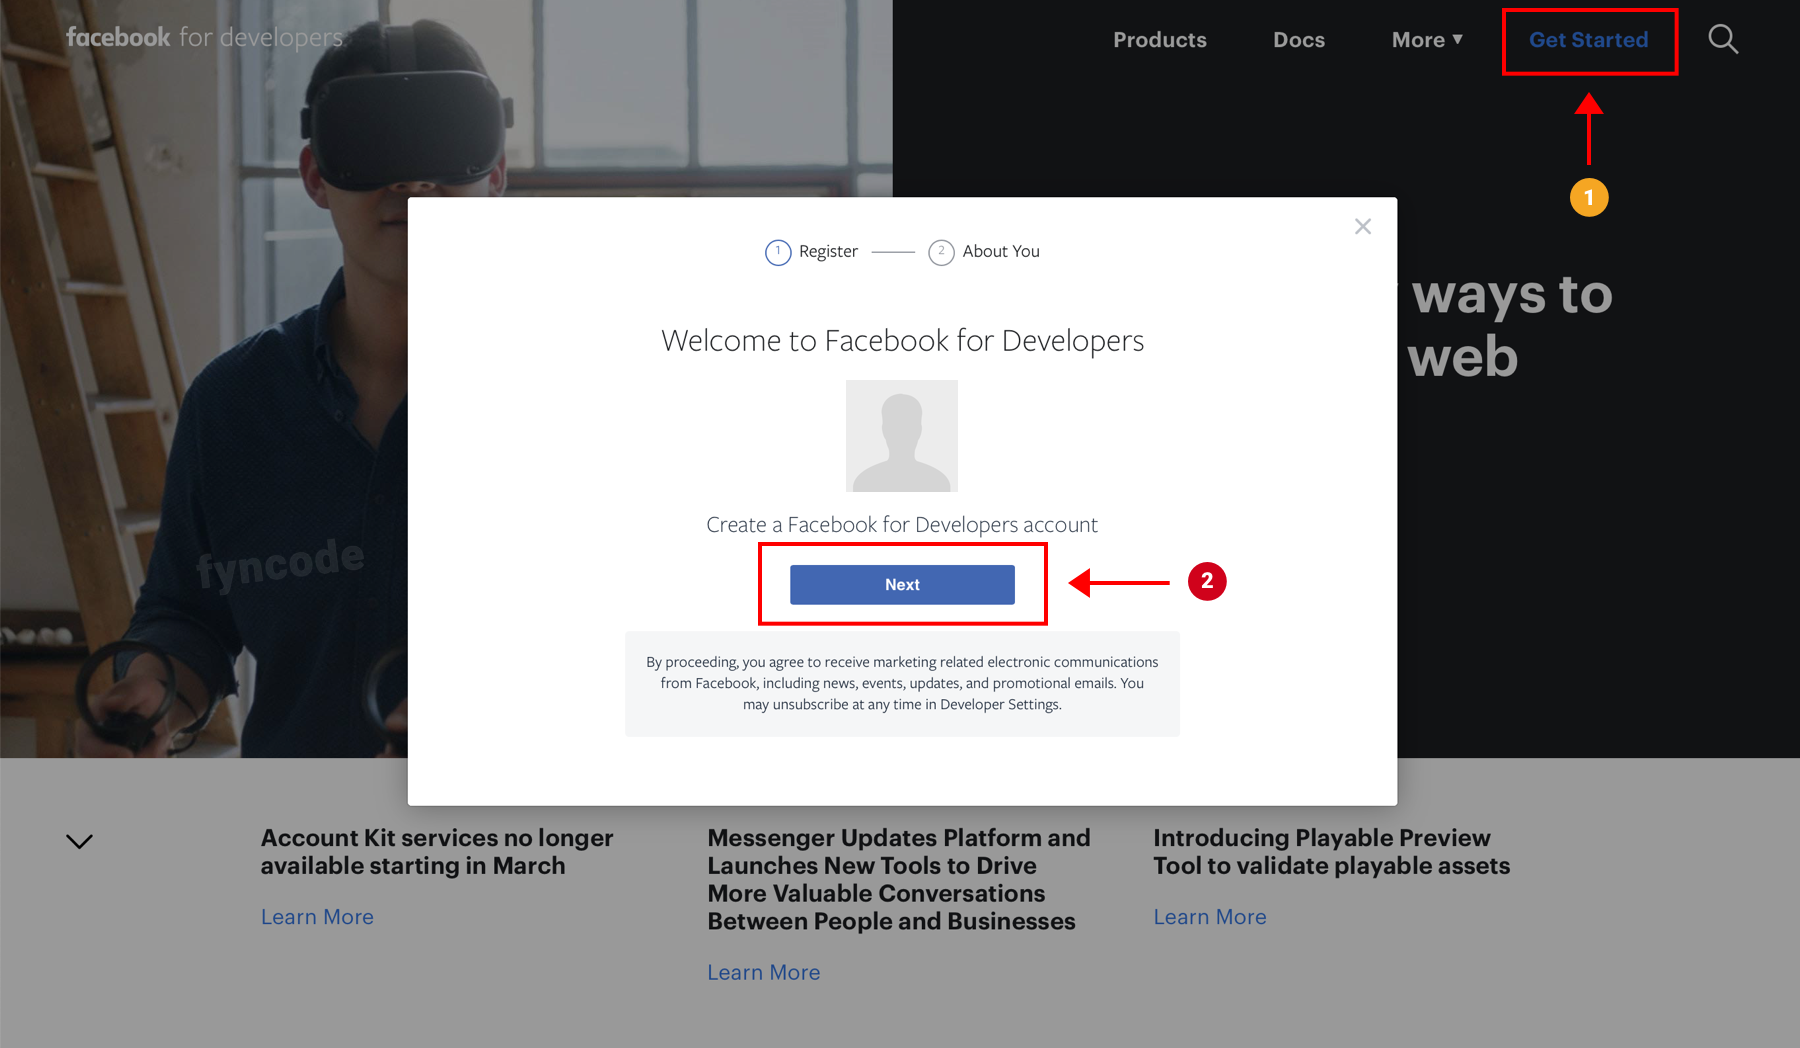
- Click “Get Started” button. On the pop-up window, click “Next” button.
- Select the option that fits you the best (developer, marketer etc.)

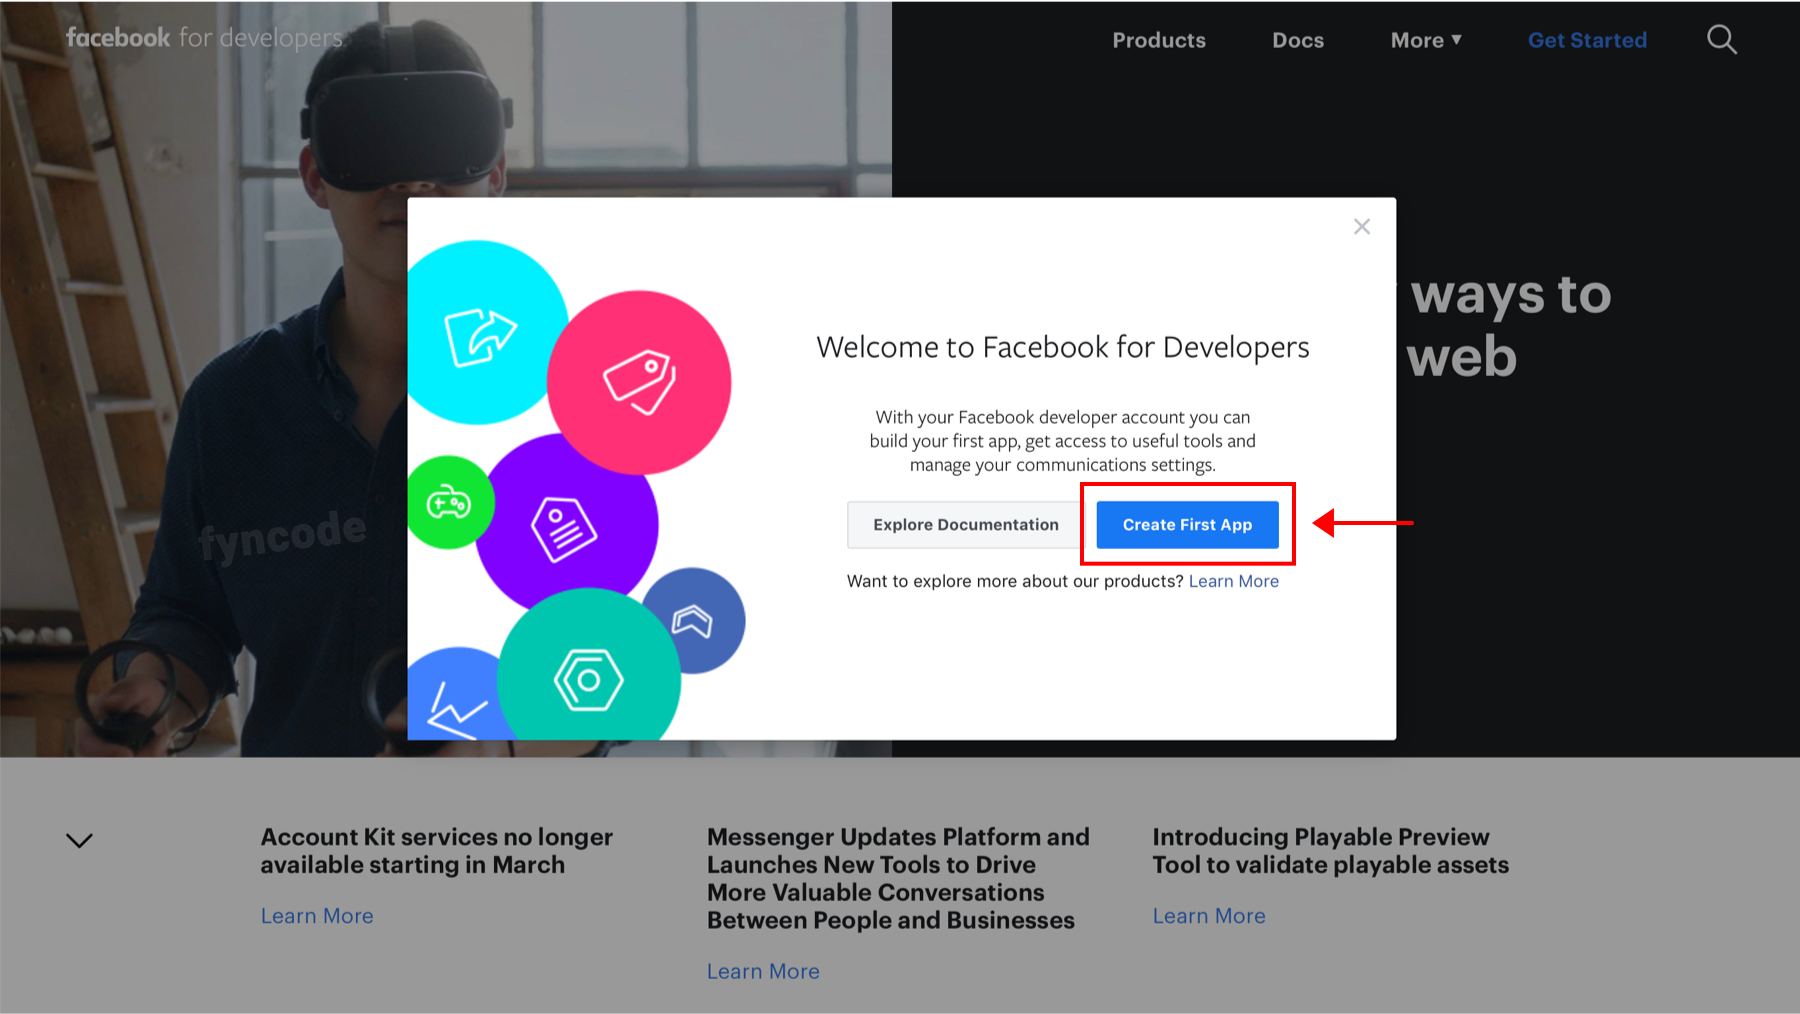
- Click “Create First App” button.
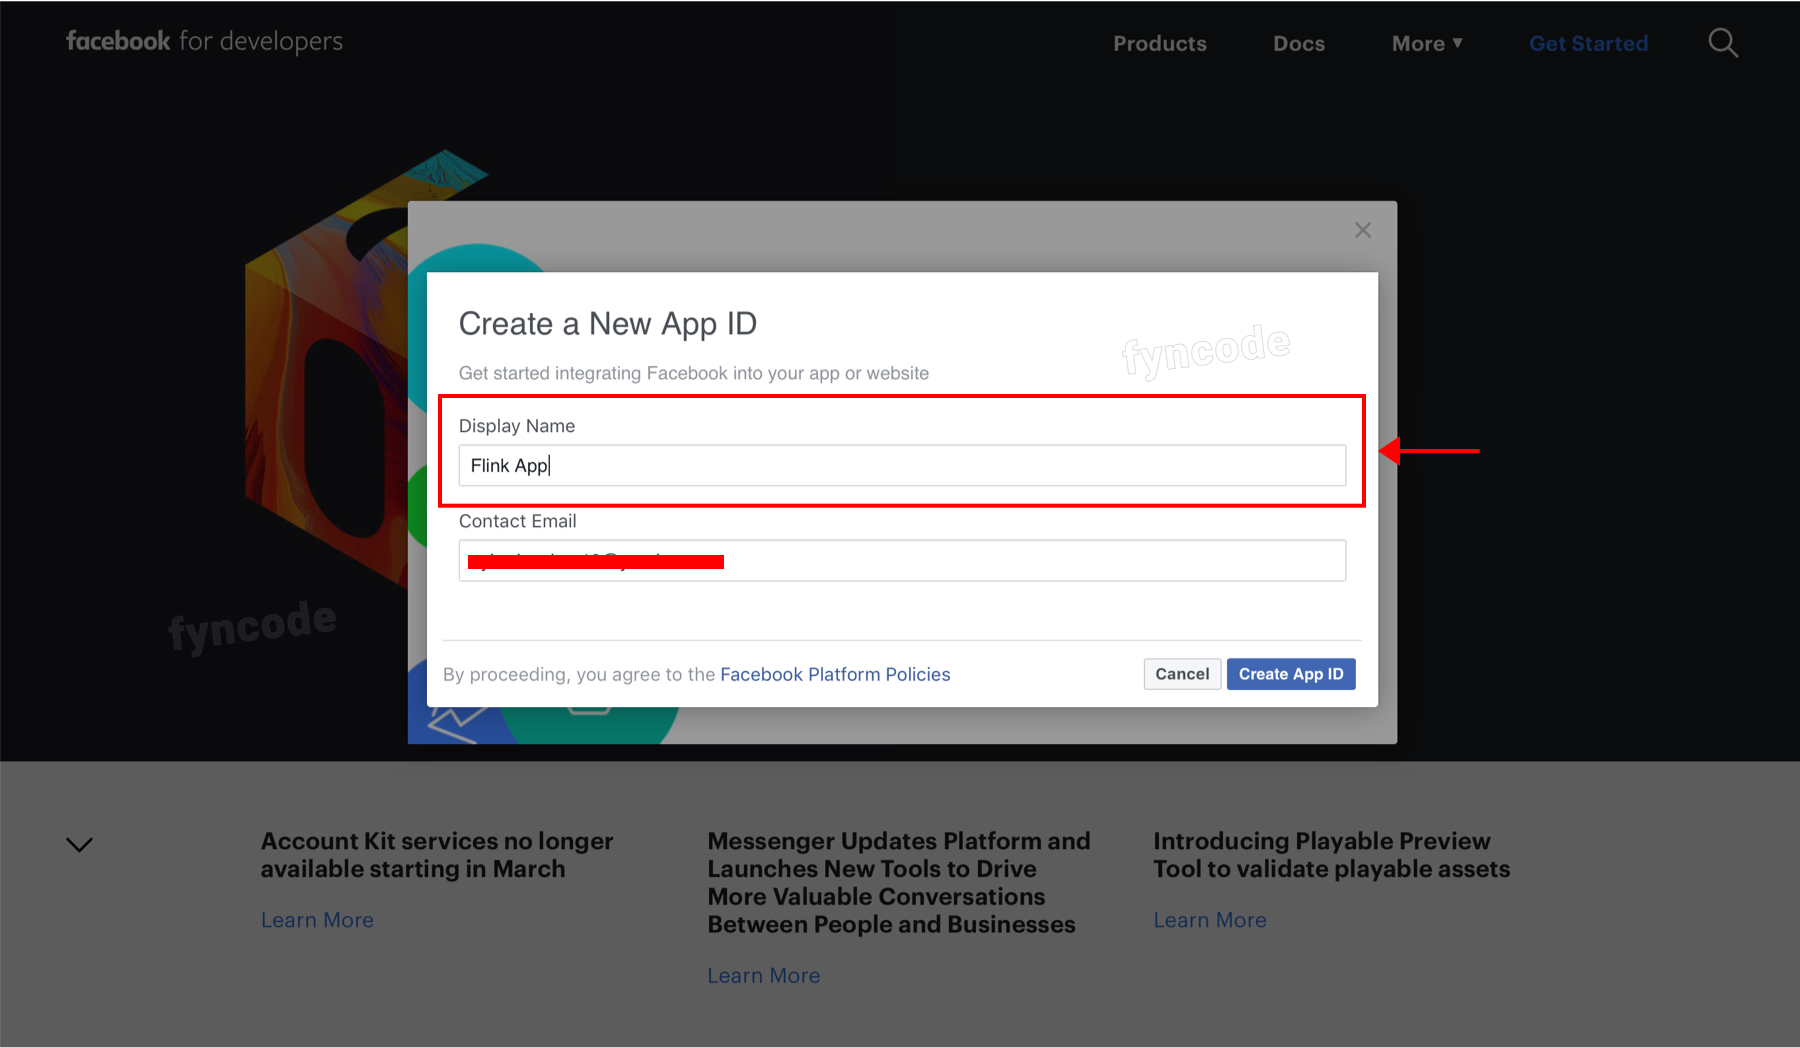
- Define a name for your App ID and enter it to the “Display Name” field. Then, click “Create App ID” button.
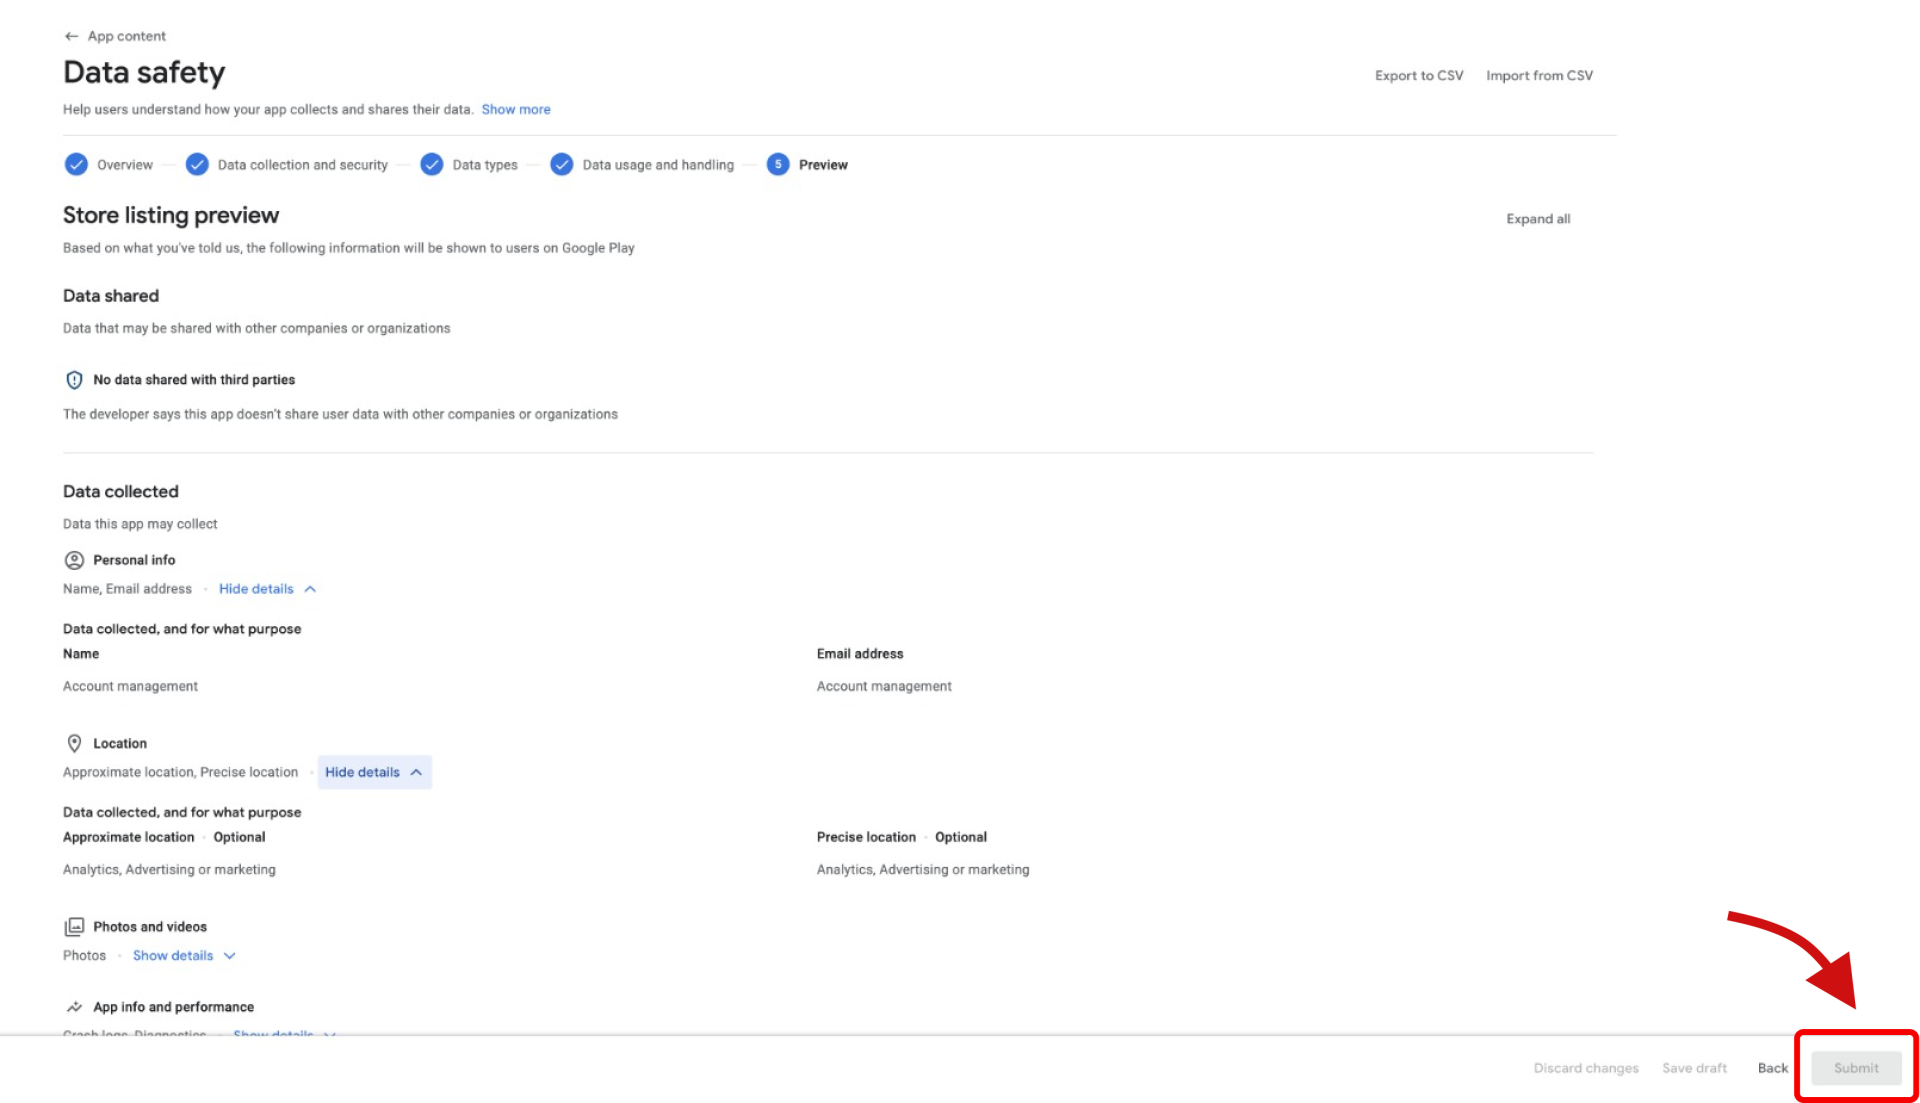
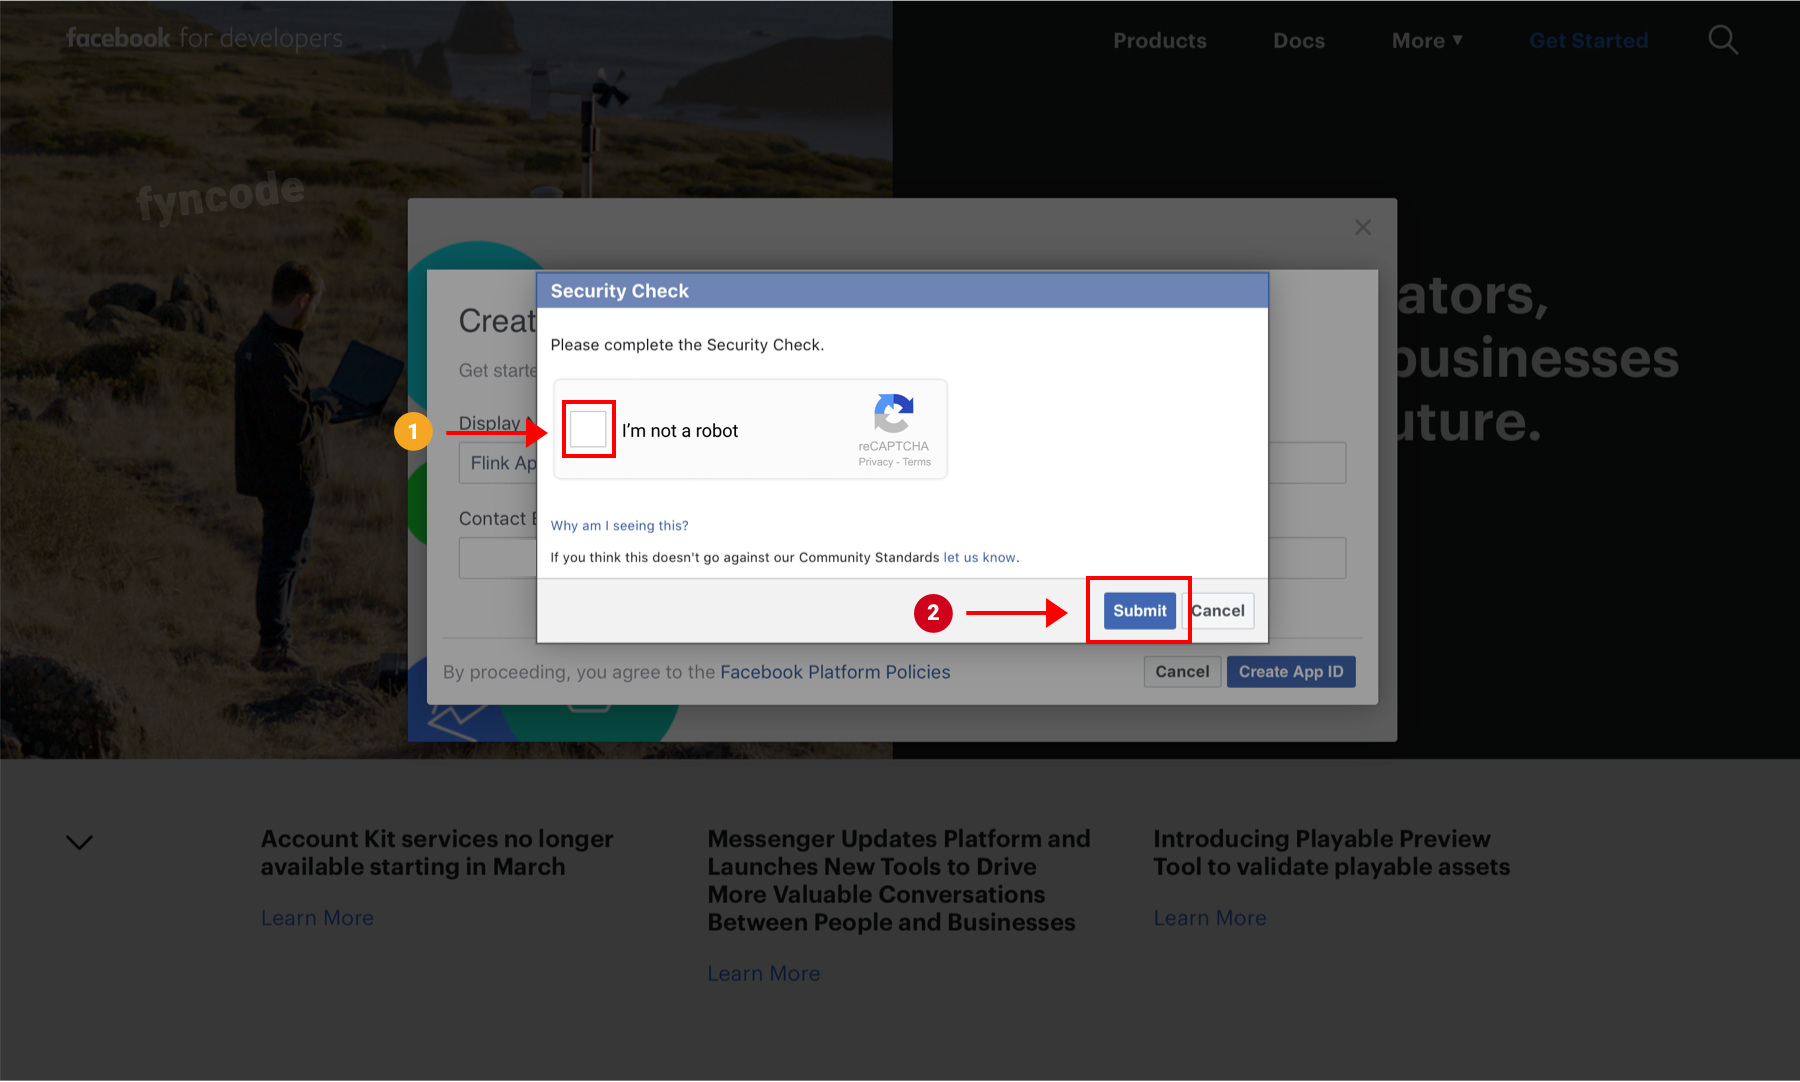
- Complete the verification step and click “Submit” button.

If you already used “Facebook for Developers” before, follow these steps:
- Go to https://developers.facebook.com and click “Log In”. If you have a Facebook account, login with your credentials. If you don’t have a Facebook account, register for one and then login.

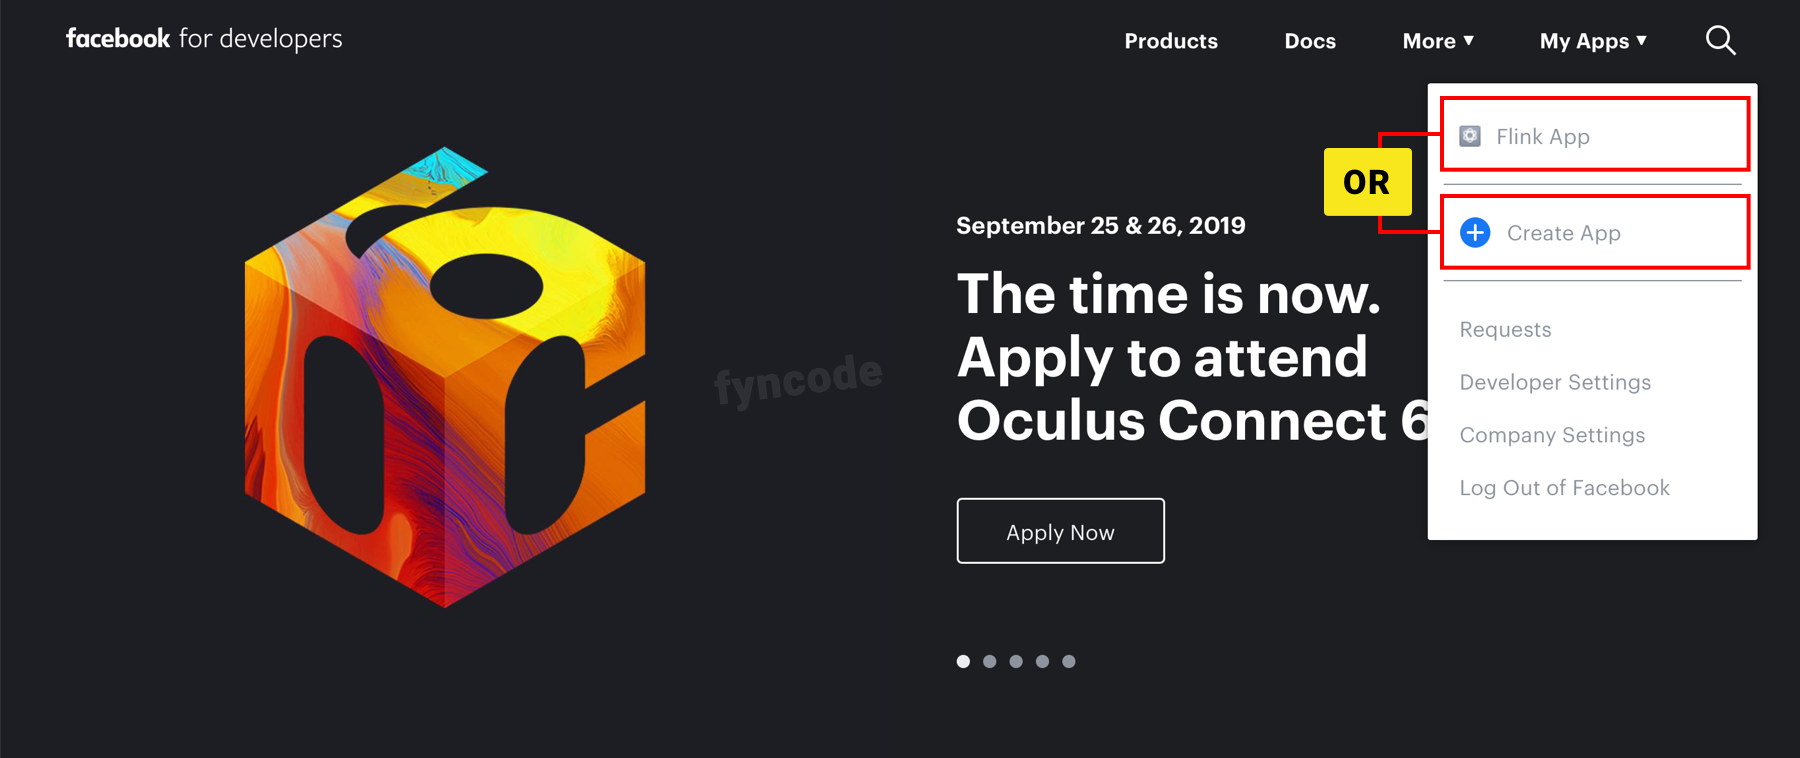
- Click “My Apps”. If you already created the app, select it from the menu; if you didn’t, click “Create App” button.
- If you clicked "Create App" button, follow these steps:
- Define a name for your app and enter it to the “Display Name” field. Then, click “Create App ID” button.

- Complete the verification step and click “Submit” button.
Creating Business
In order to use Facebook Audience Network service, you should first create a business account. With a business account, you can manage several work related things on Facebook, including earning money with Audience Network.
Facebook Manager is a trusted way to manage your pages and advertisement accounts.
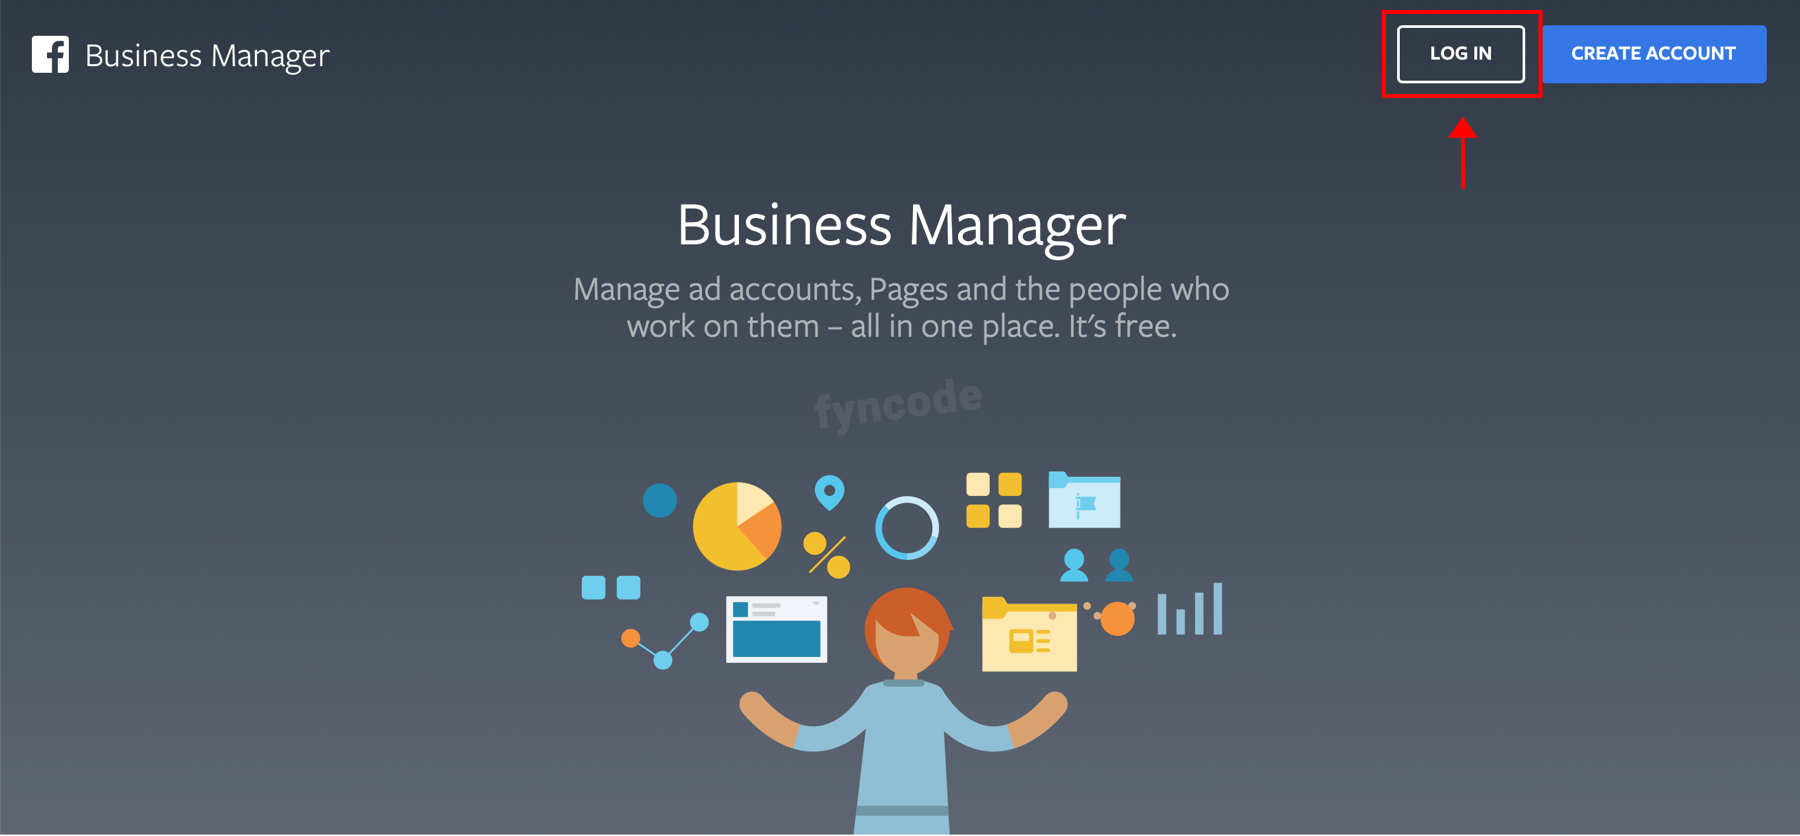
- Go to Facebook Business and click “LOG IN” button. If you have a Facebook account, login with your credentials. If you don’t have a Facebook account, register for one and then login.
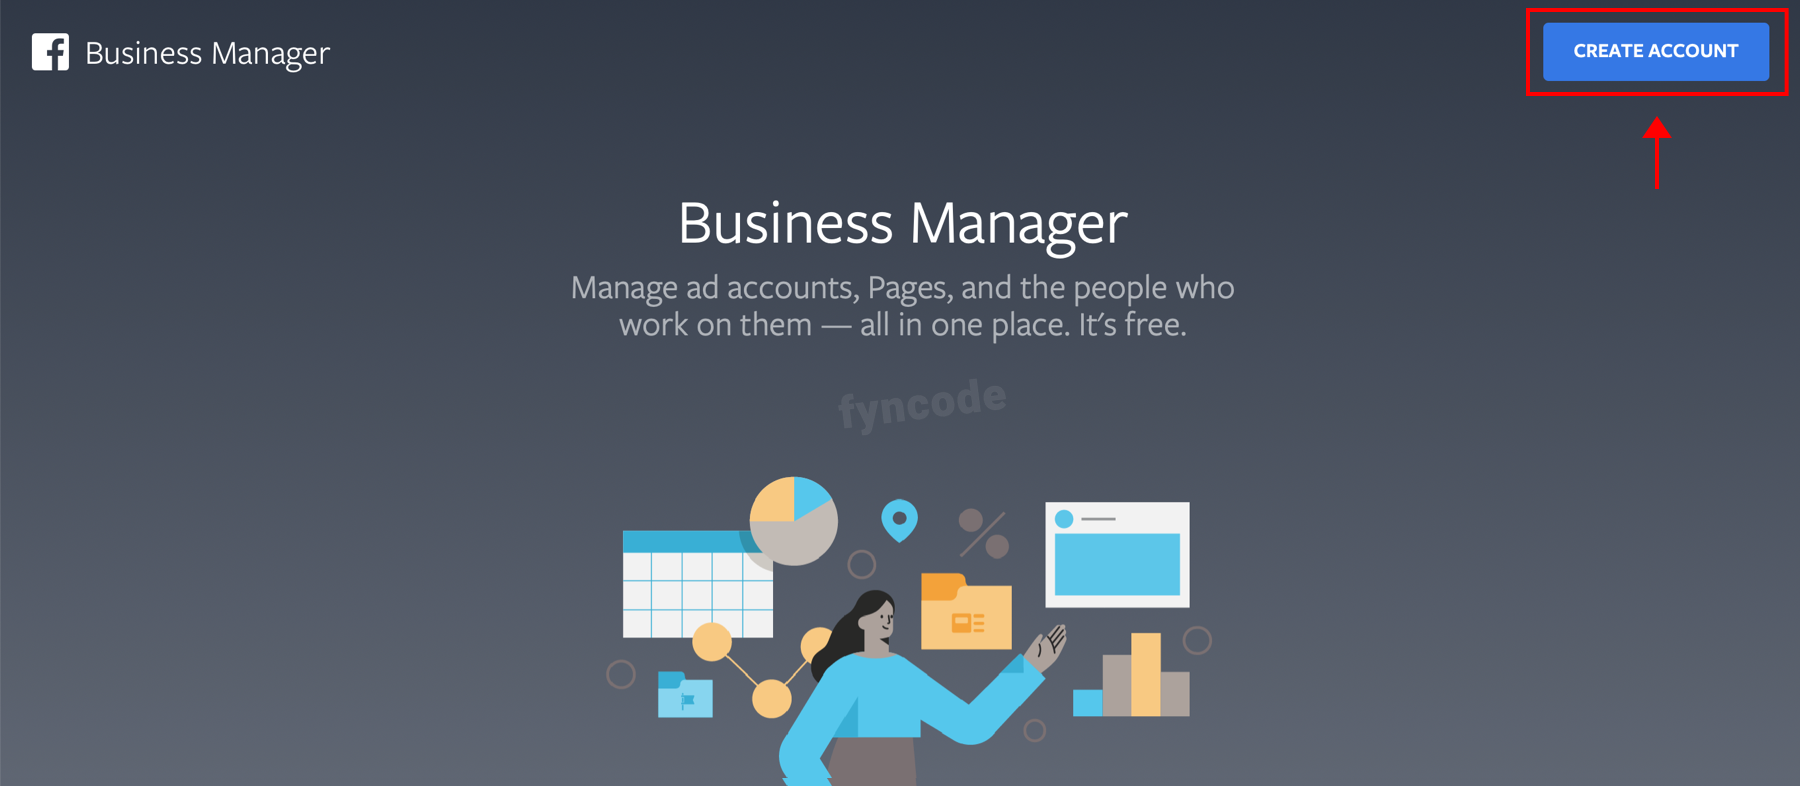
- After logging in, click “CREATE ACCOUNT” button.
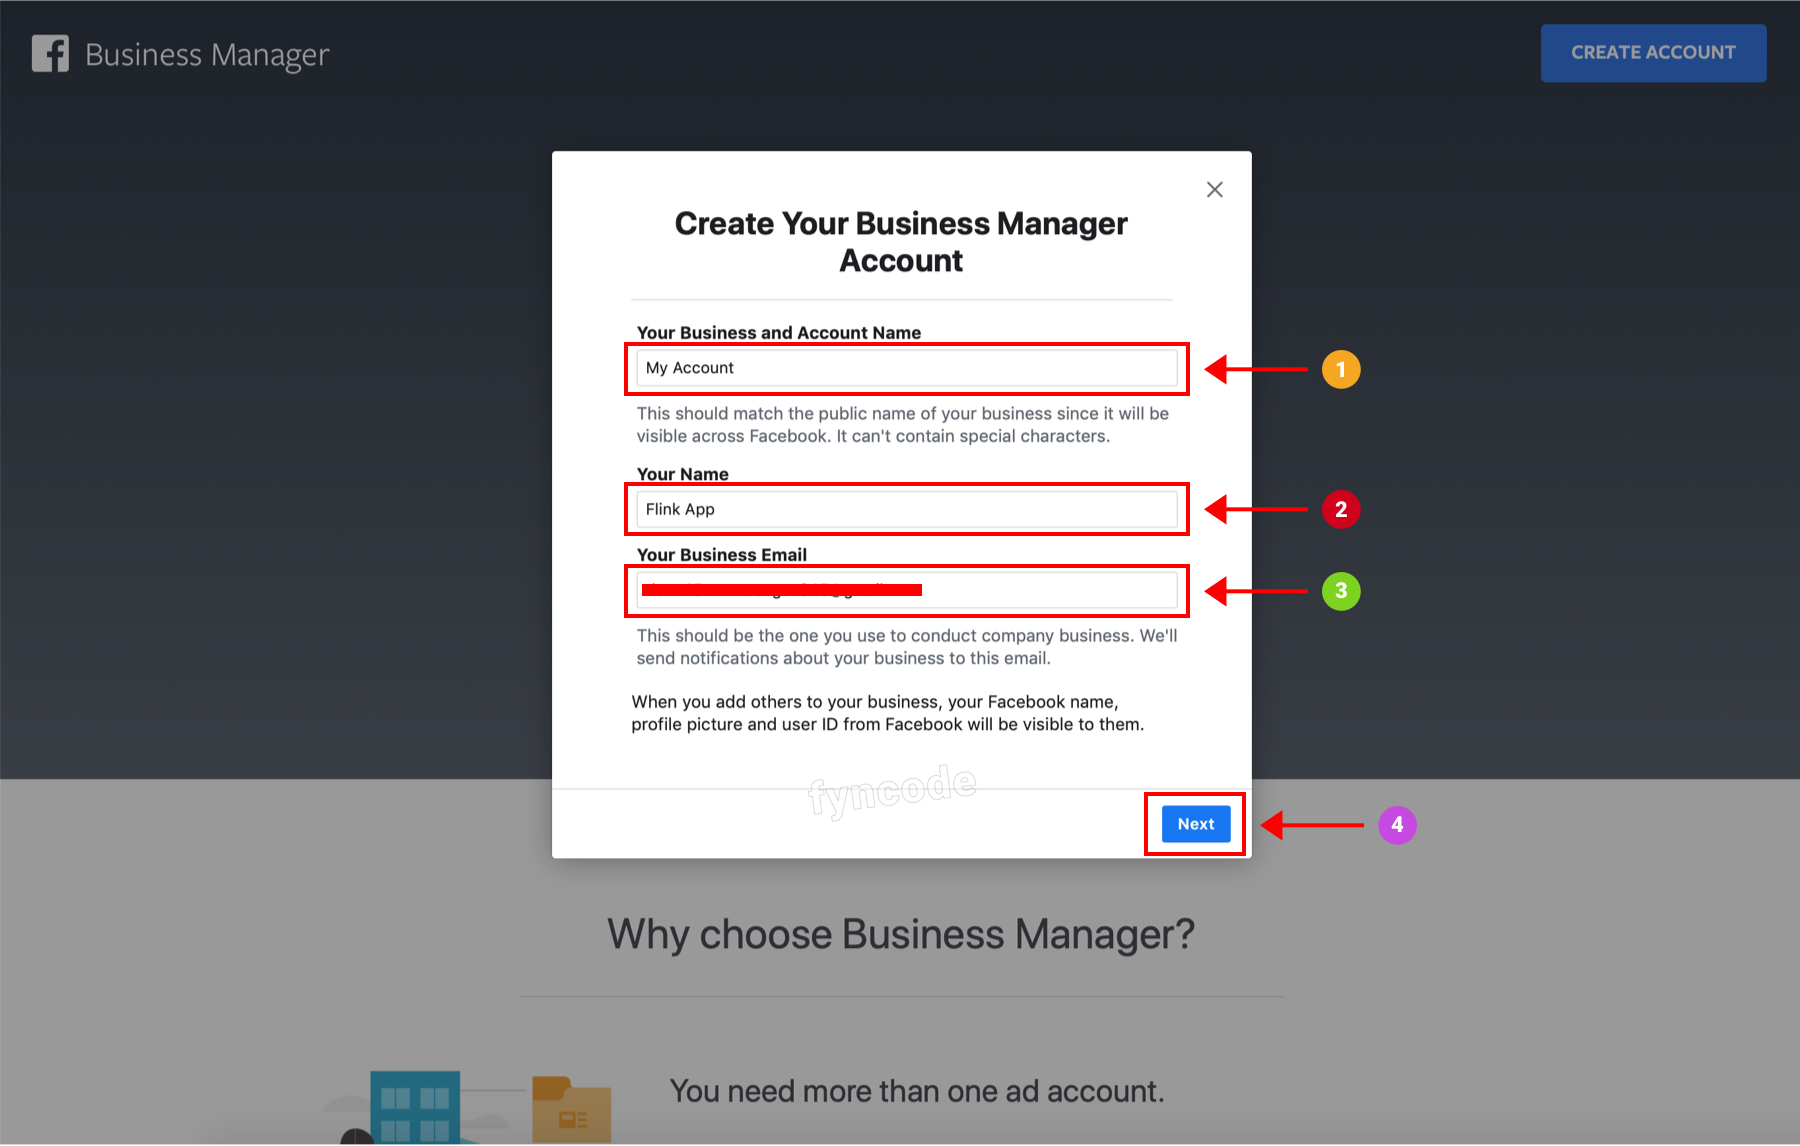
- Enter the requested information and click “Next” button.
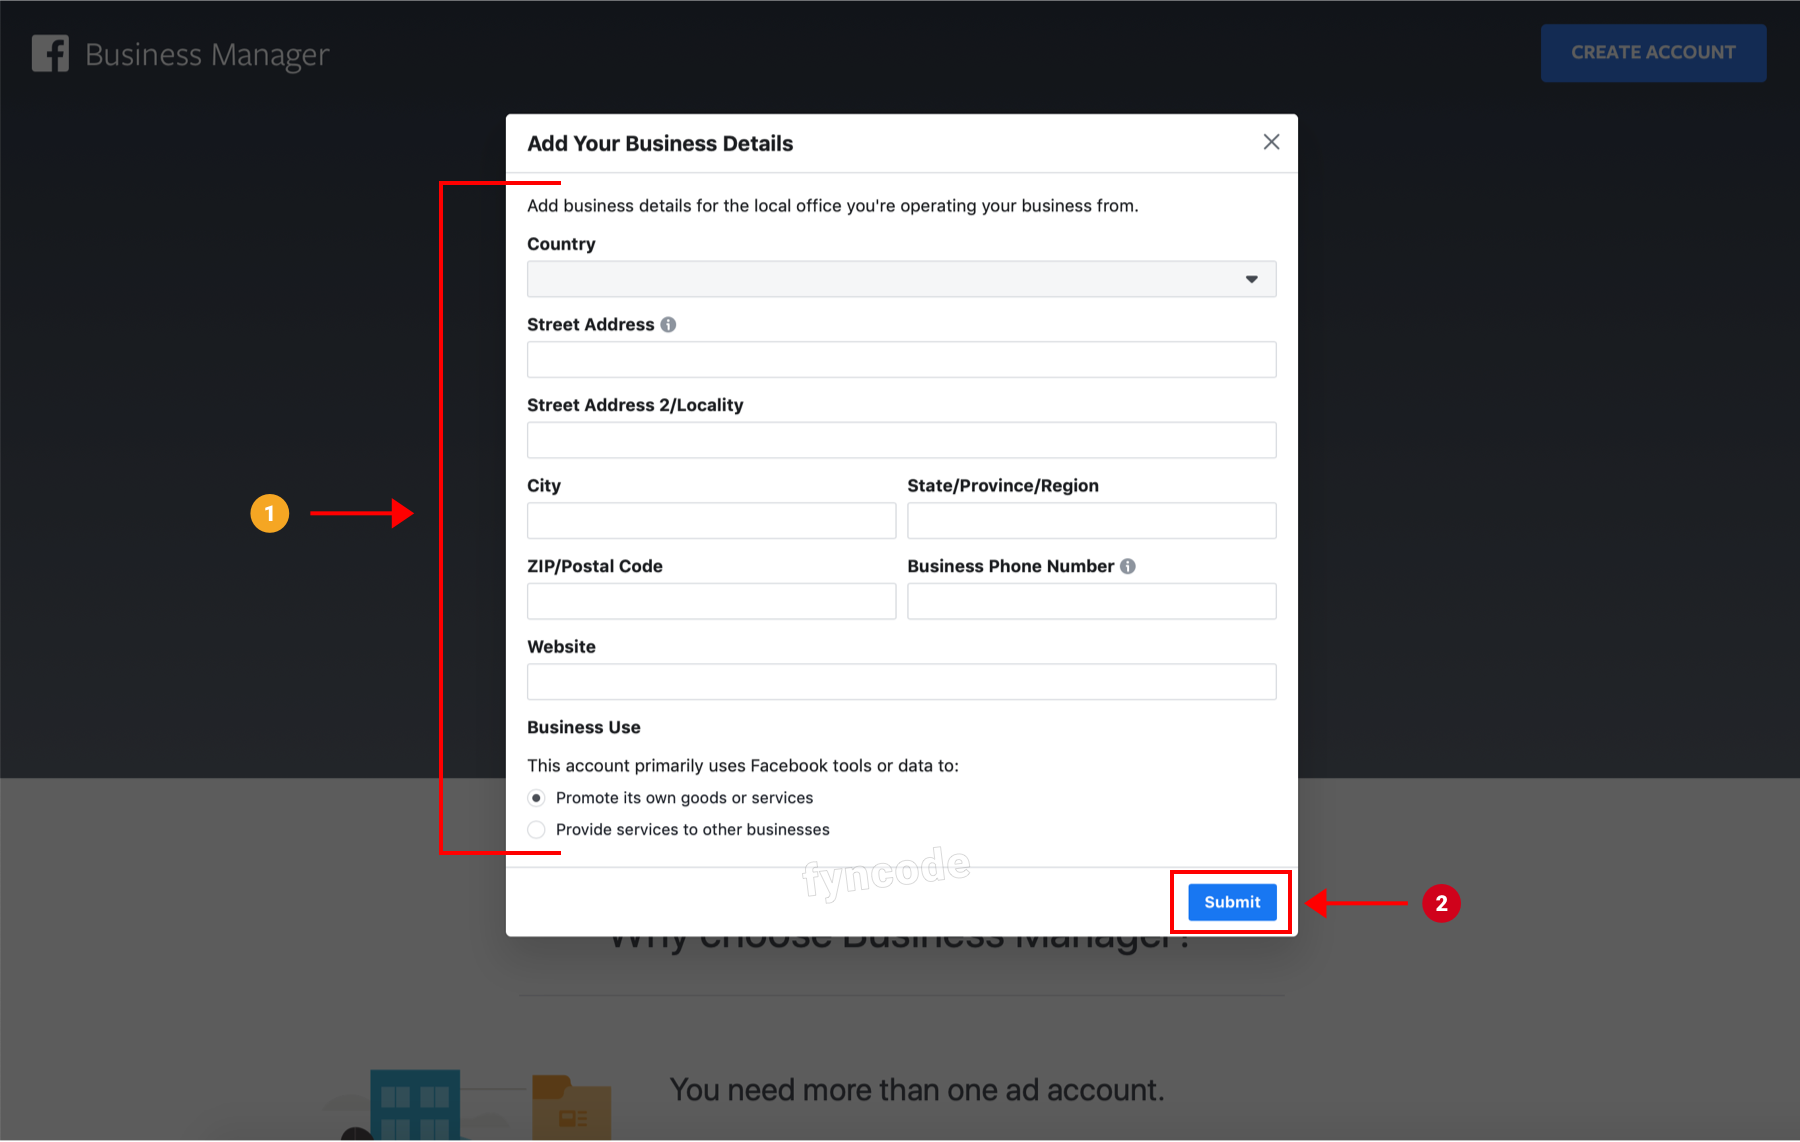
- Enter the information about your business and click “Submit” button.
Creating Property
Facebook’s Monetization Manager service is a platform that will help you grow your business with Audience Network. It helps you manage your ad placements, understand your performance and maximize your income.
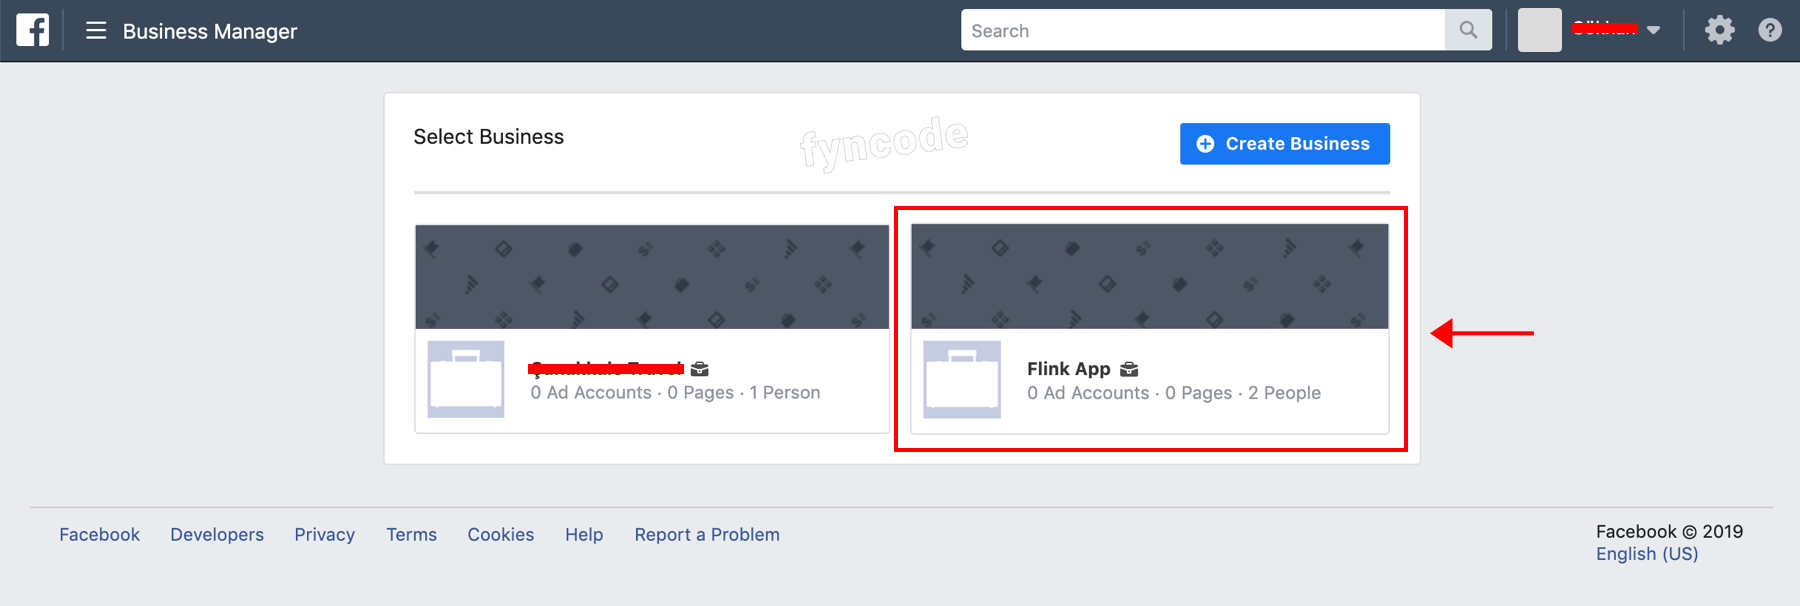
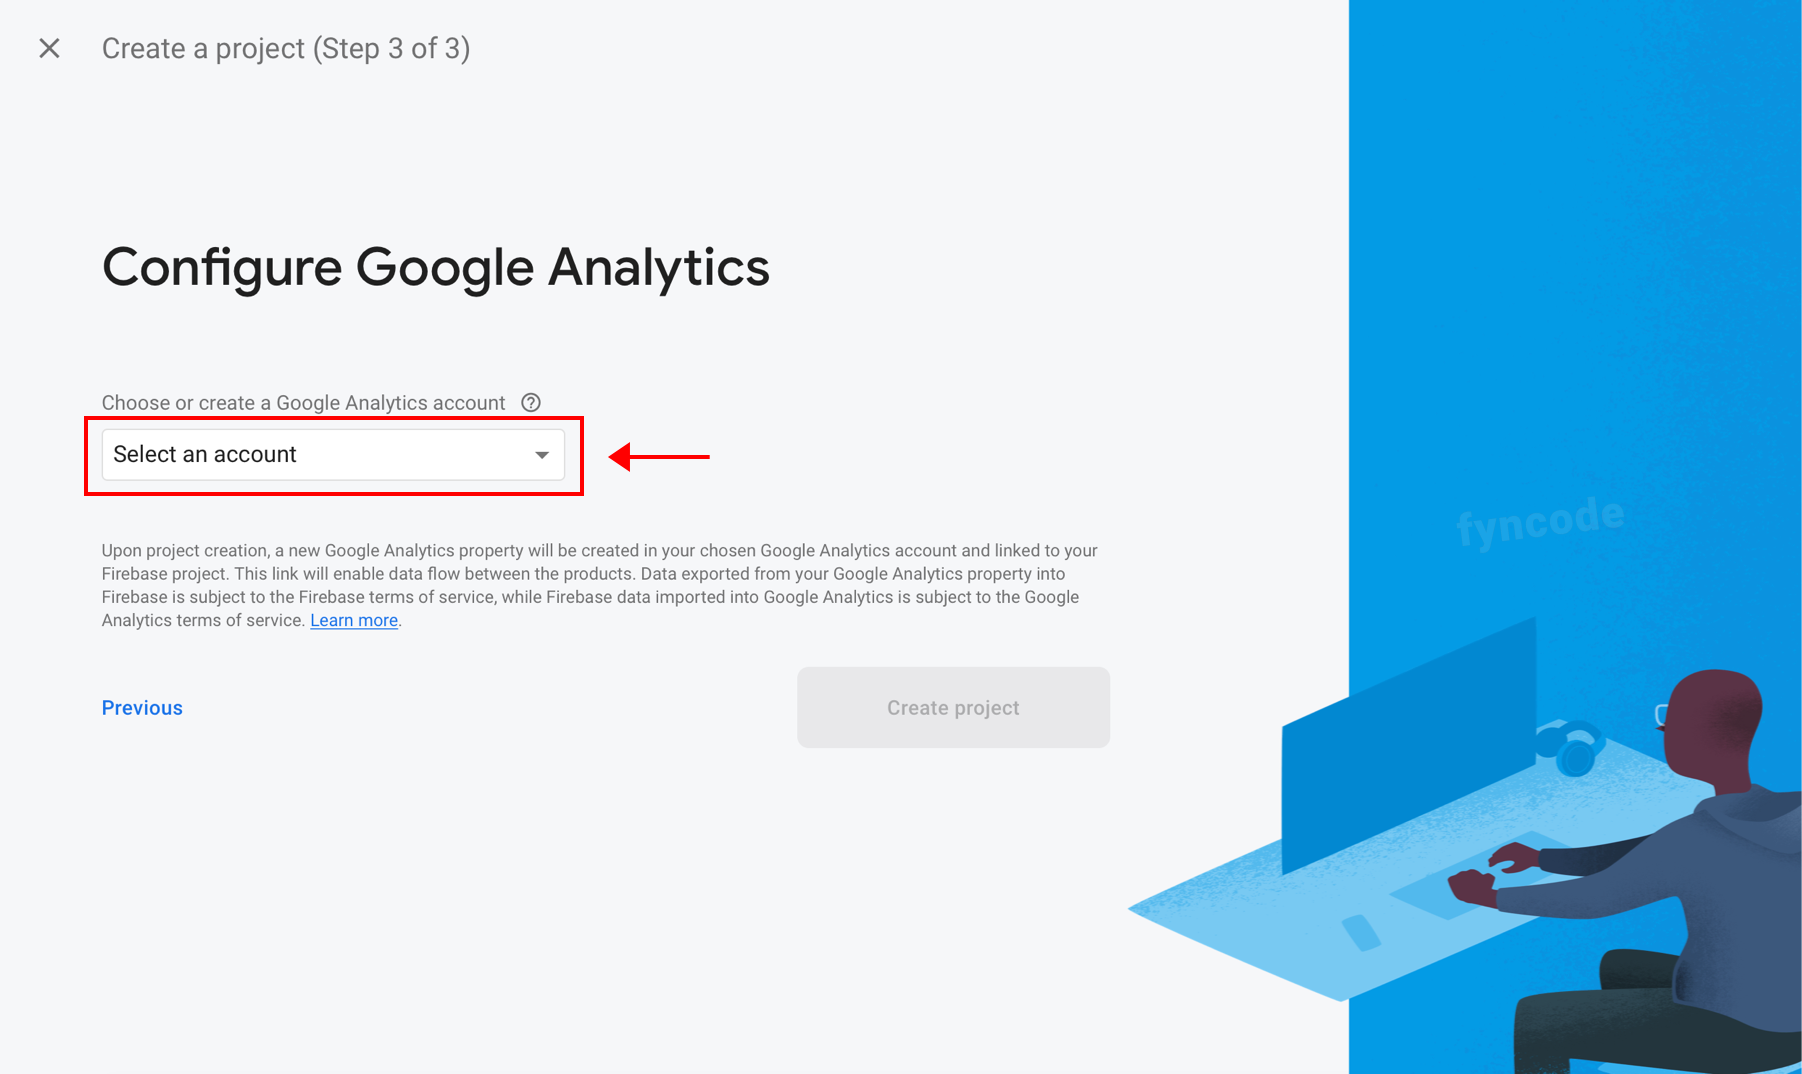
- Go to Monetization Manager.
- Select the business that you created or create a new business as explained under “Creating Business” title.
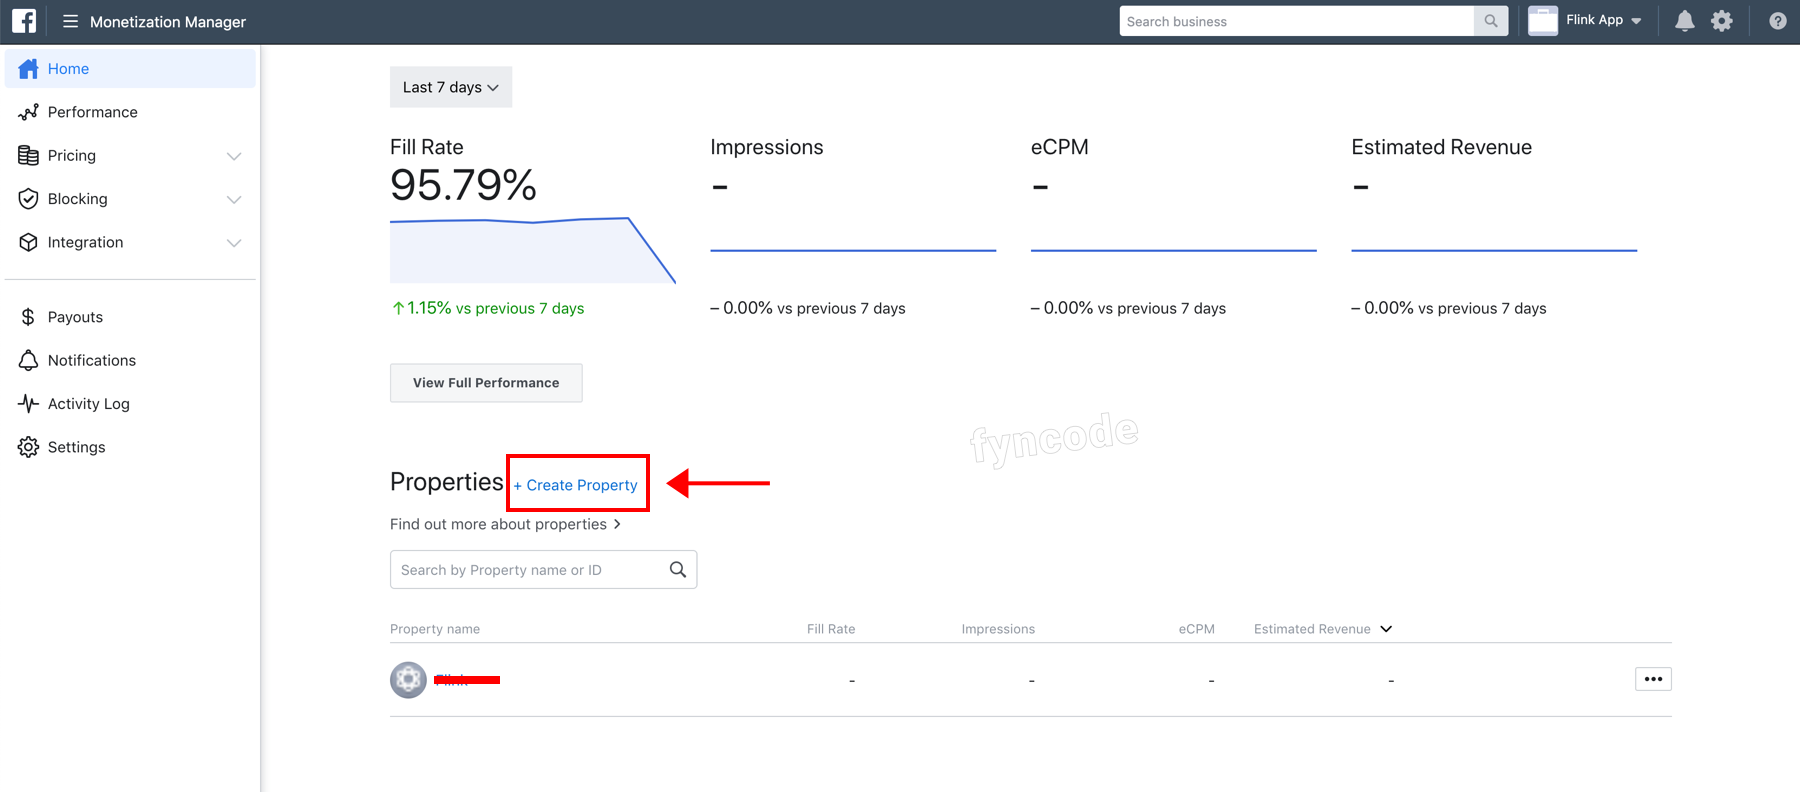
- Scroll down and click “Create Property” button.
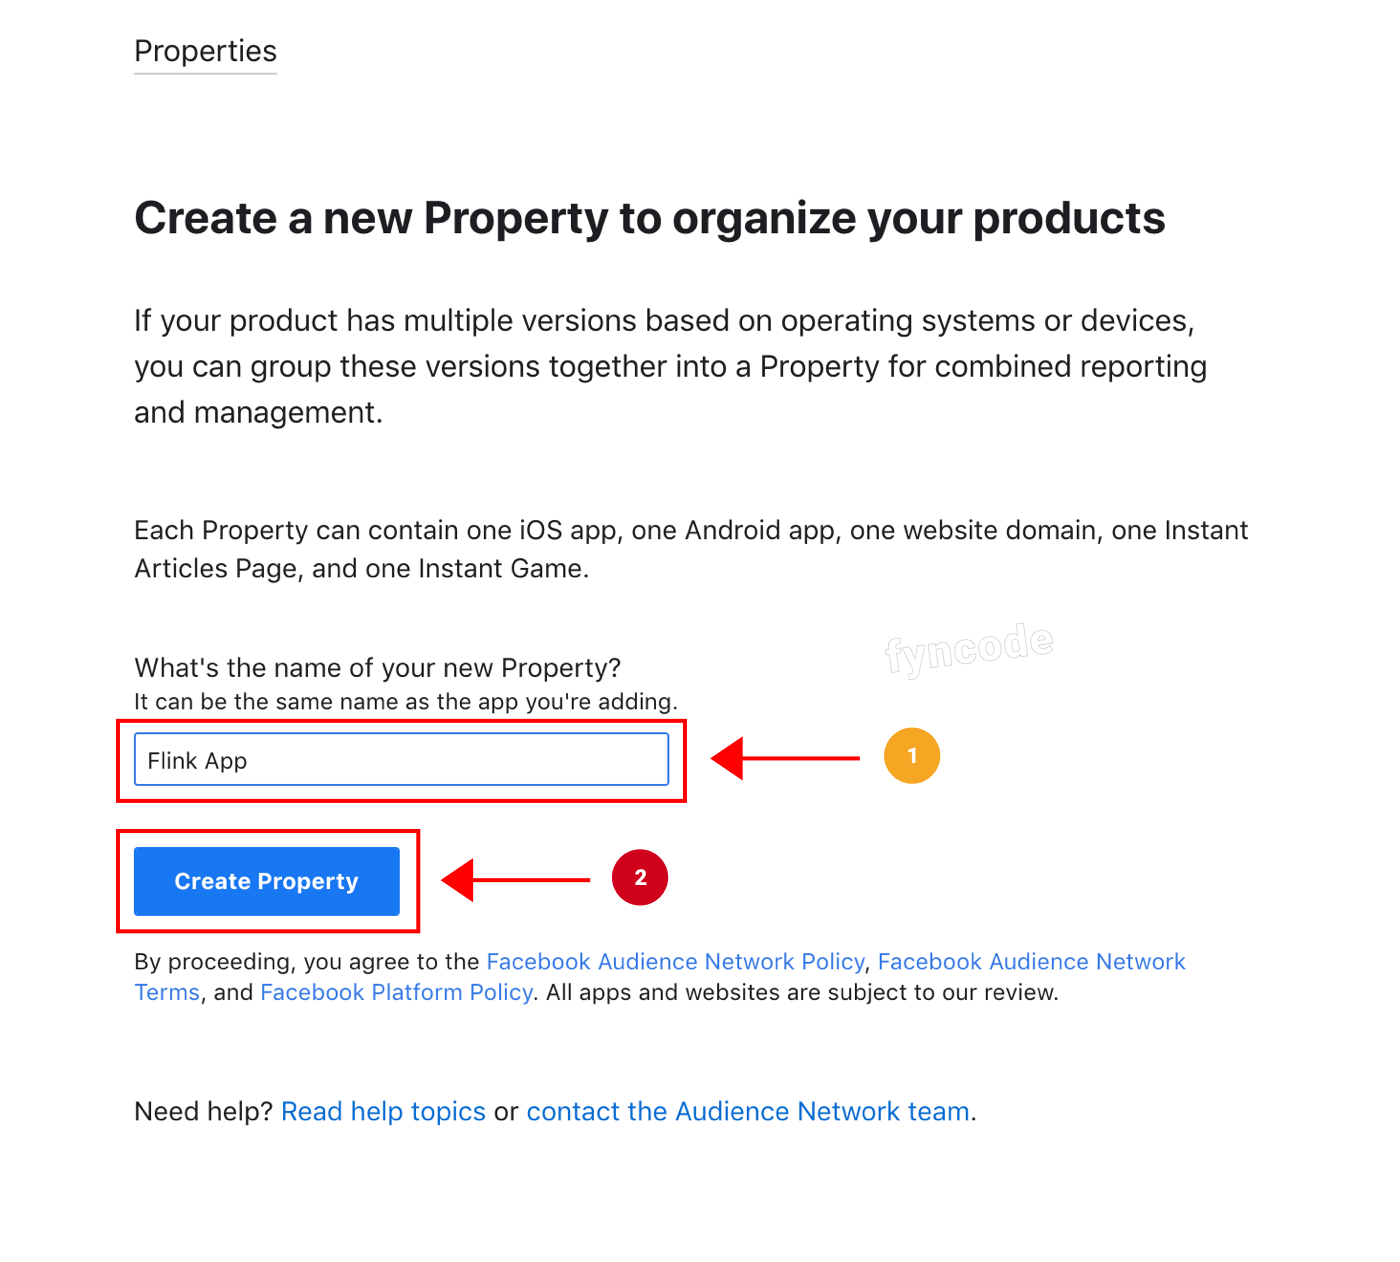
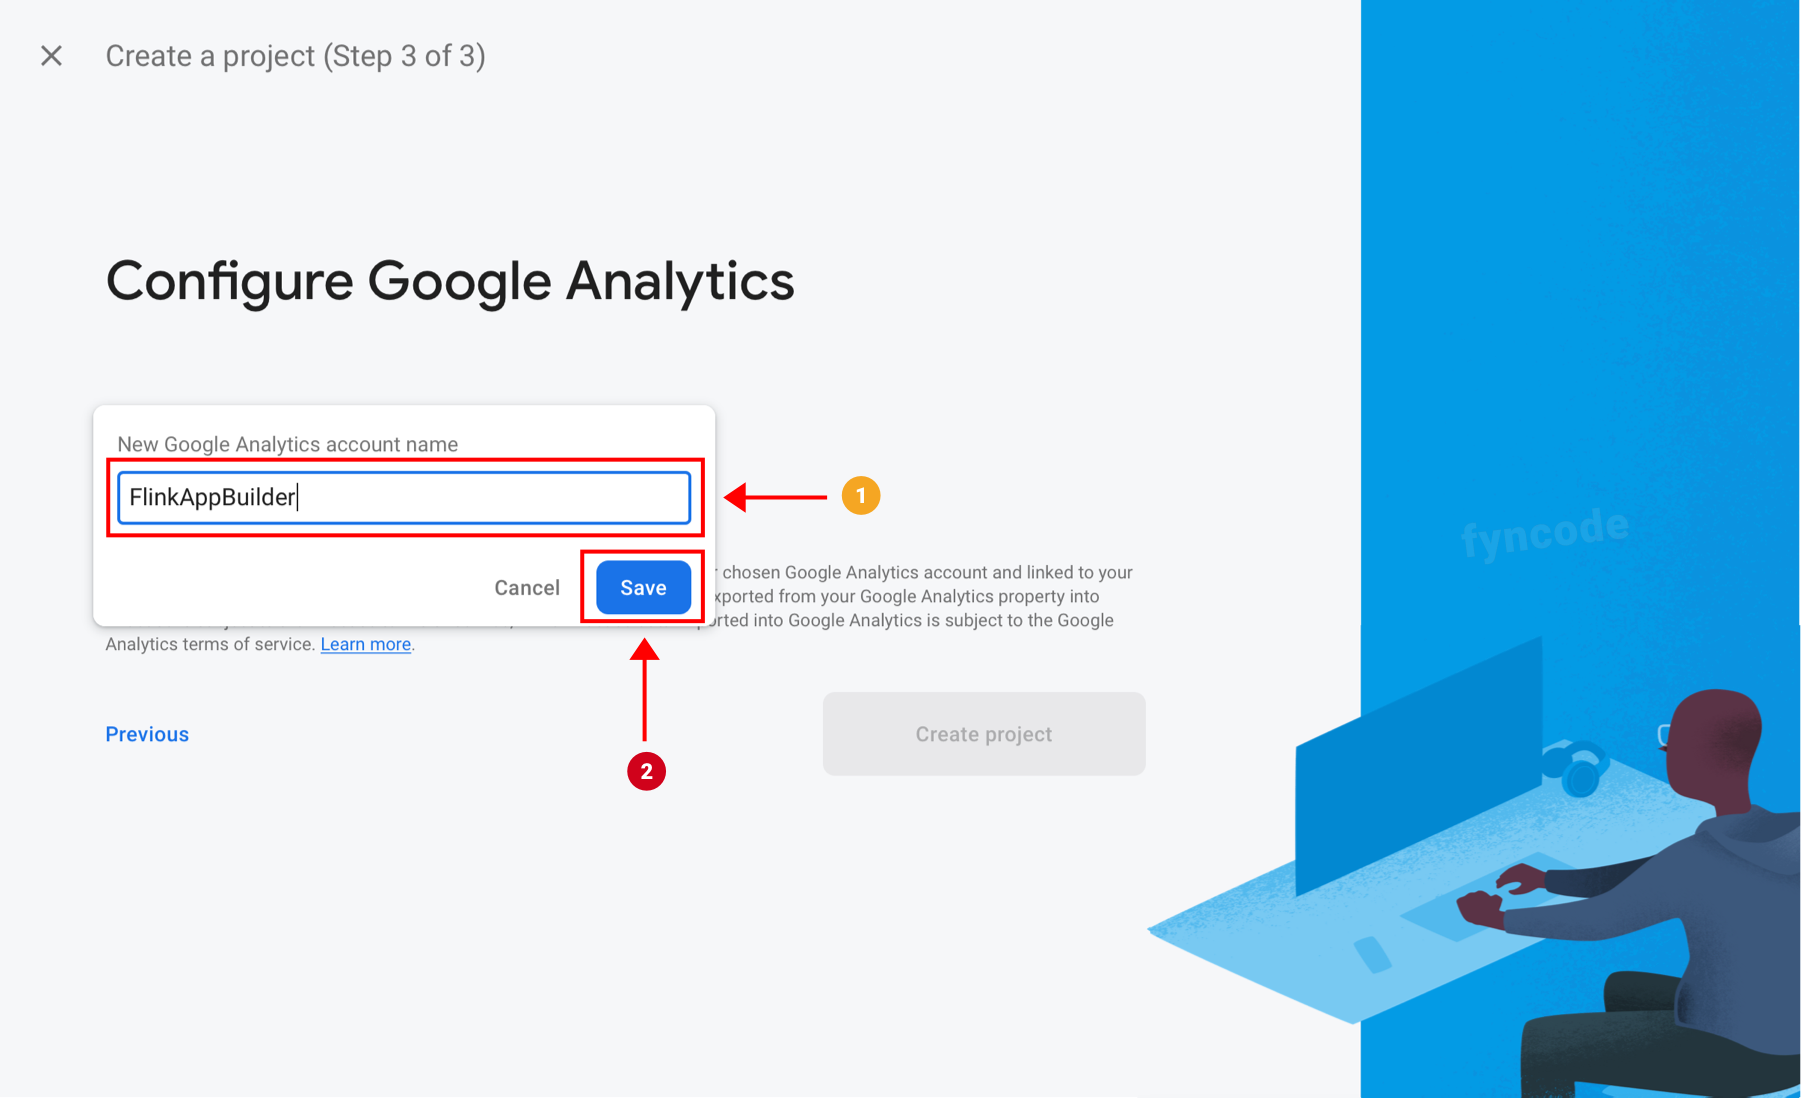
- Enter the name of the new property and click “Create Property” button.
Adding Your Platform and App
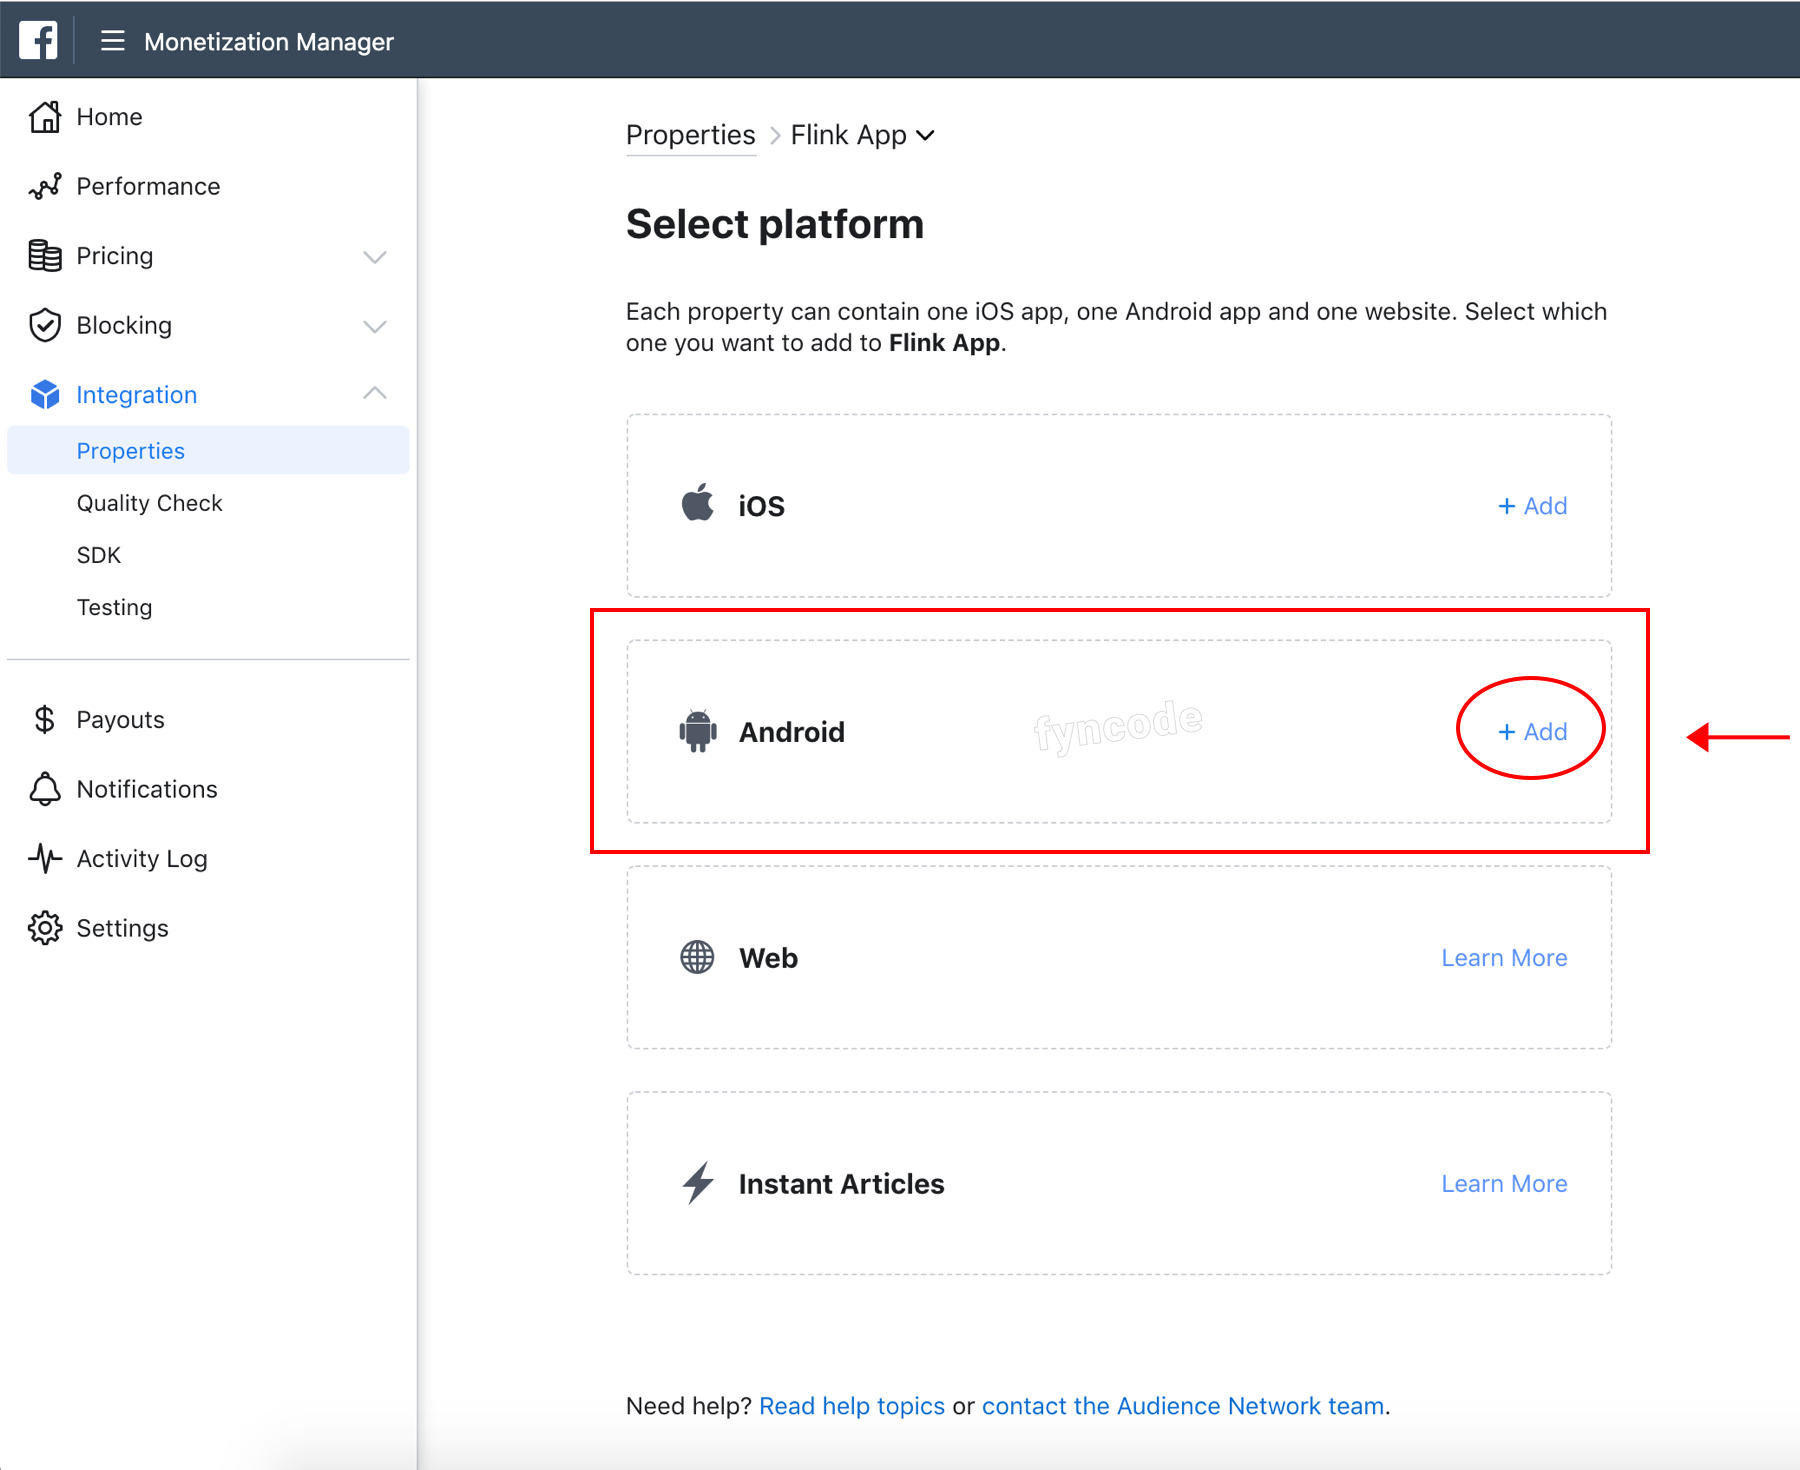
After you create your property, the next step is adding the platform that you want to make money from.
- Click “+ Add” button that is next to “Android” option.
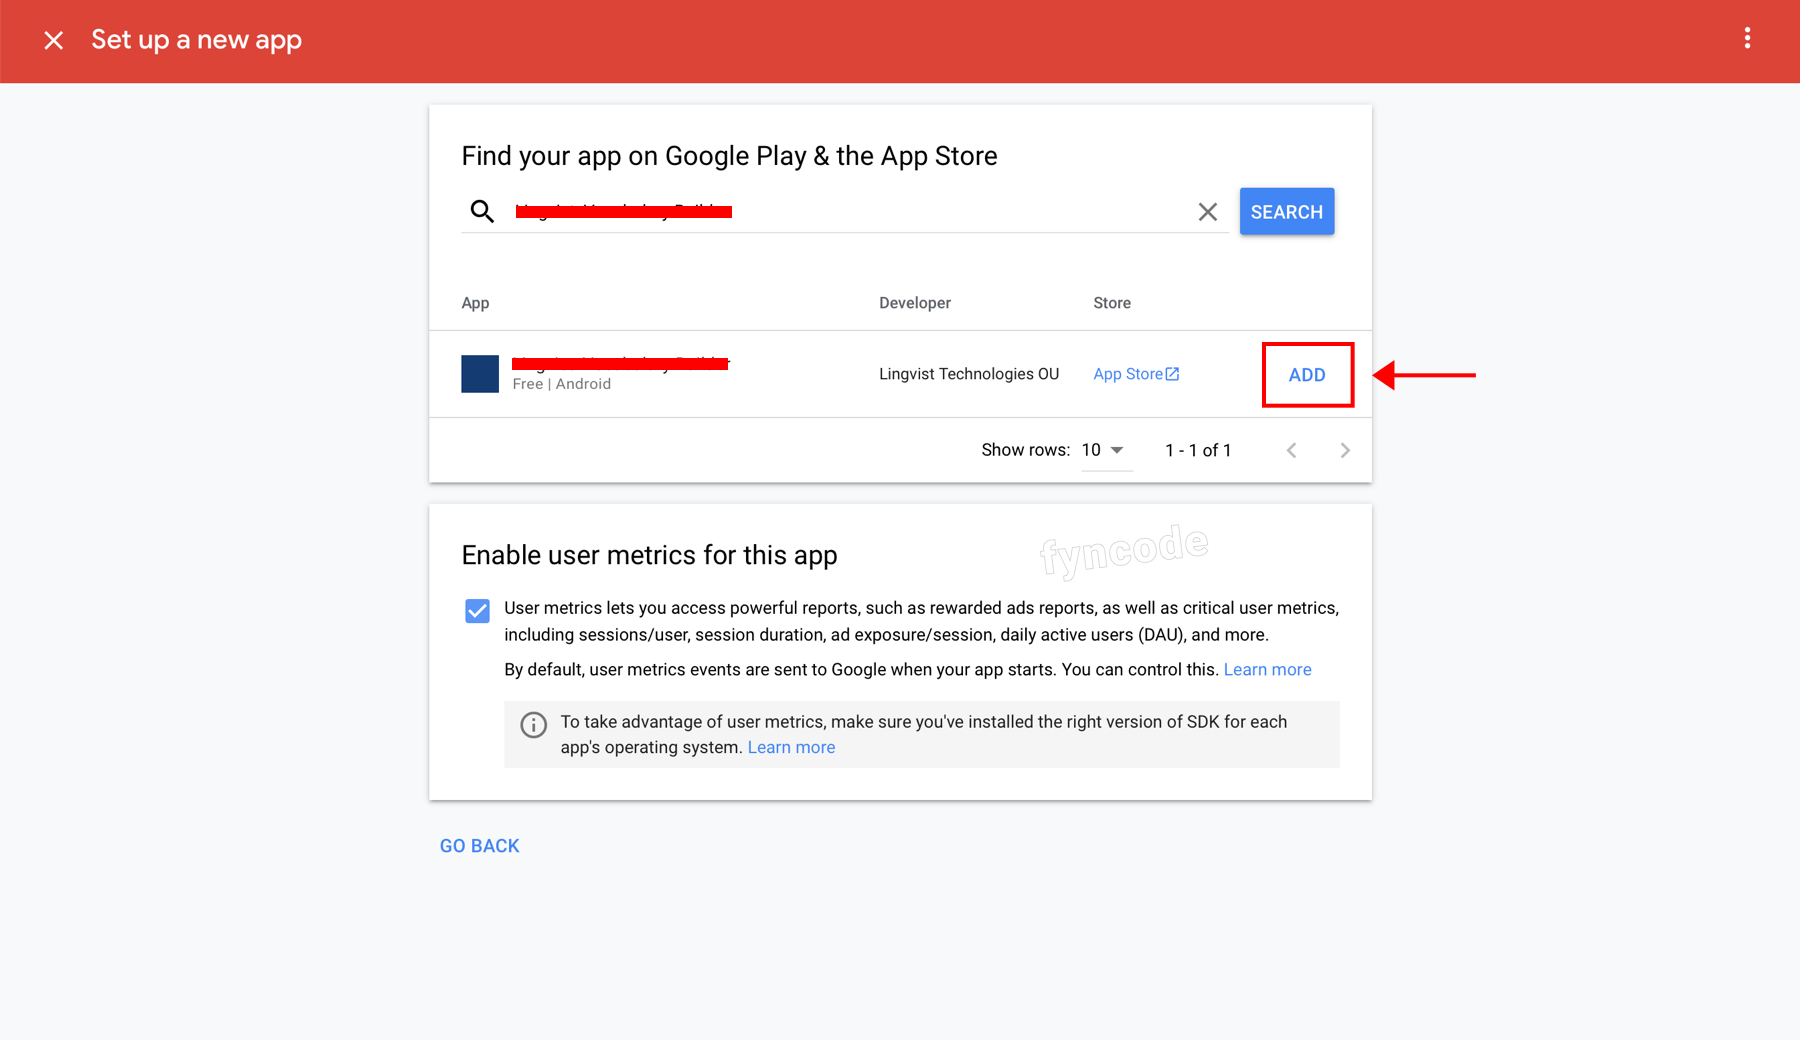
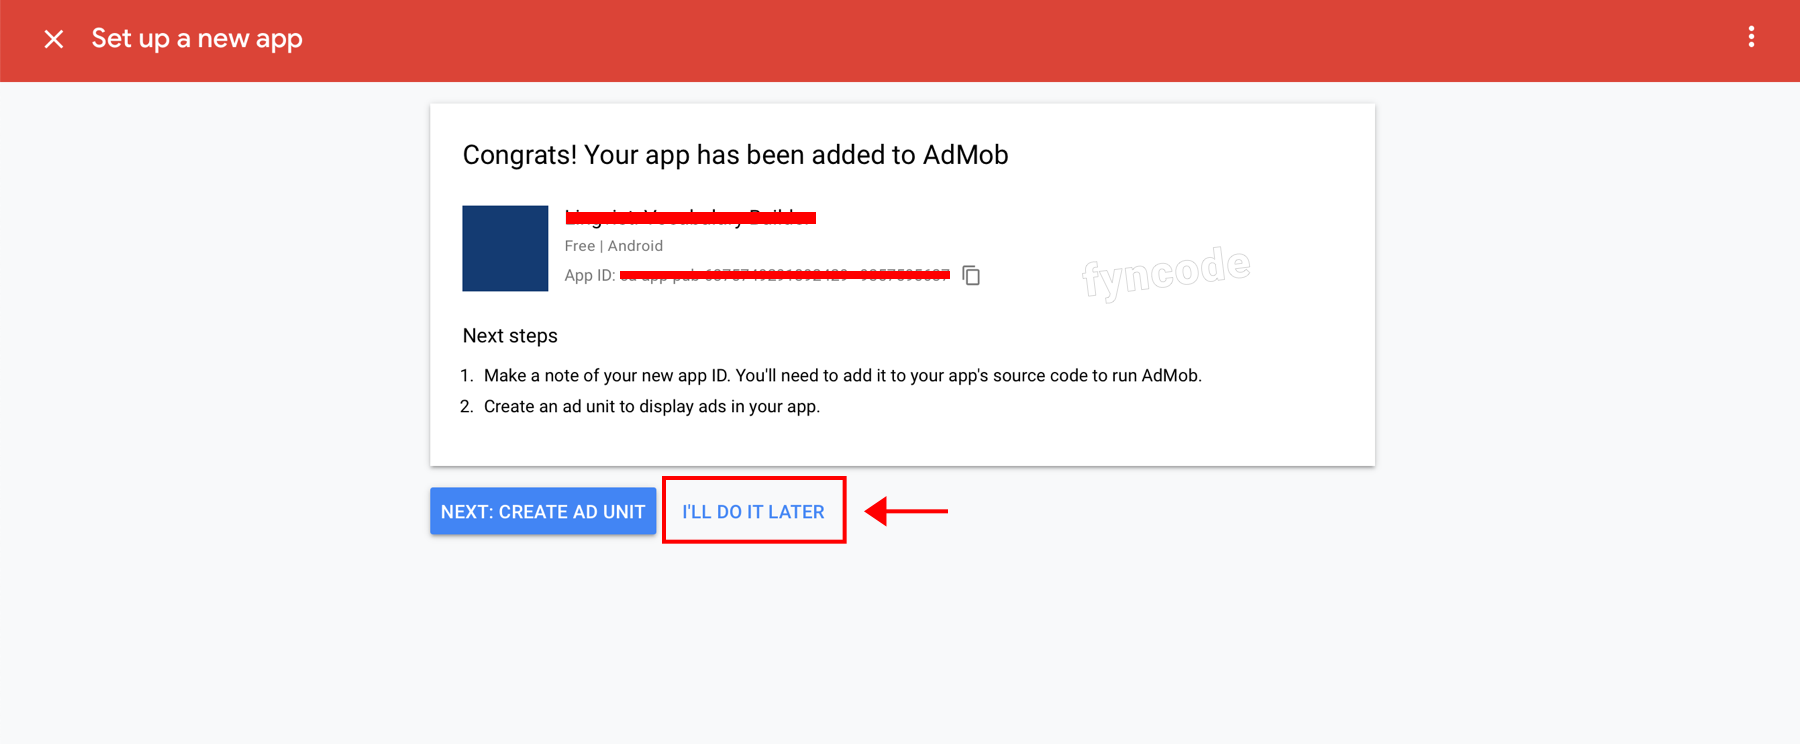
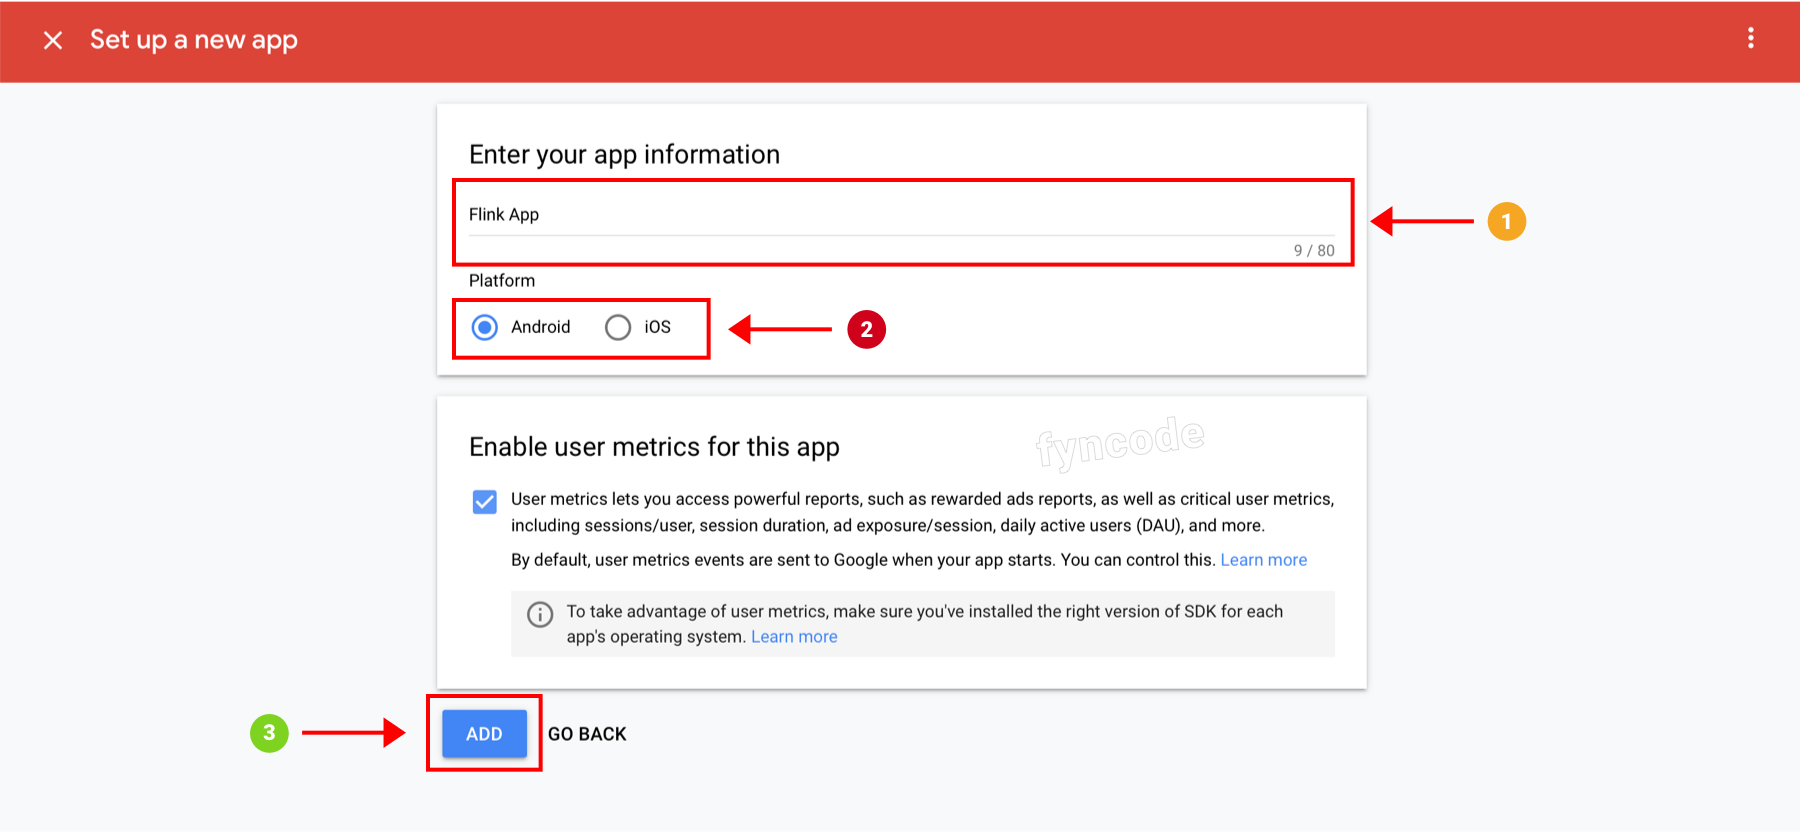
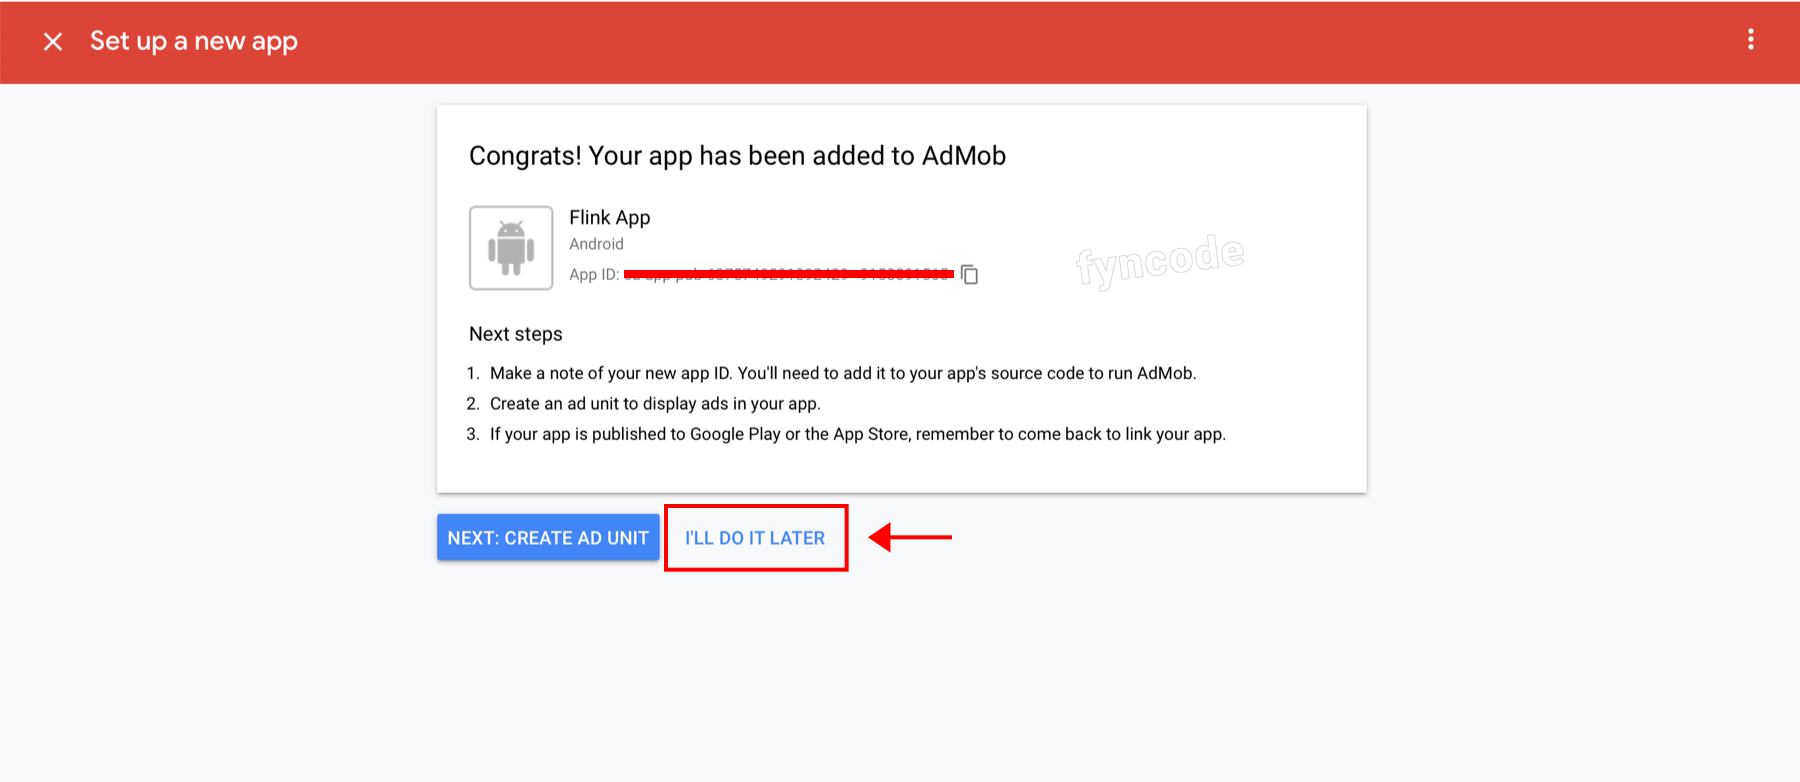
- If you already published the app, in which you will use Facebook Audience Network ads, on Play Store, select “App is live” option, enter the URL of your app on Play Store to the respective field and choose your application. If not, click “App is not live” button and then “Submit” button to proceed.
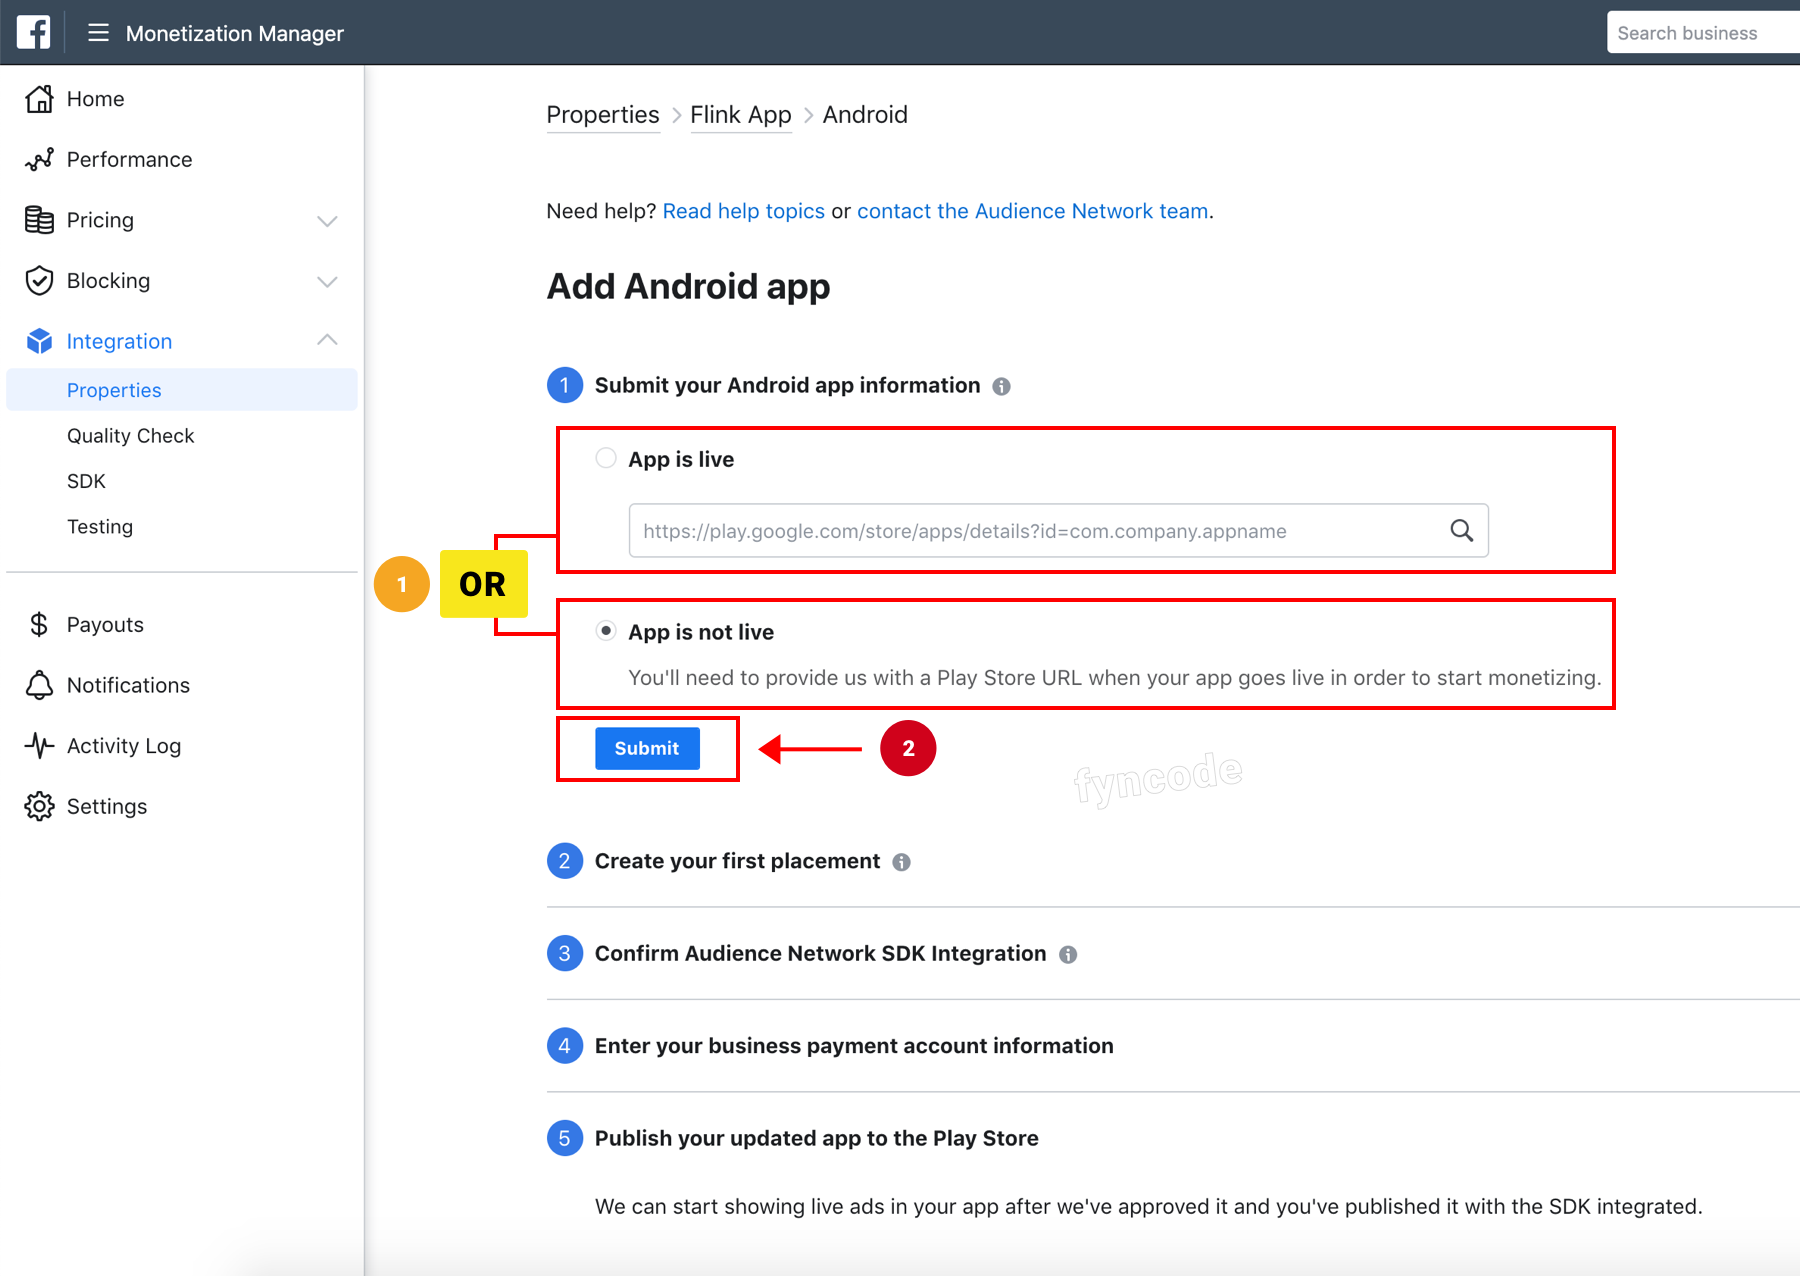
- Select an ad type as placement type (native banner, etc.) in “Create your first placement” step and click “Create Placement” button.
(NOTE: This ad area will not be used, so you can choose any type.) - Don’t do anything else after this step. (like ticking an option, etc.)
Creating Ad Space
In order to create an ad placement, you have to create an ad space first.
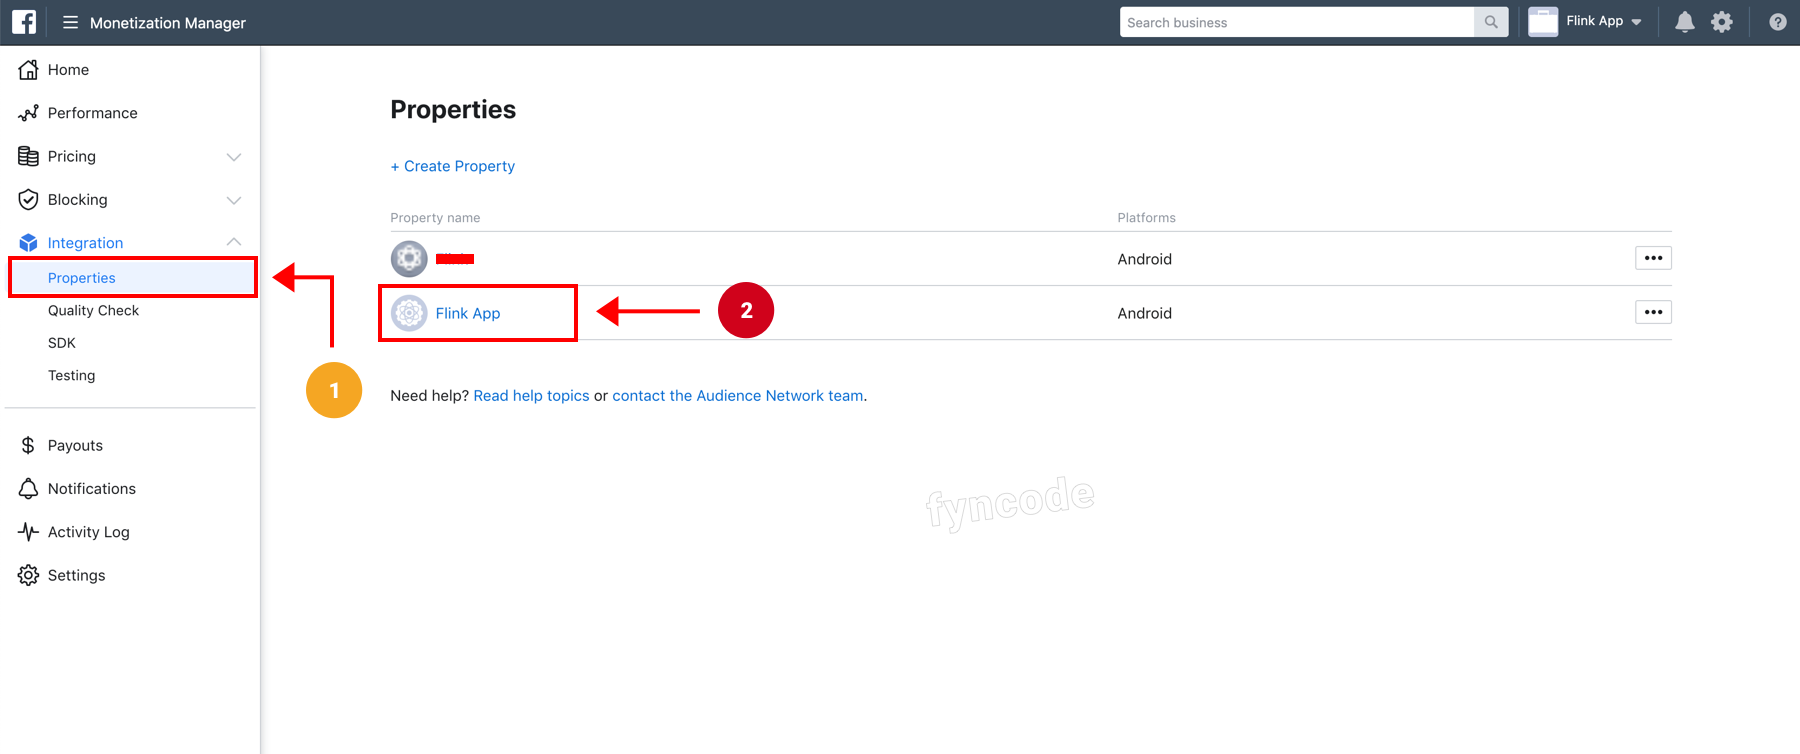
- Click “Properties” button located under the “Integration” option in the left-side menu and then click the name of your property.
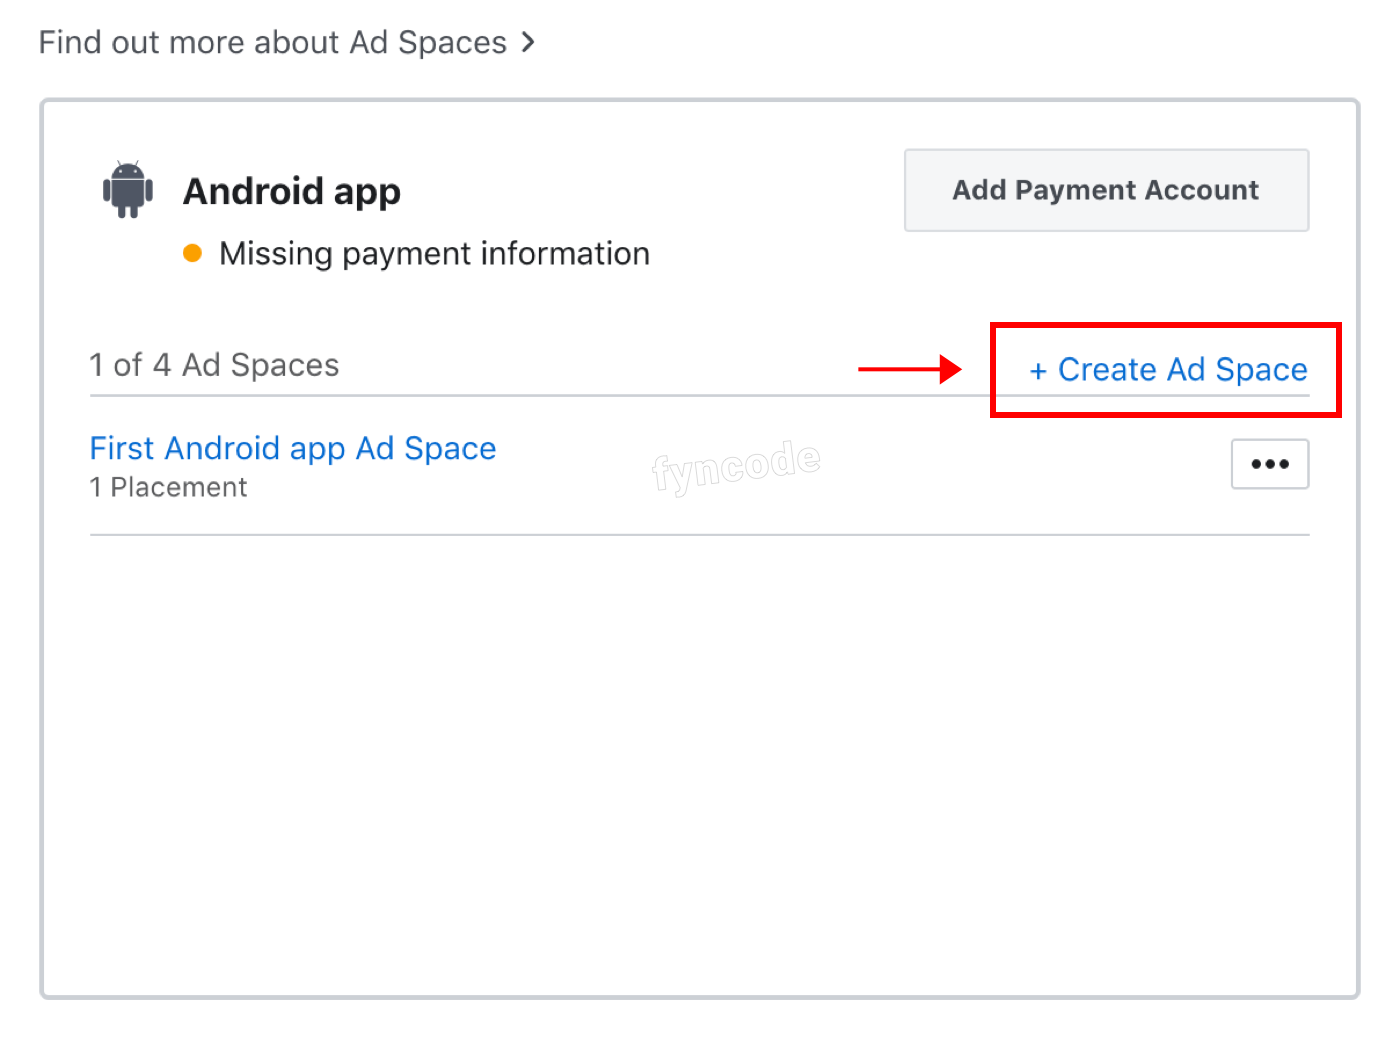
- Click “Create Ad Space” button.
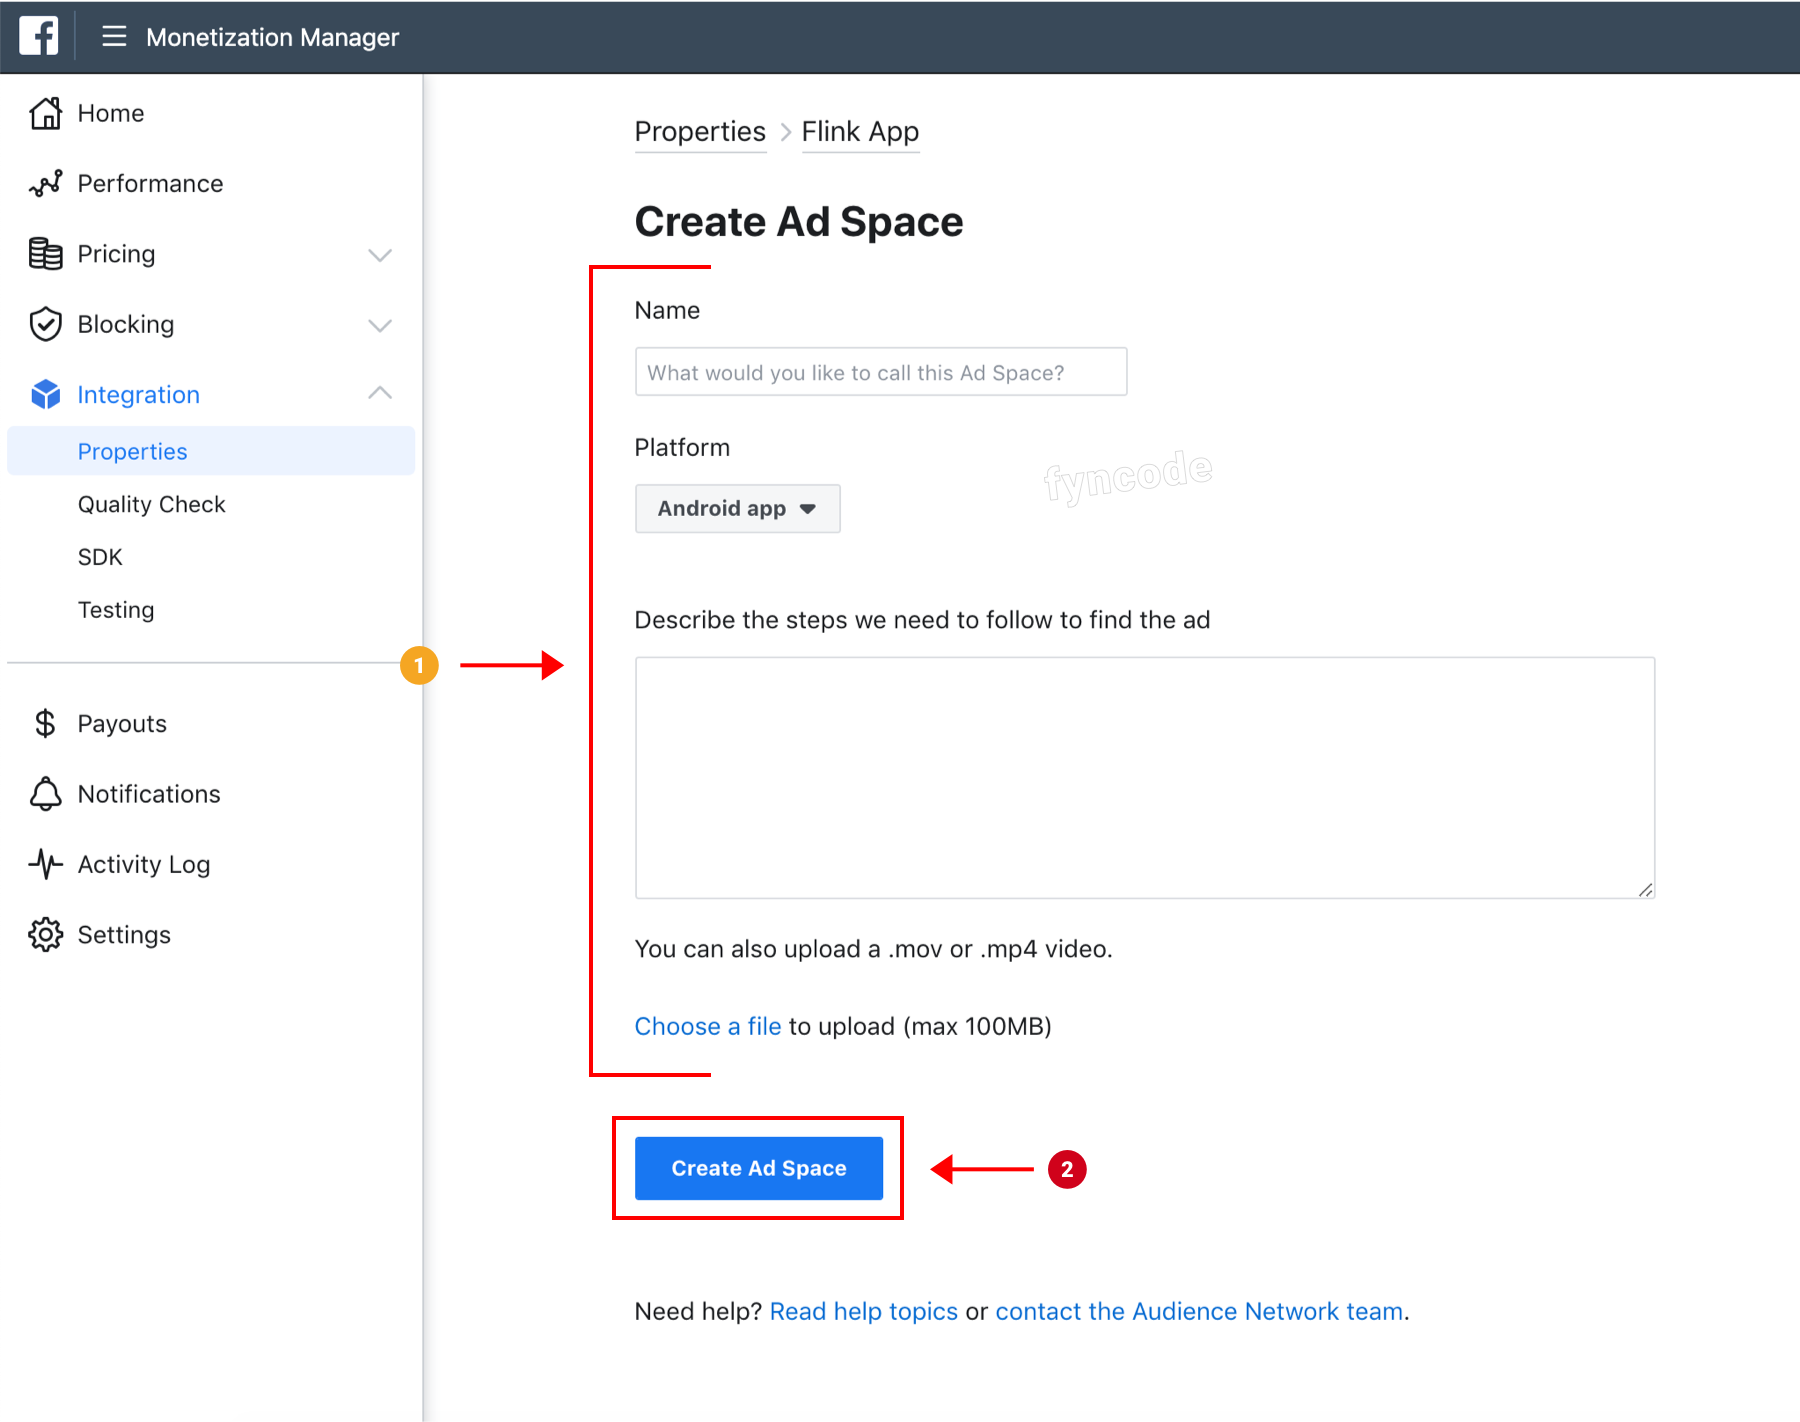
- Enter a name for your ad area to the “Name” field. Upload a video to the “Describe the steps we need to find the ad” field and write an explanation about when your ad should be triggered. Lastly, click “Create Ad Space” button and finish ad space creating process.
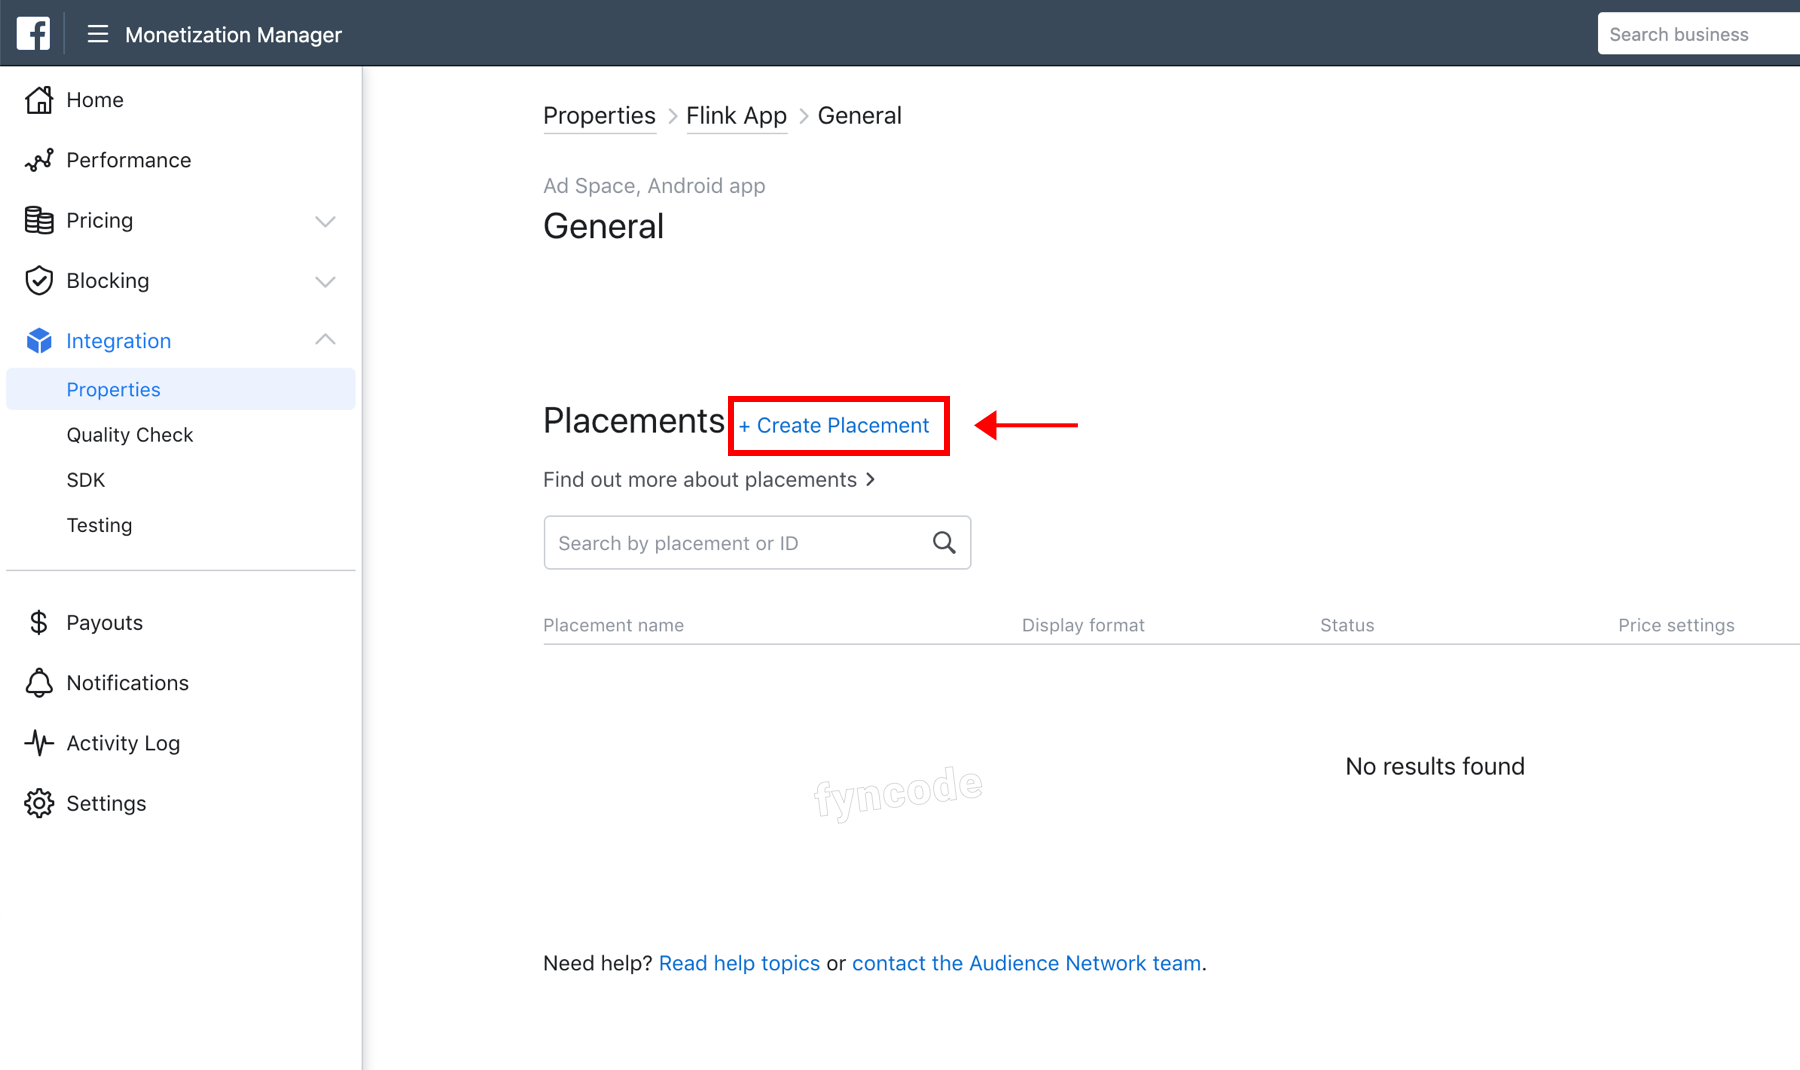
Creating Ad Placement
Facebook Audience Network offers different types of ad units. Each ad unit in your application is defined by using a unique placement identity.
- Click “+ Create Placement” button.
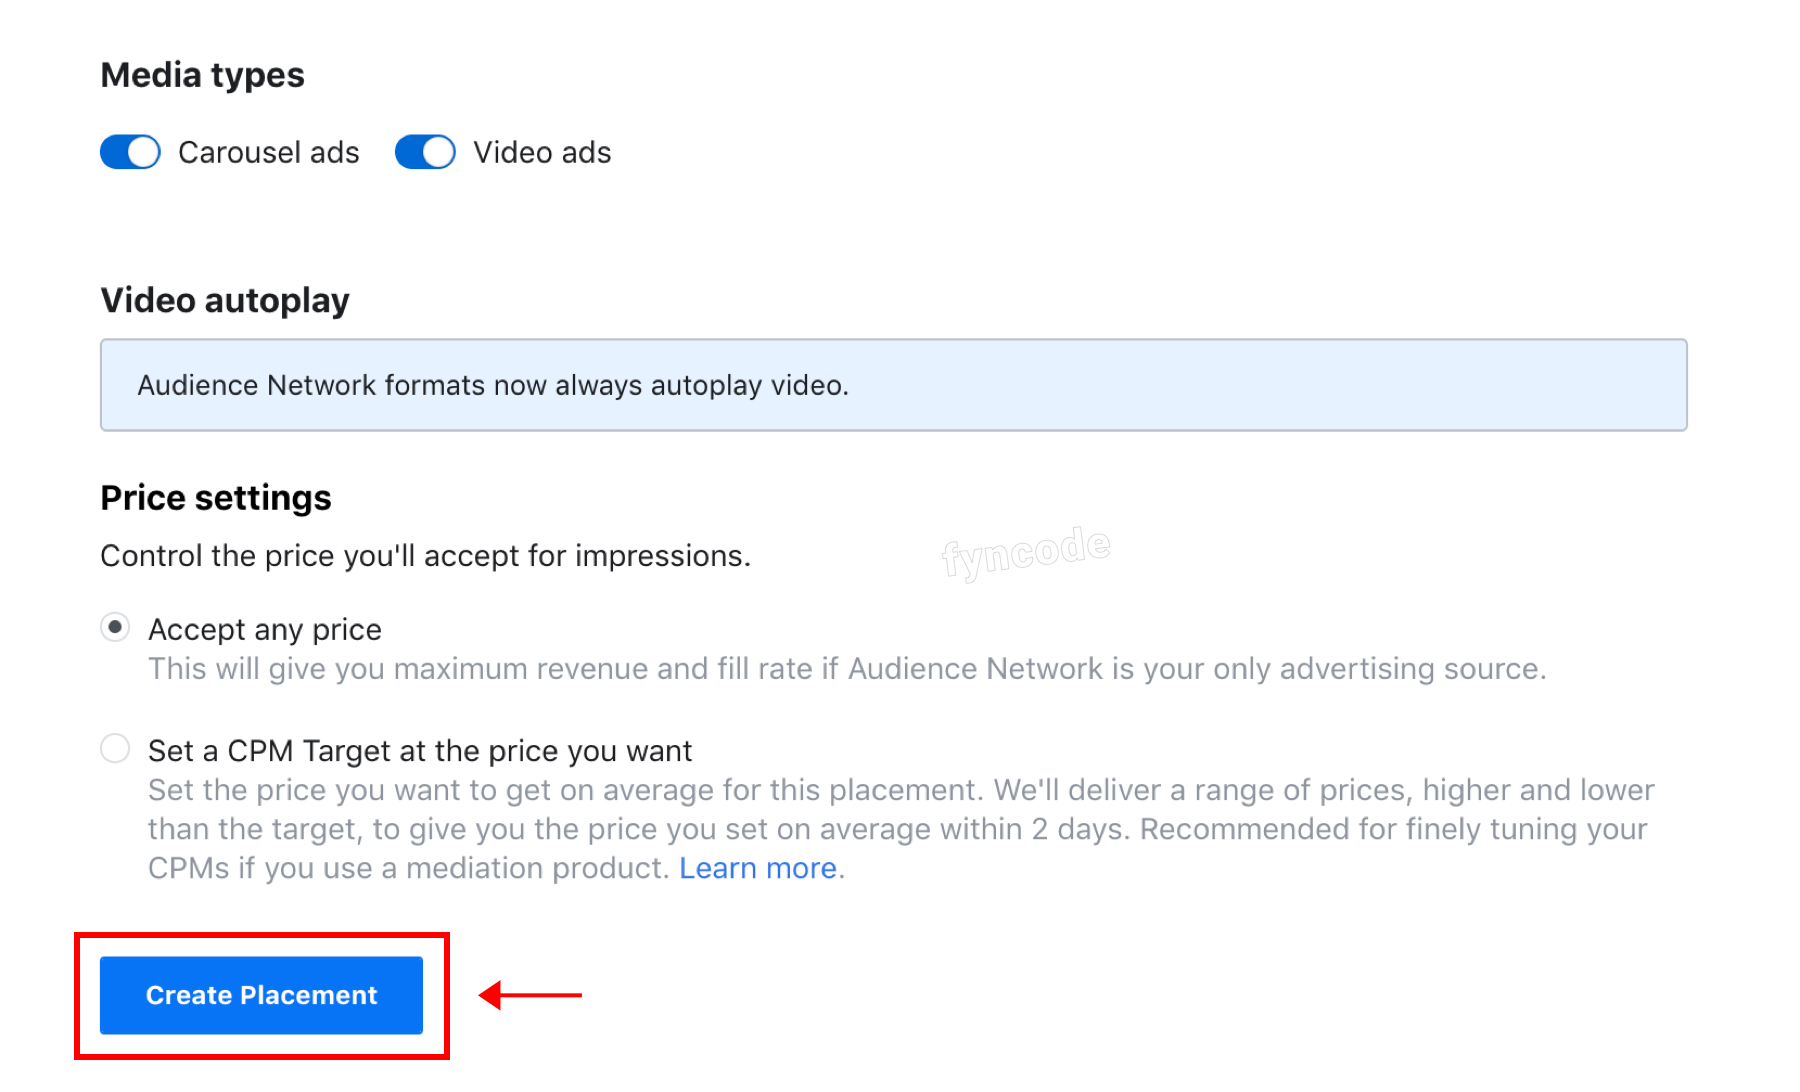
- Add your Placement name. Select your Display format. (For the “Bottom Banner” area of your app, you should choose “Banner” and for the “Native Ad” area of your app, you should select “Native” option.)

- Scroll down, configure values and click “Create Placement” button.
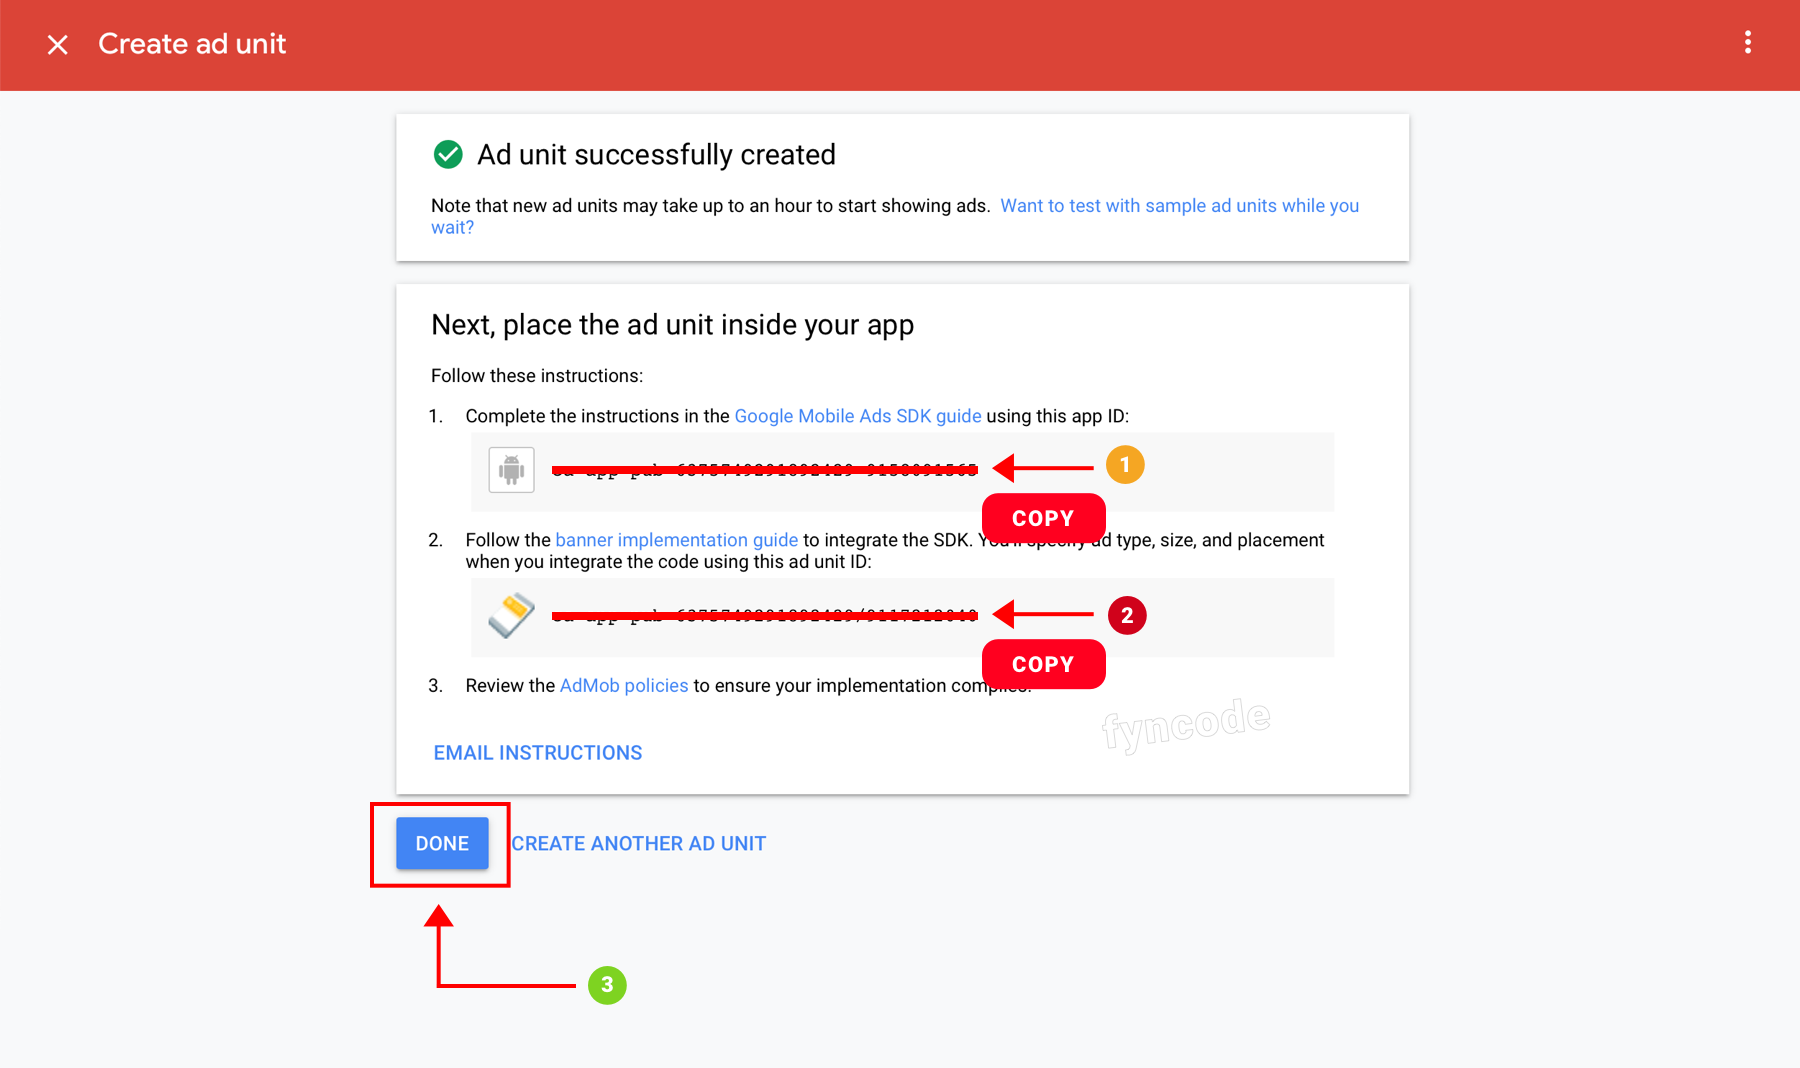
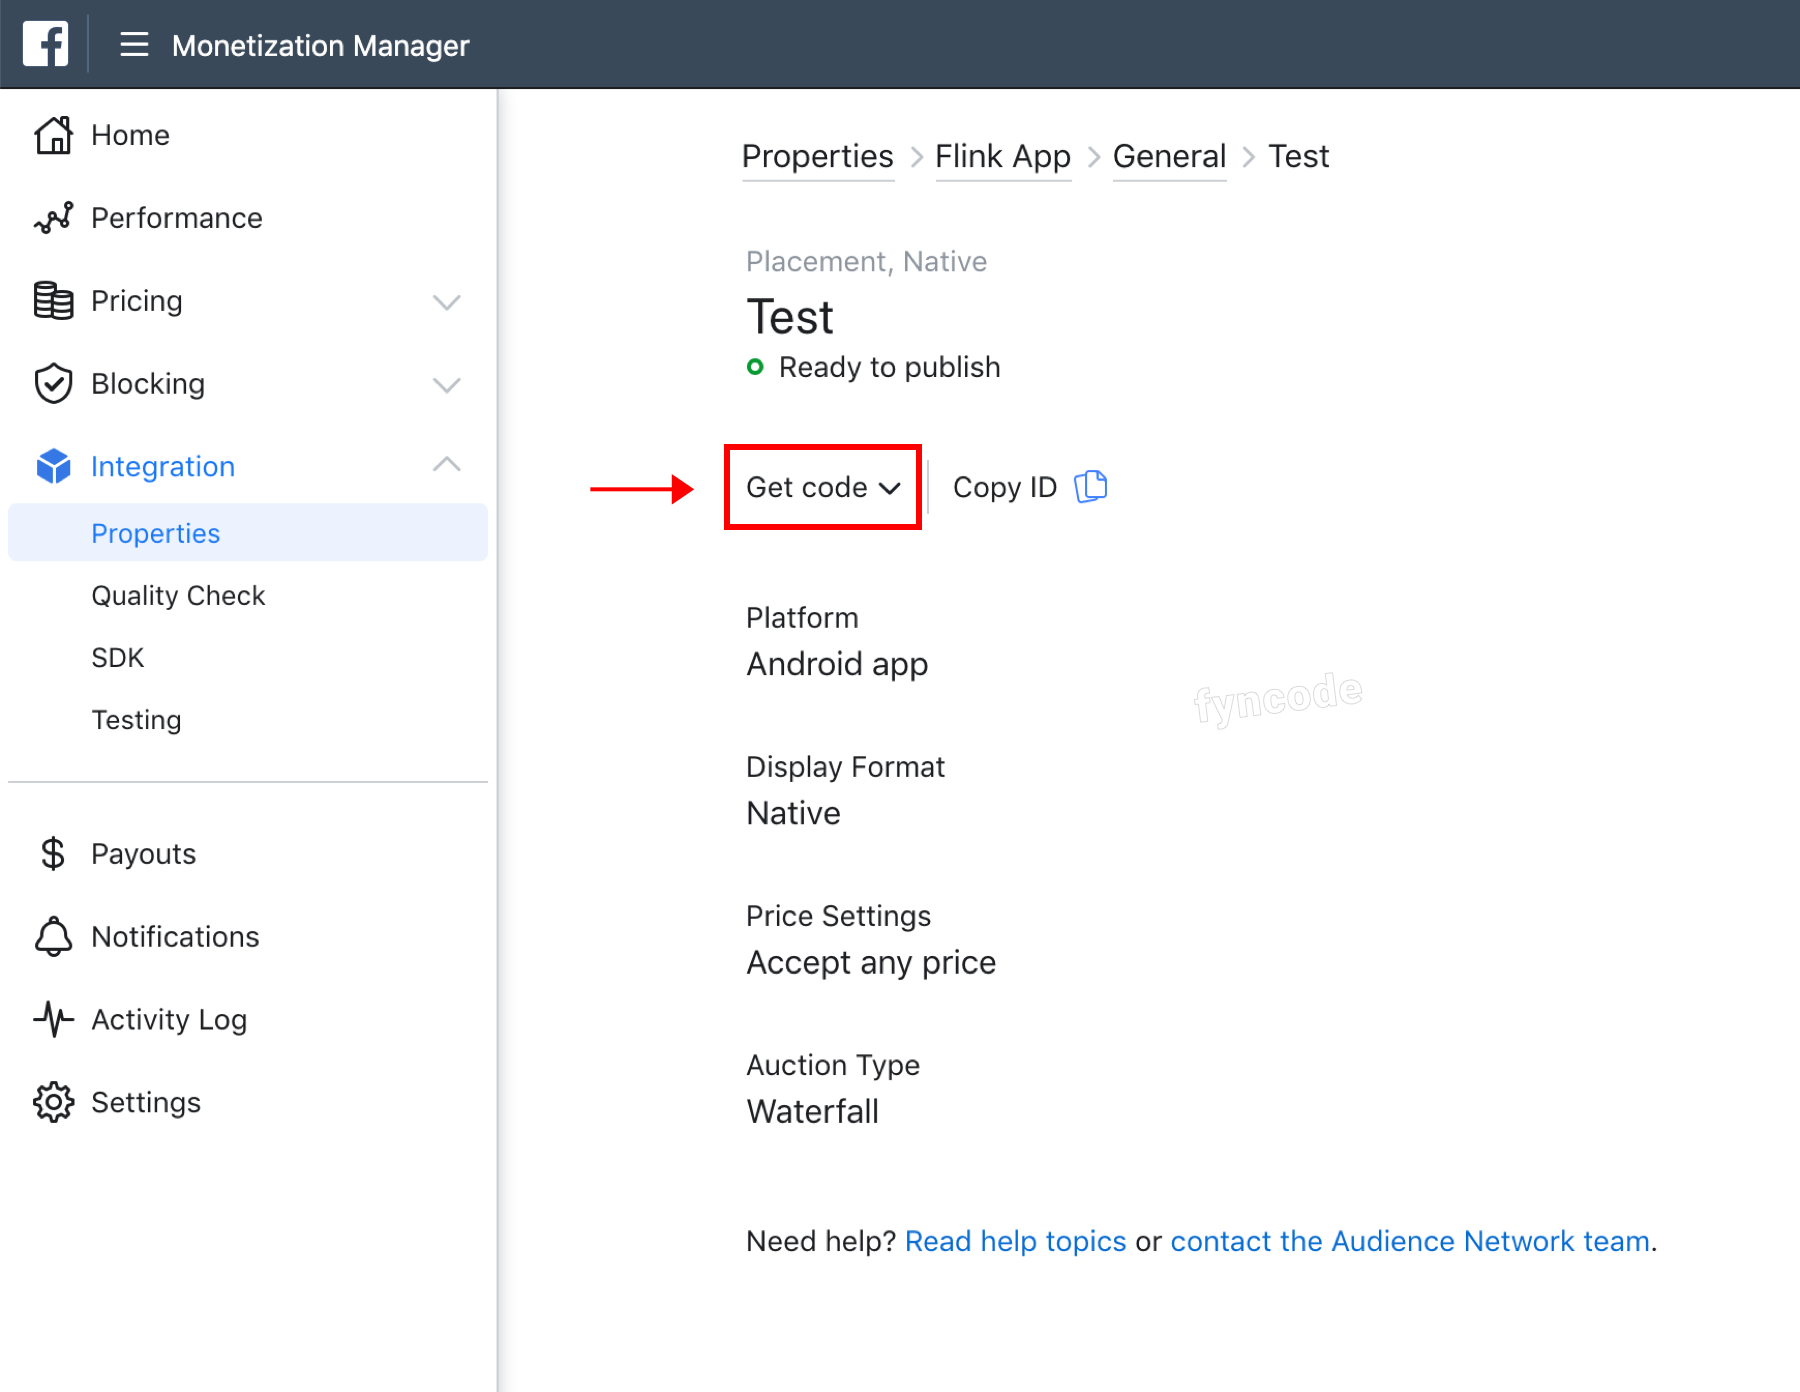
- Click “Get Code” button.
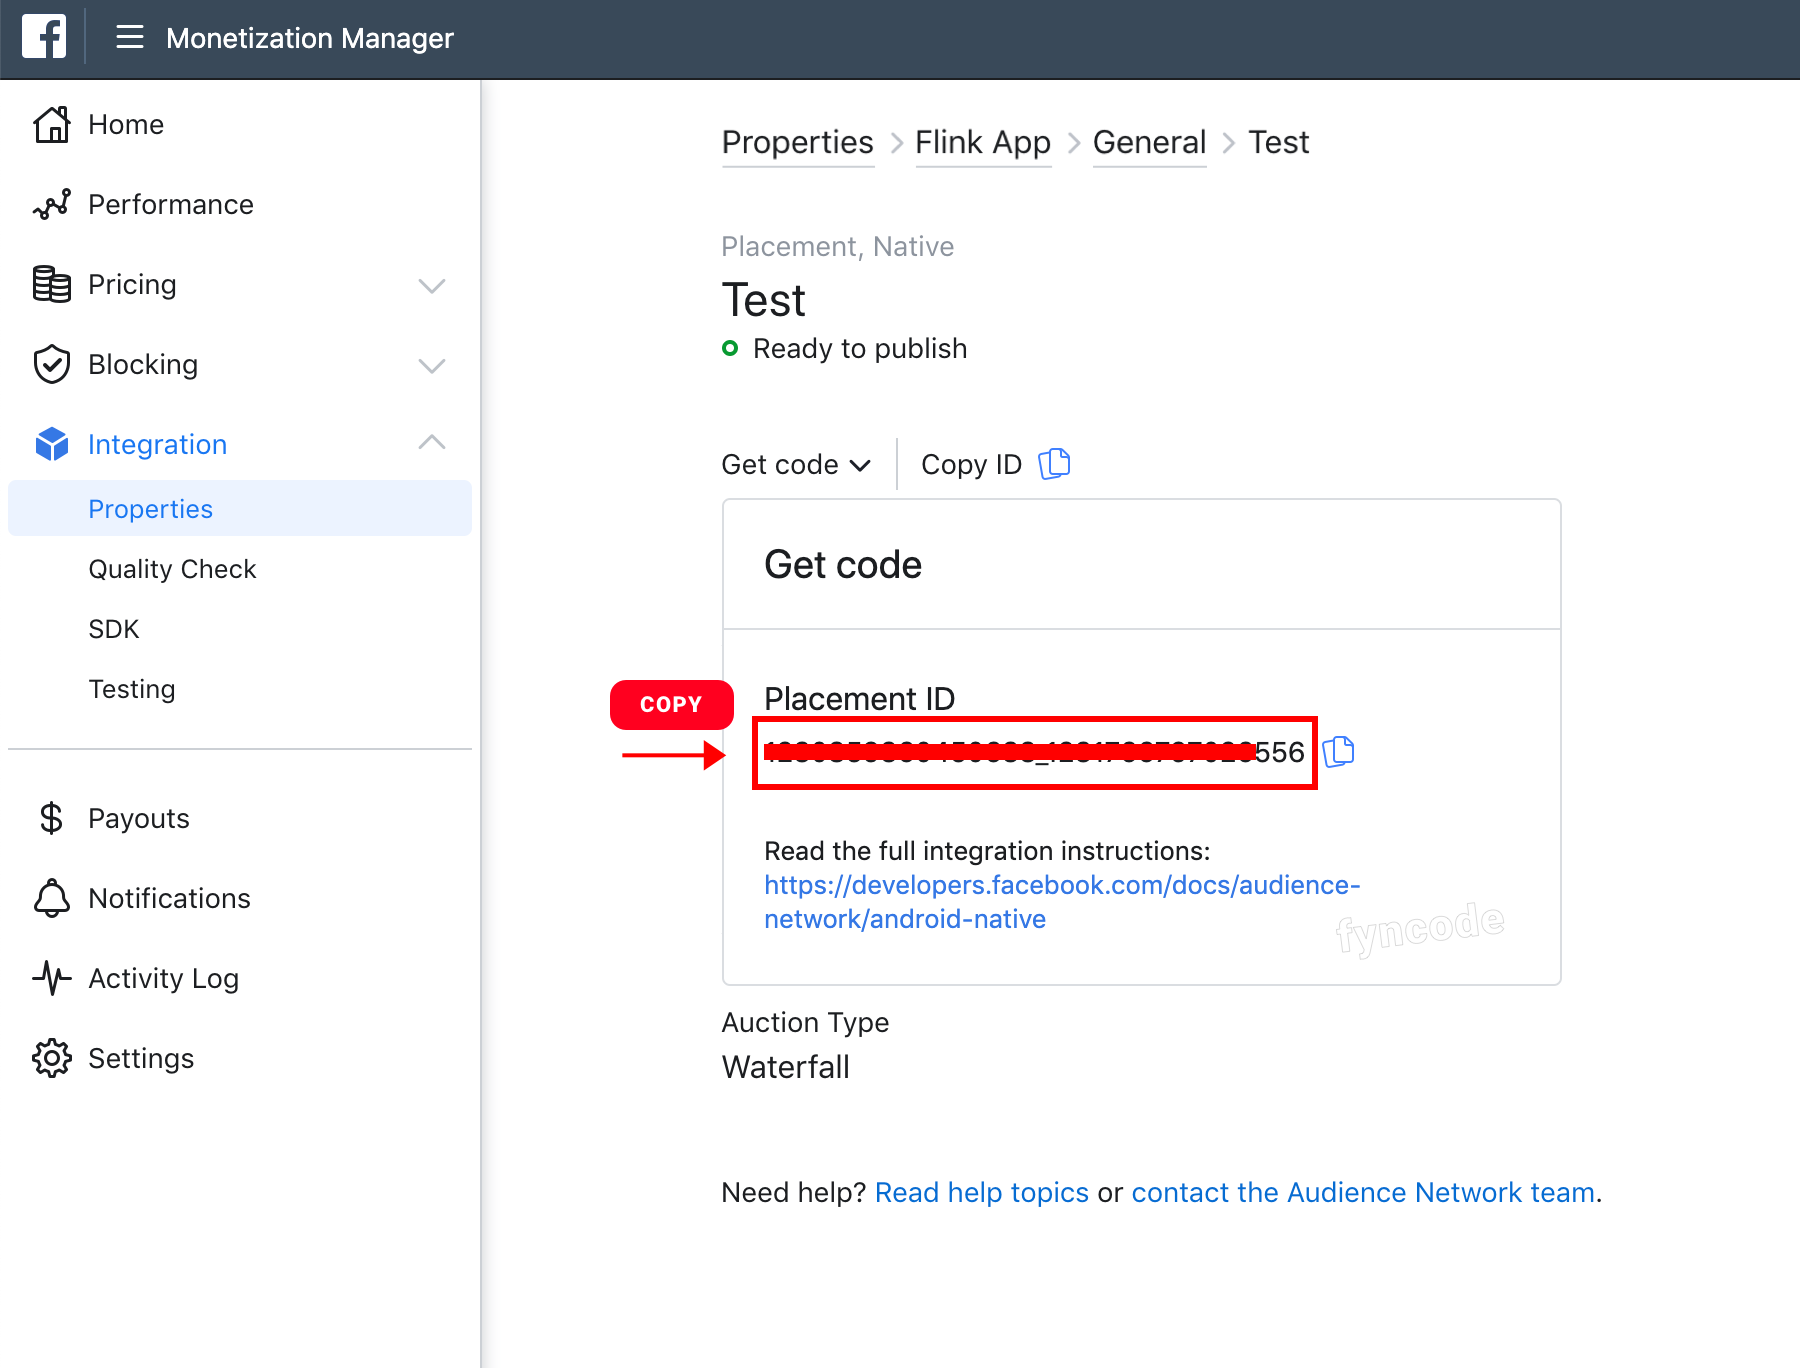
- Copy the Placement ID.
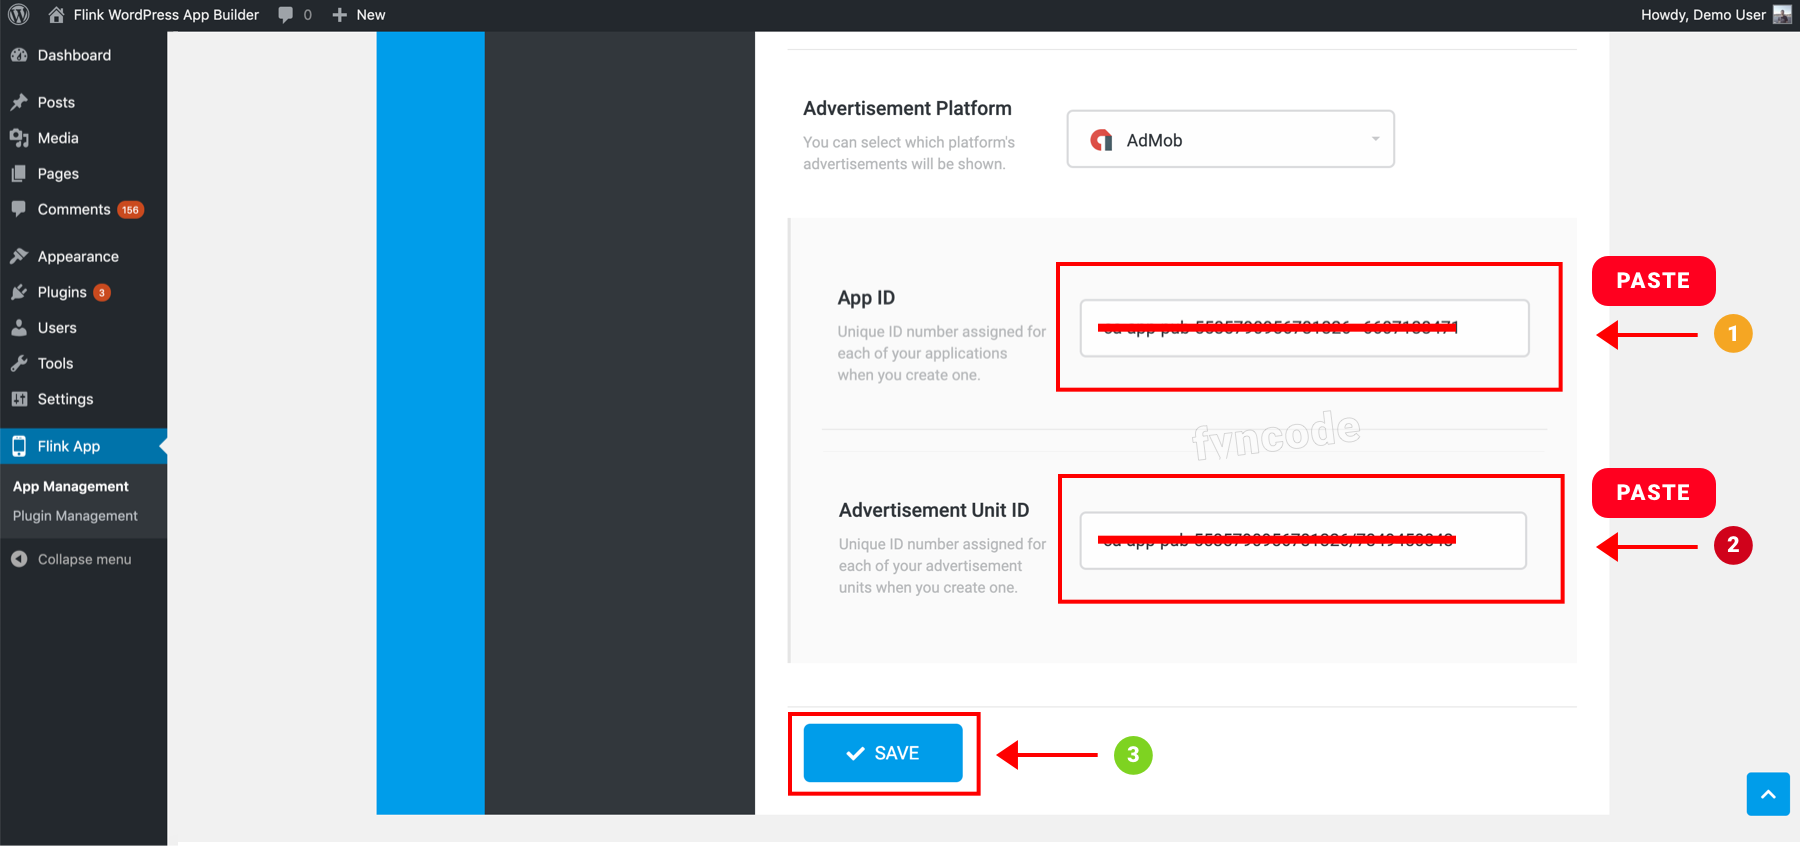
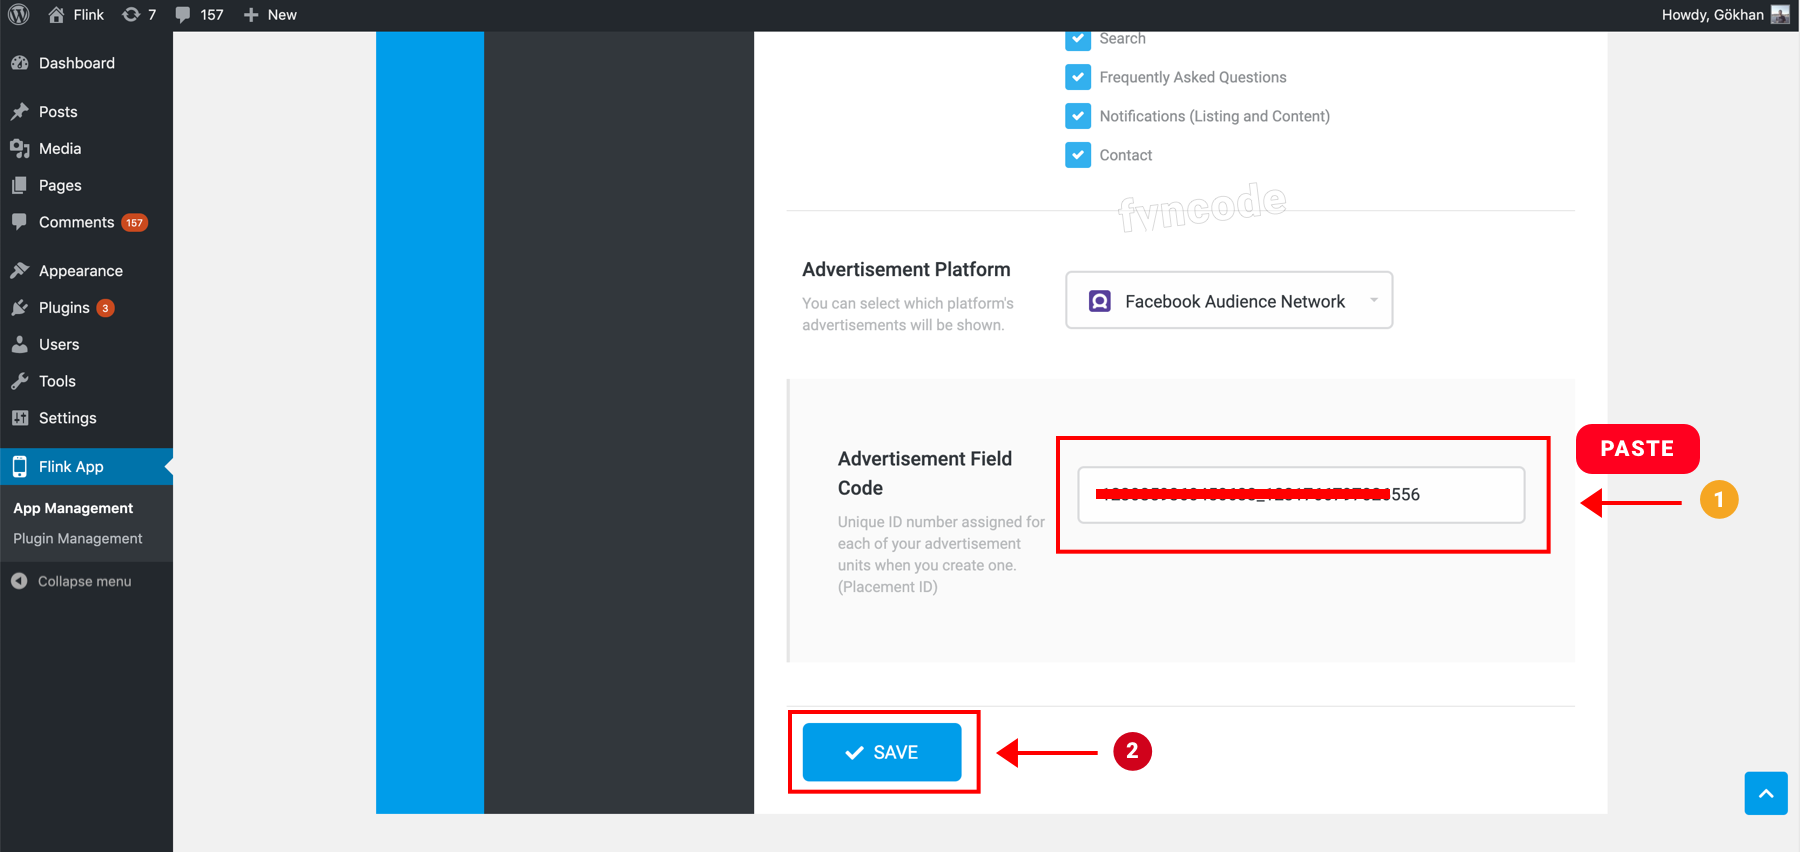
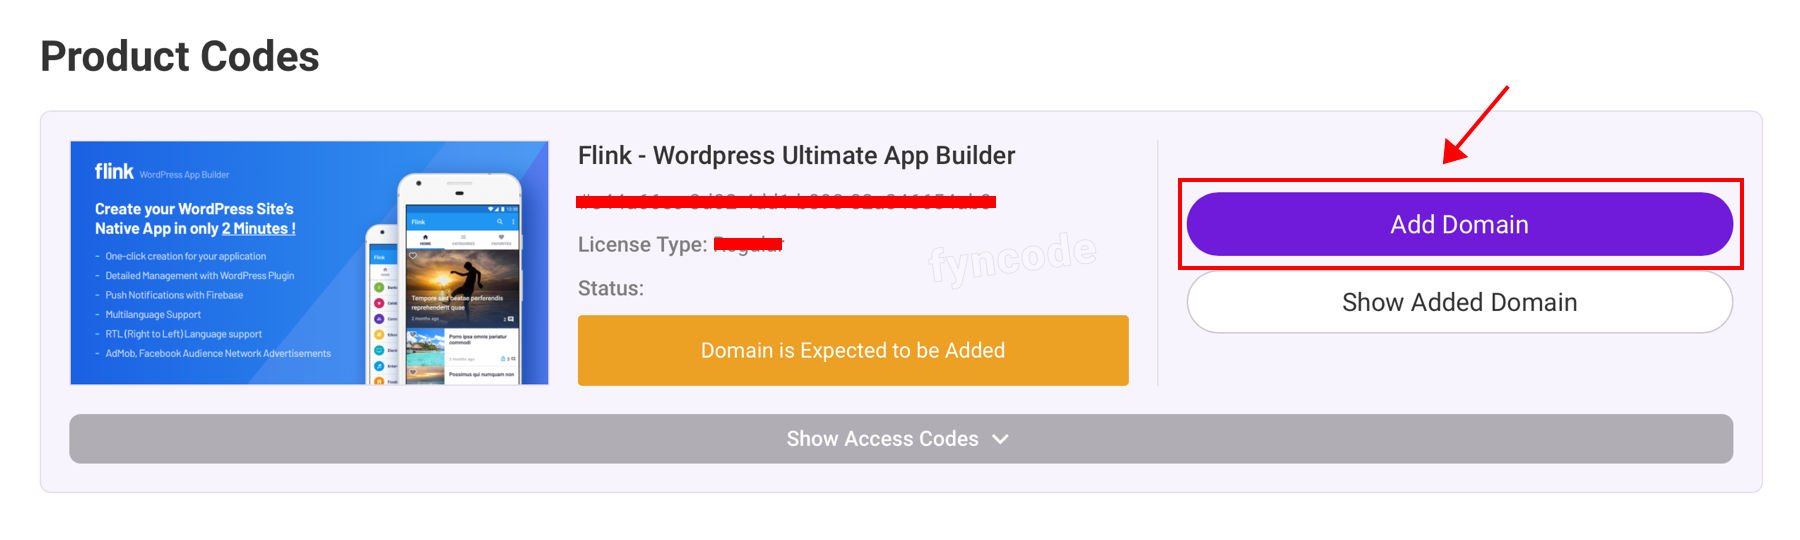
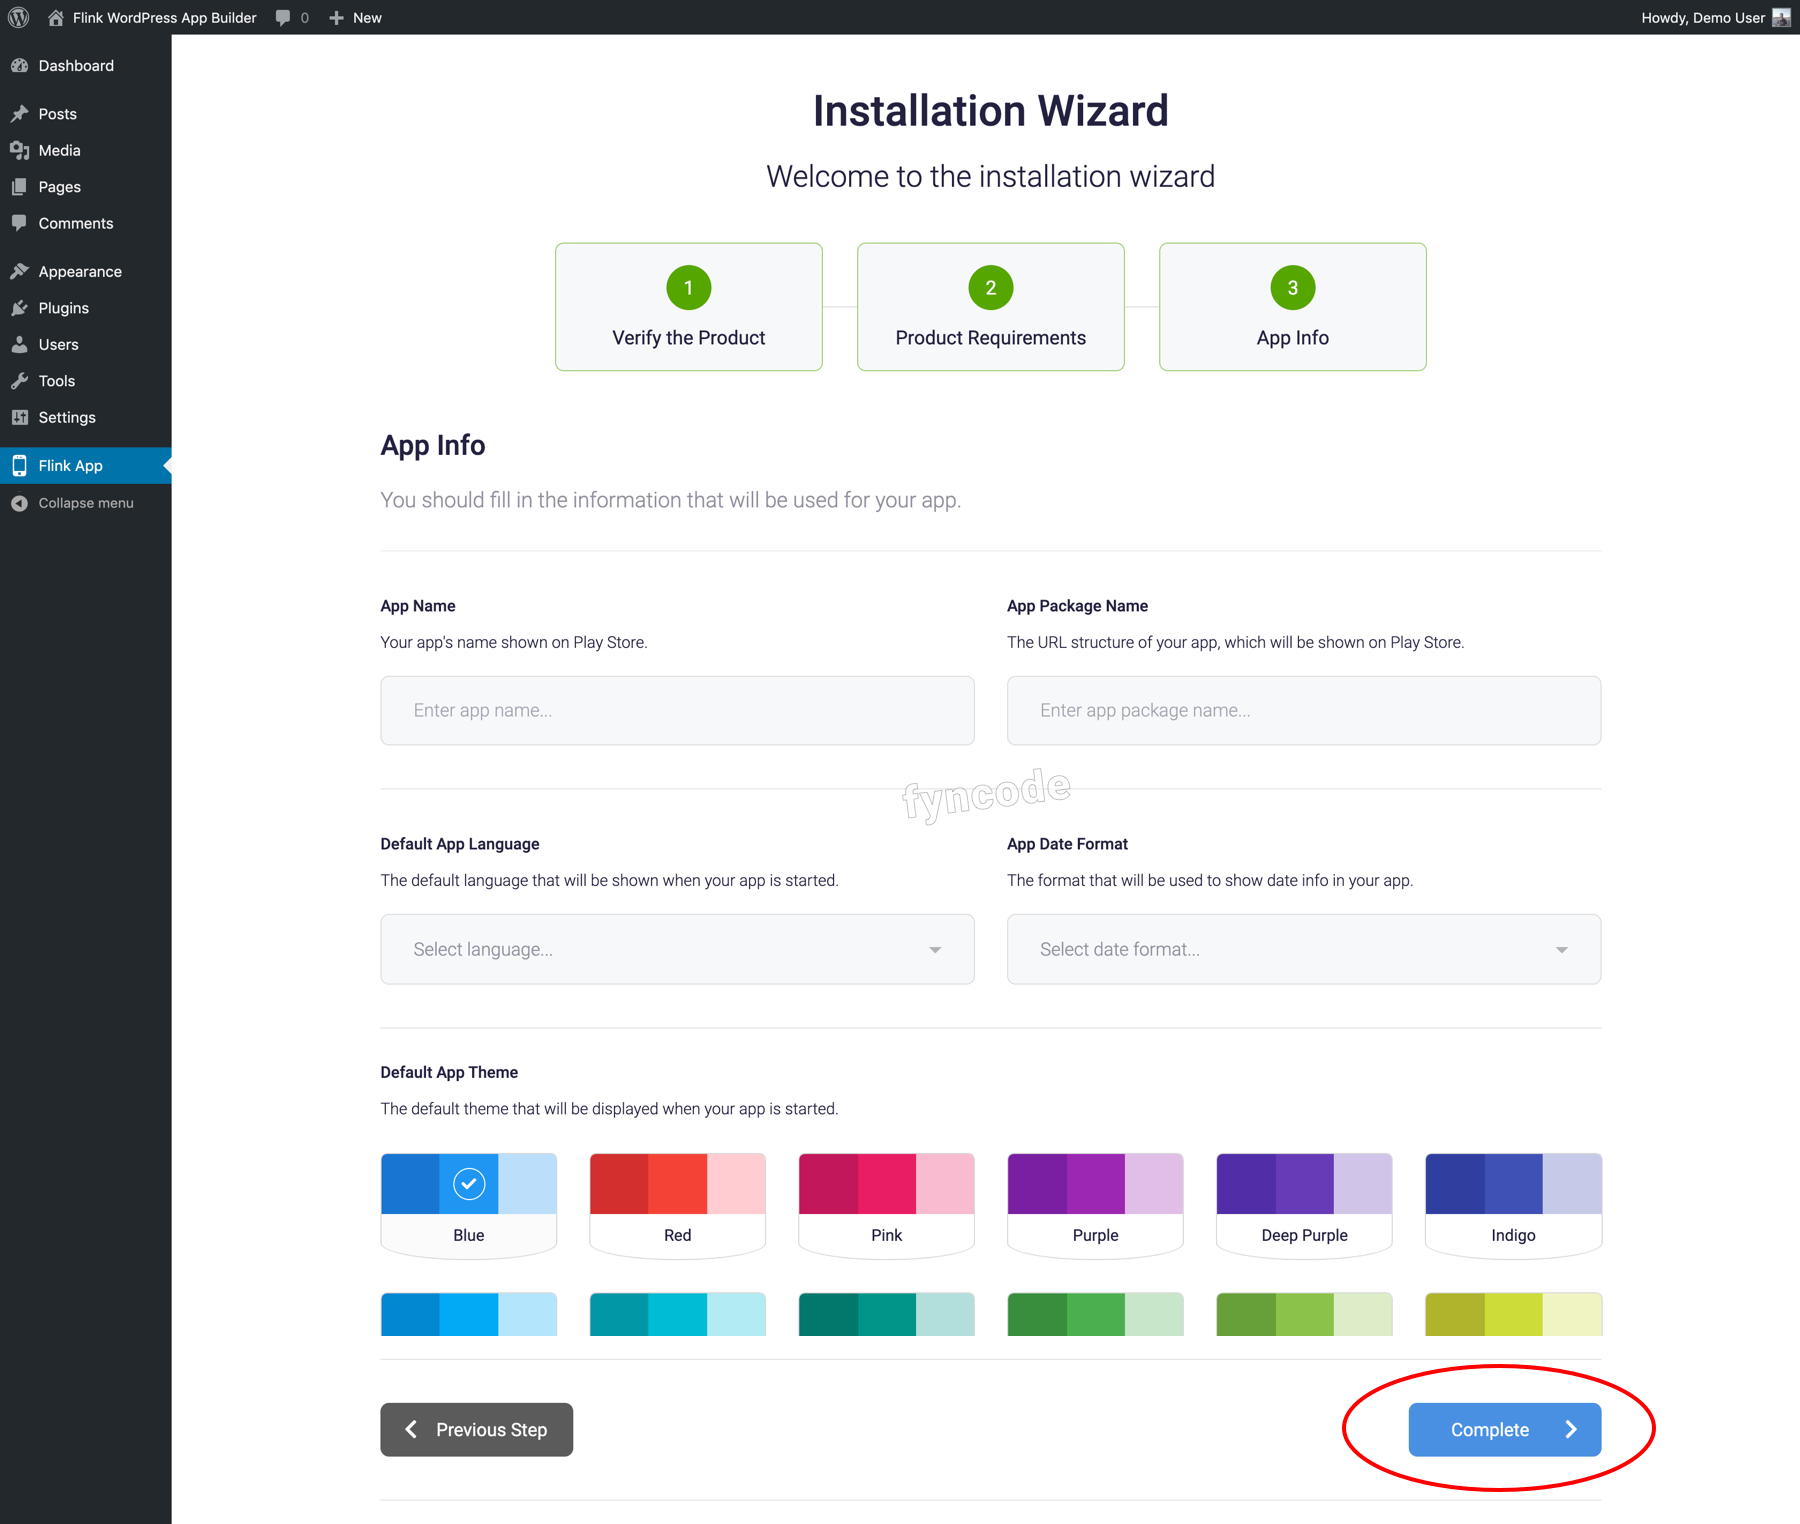
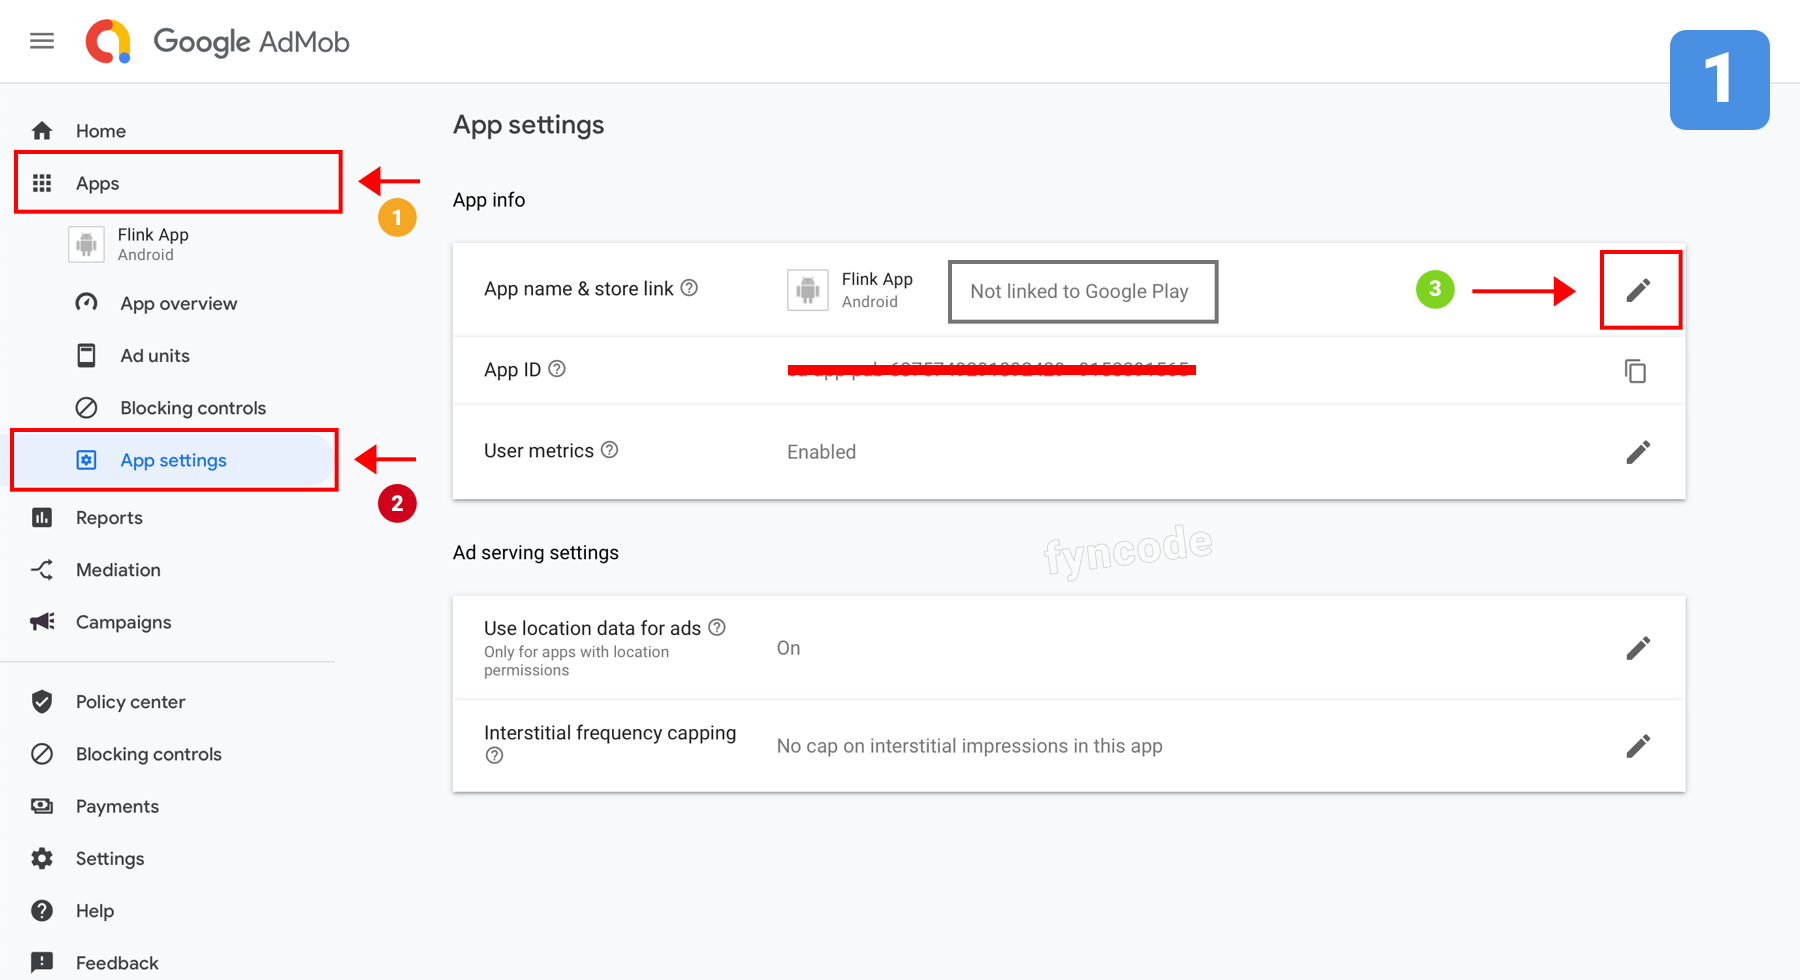
- Go to your WordPress admin dashboard, click “Flink App” from the side menu and open the page for Flink WordPress App Builder.
1. On the page that is opened, find and click “Ad Management”.
2. Click the ad type, of which data you want to update (bottom banner, native ad etc.)
3. Enter the Placement ID that you previously copied to the “Advertisement Field Code” field in the “Advertisement Platform” section (while Facebook Audience Network is selected).
4. Click “SAVE” button.
| NOTE: Your app cannot receive Facebook Audience Network ads until payment information is added and your application is sent for review. |
]]>


 2. Click “LINK YOUR APP WITH GOOGLE PLAY” button.
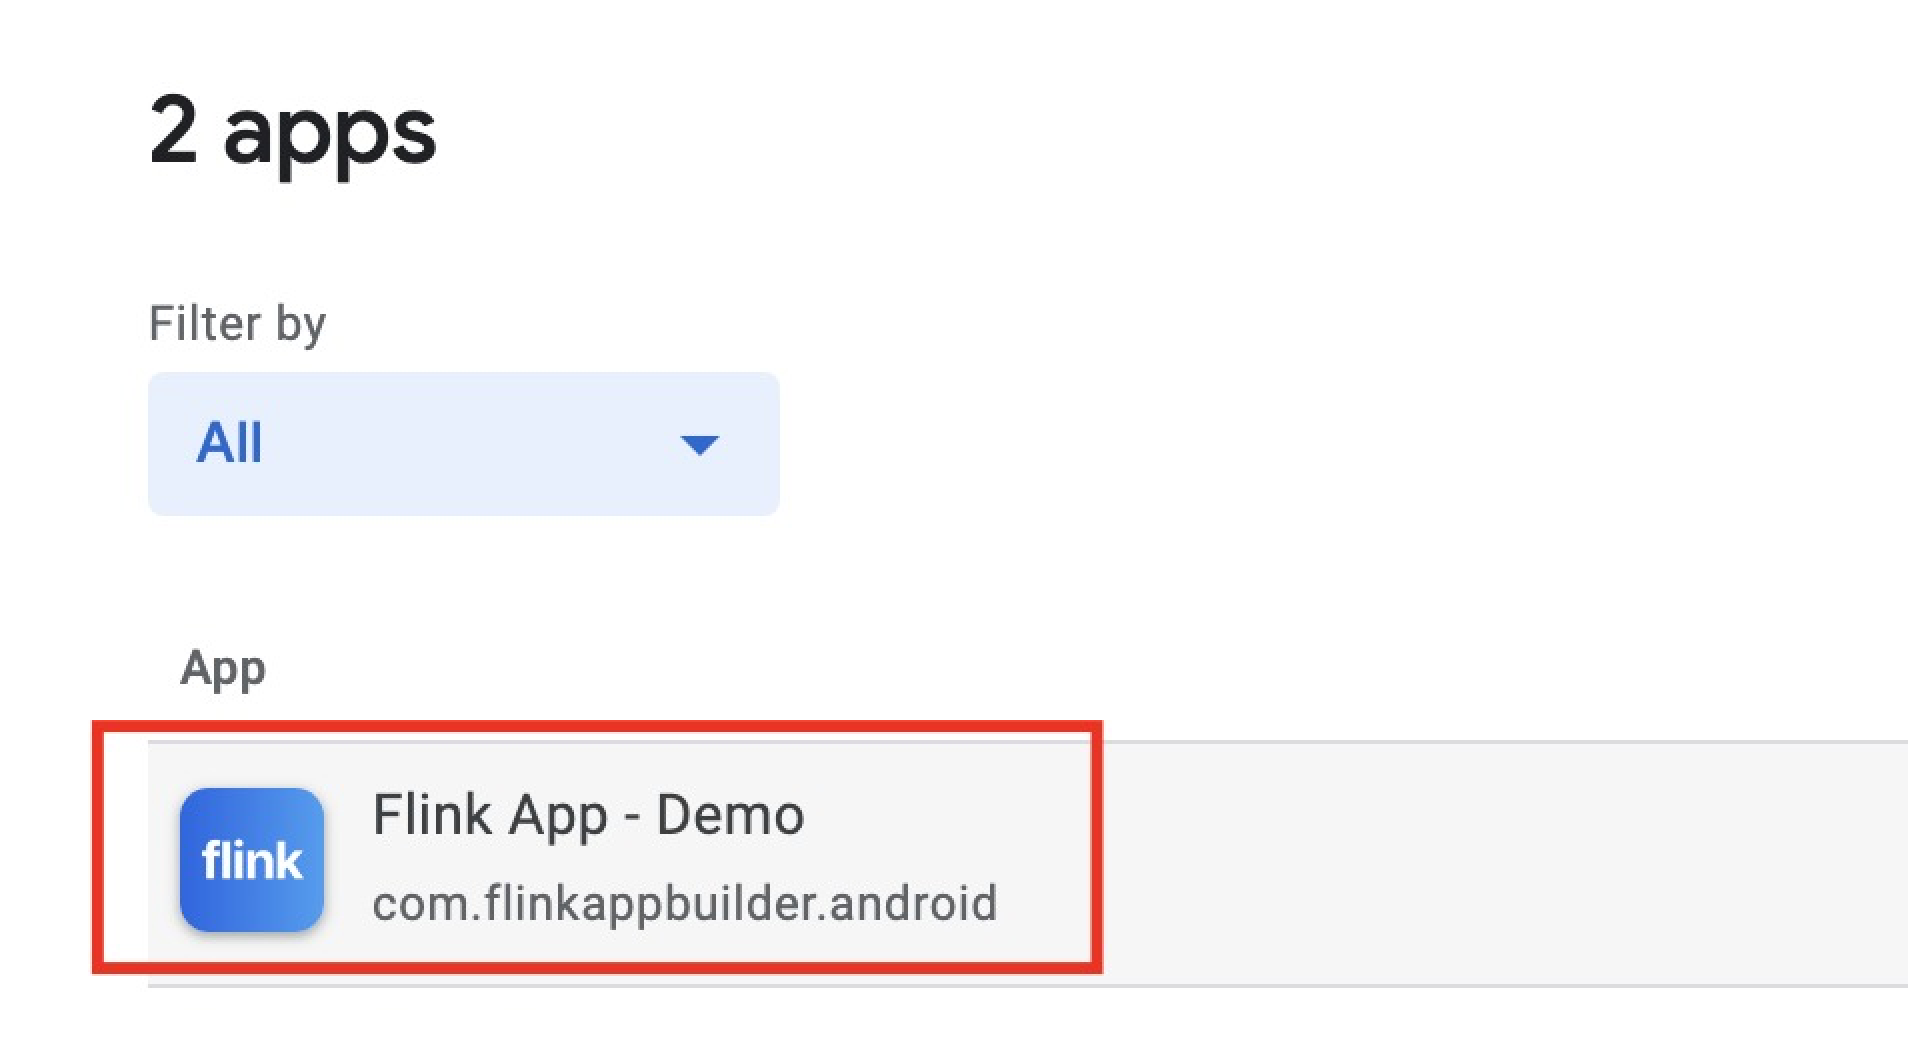
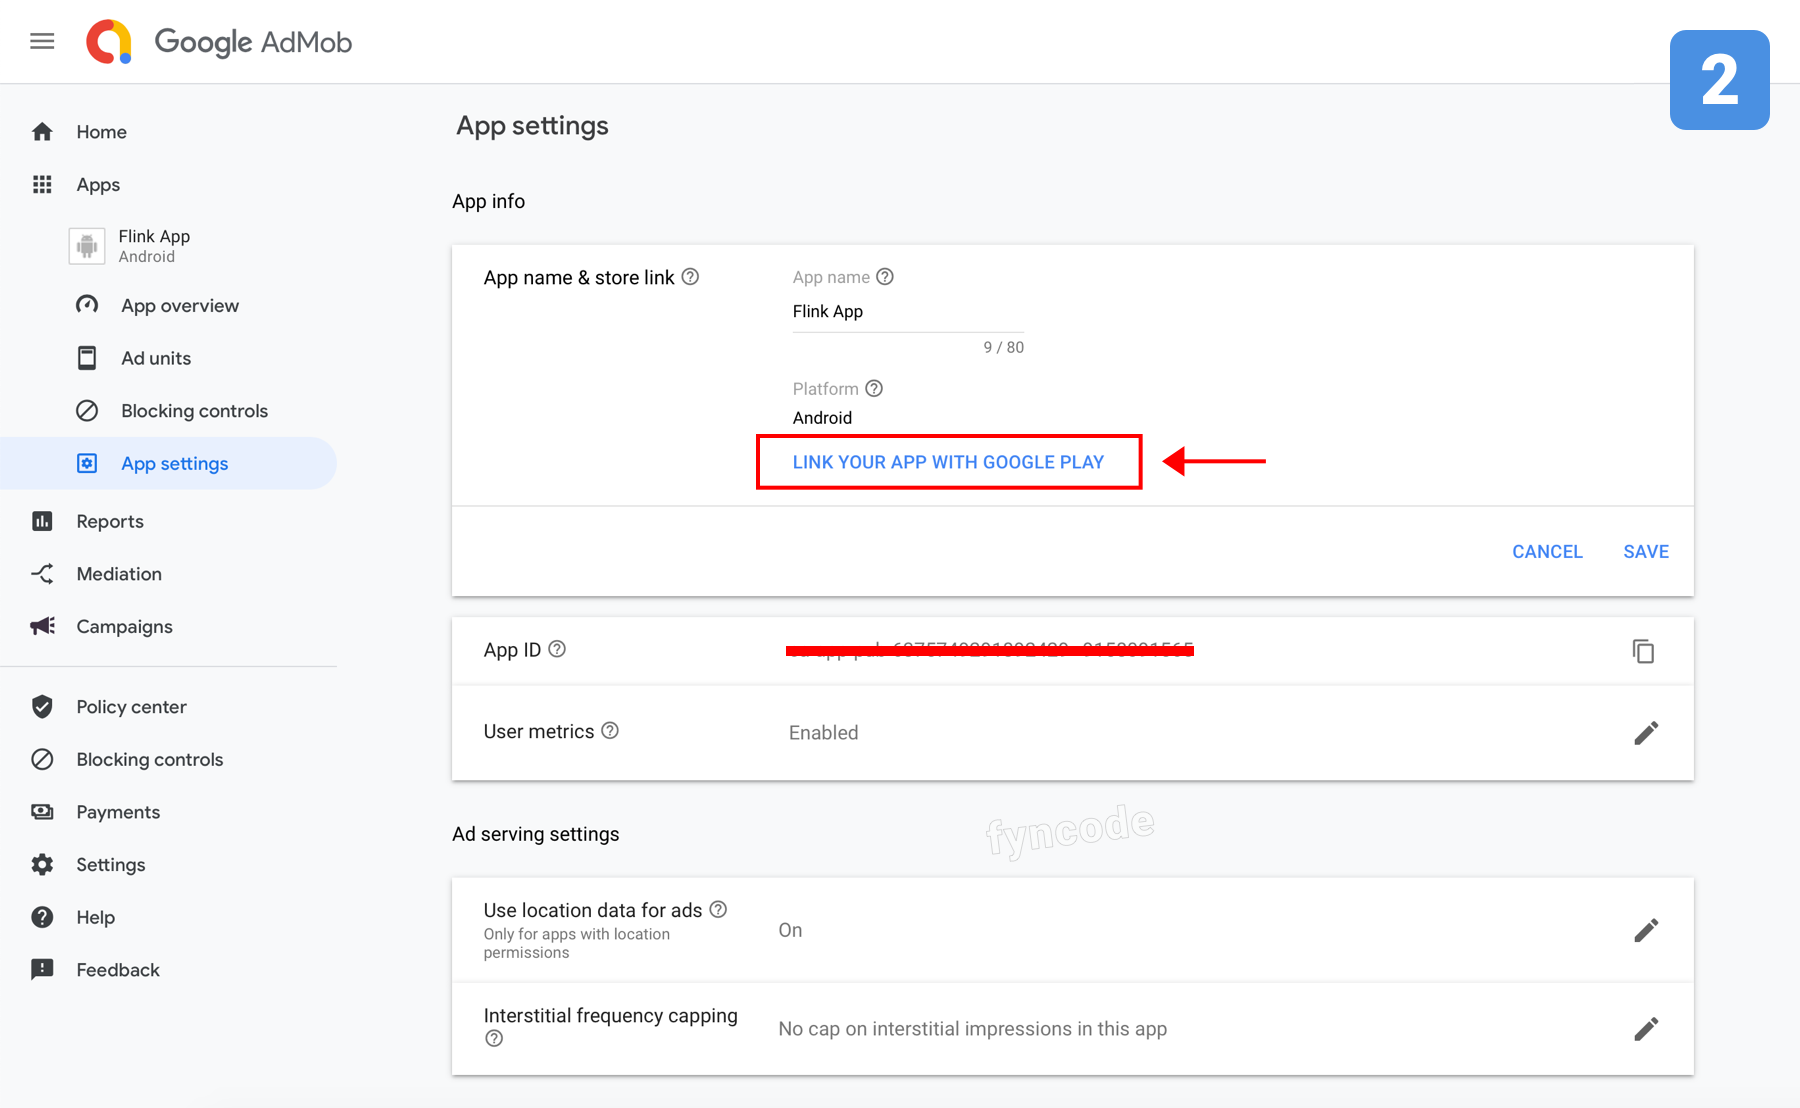 3. Search for your app’s name or package name, find your app and click “SELECT”.
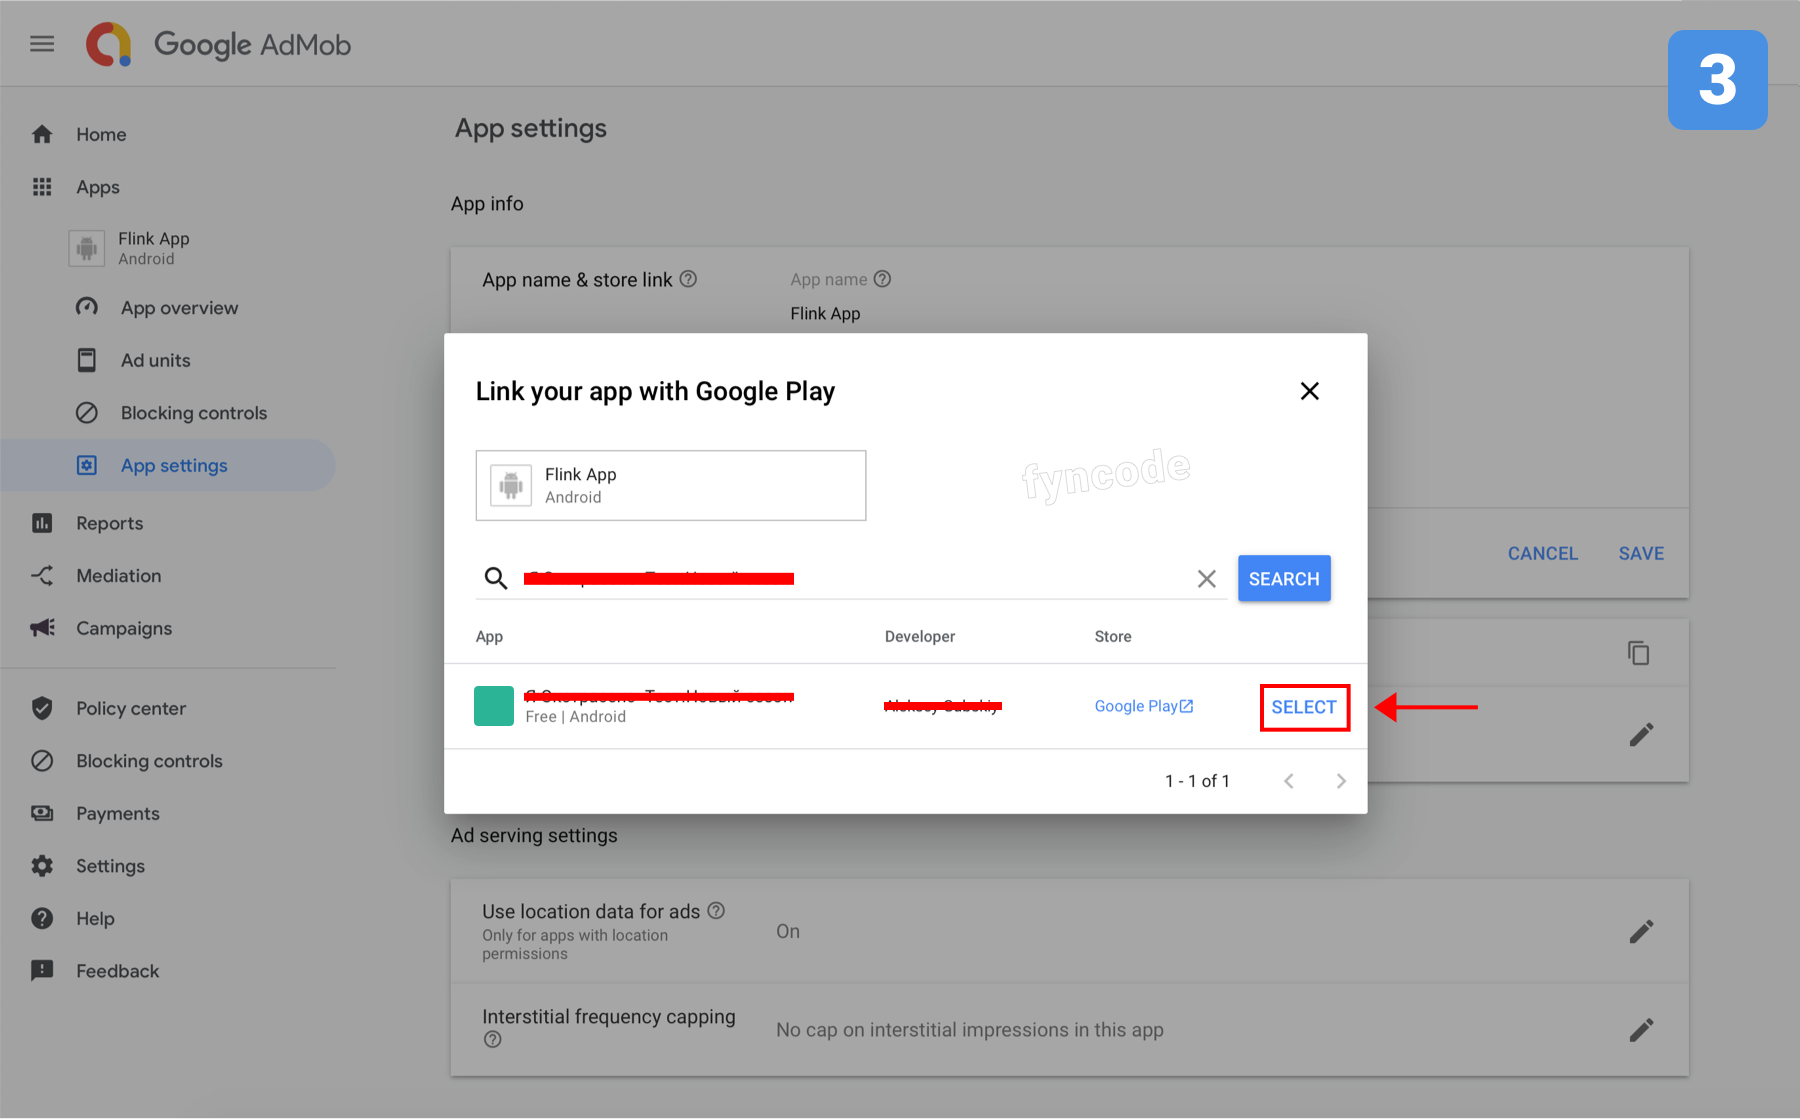 4. Complete the process by clicking “LINK APP” button.