

Plugin Installation
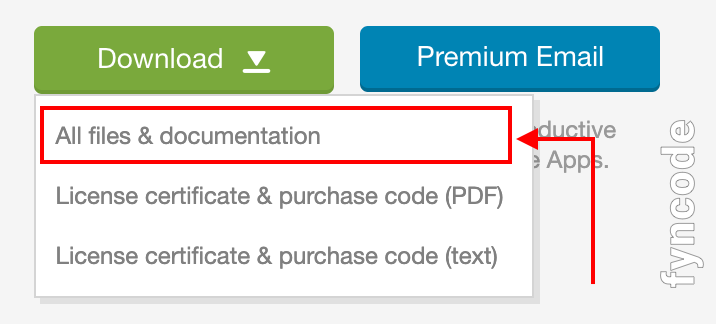
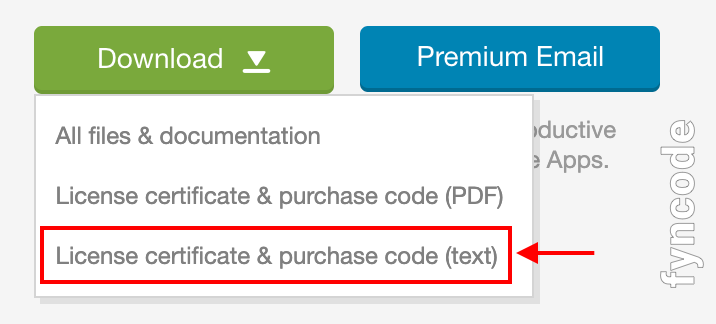
- Go to “Downloads” page on Codecanyon.net and find “Flink - WordPress App Builder” product. Click on “Download” button and then choose “All files & documentation” option to download the product files.
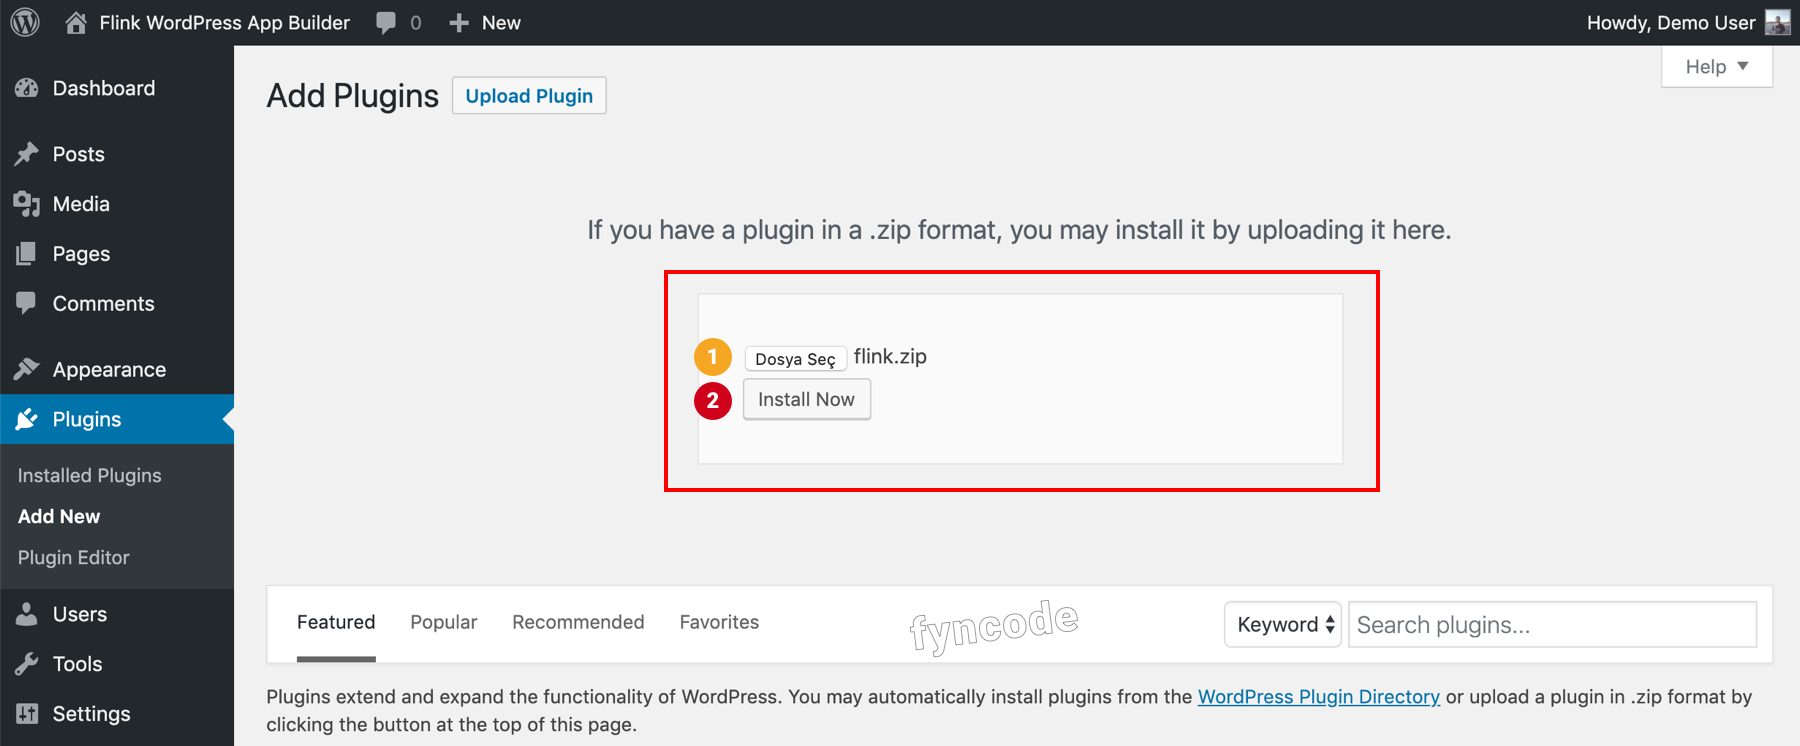
- Open the “.zip” file that you downloaded. Then, login to your Wordpress admin dashboard and go to “Plugins" >> "Add New” page. On this page, click on “Upload Plugin” button, choose the “flink.zip” file and click “Install Now” button to start the installation.
(Optional : You can also install the plugin by extracting the content of “flink.zip” file and uploading the “flink” folder to the “wp-content" >> "plugins” directory of your website via FTP connection.)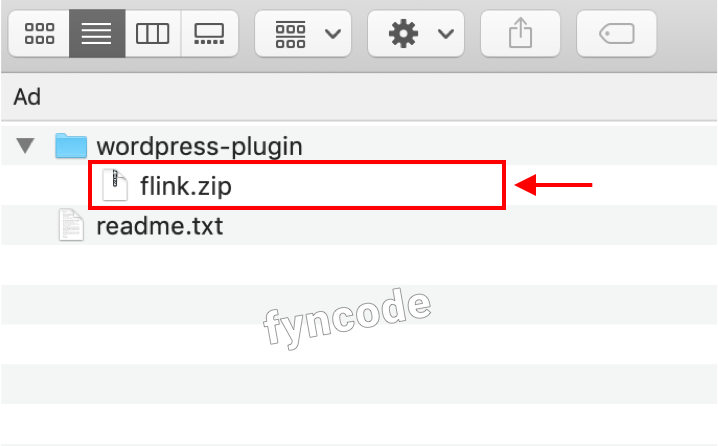
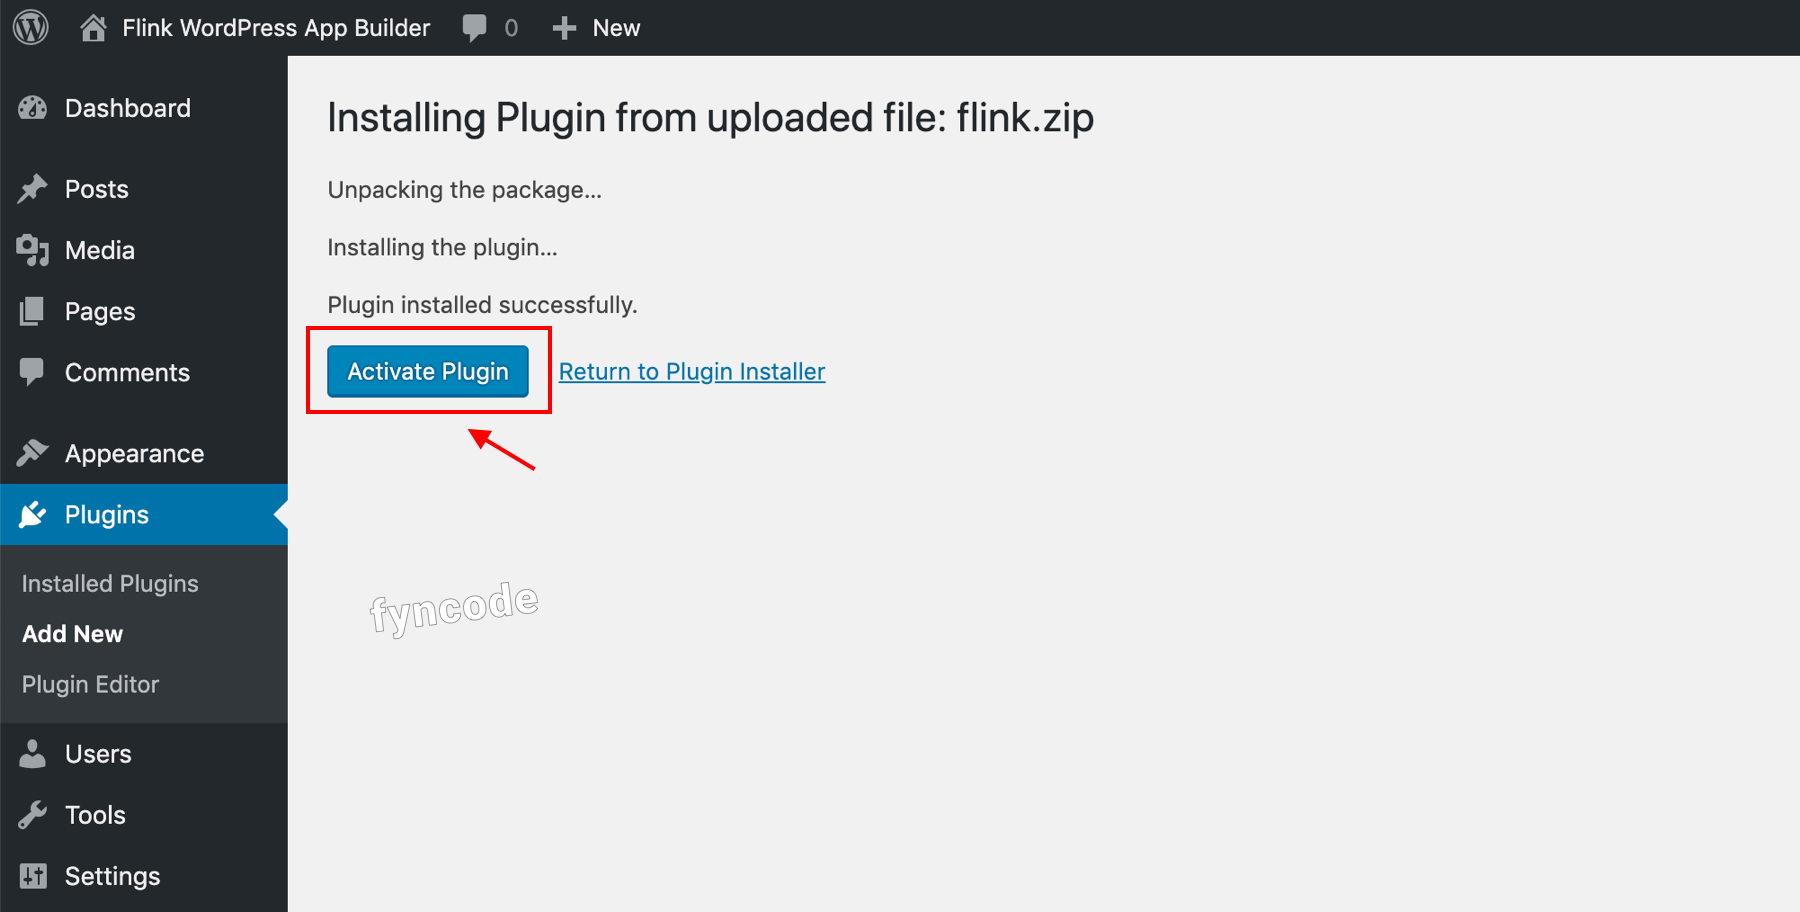
- On the page opened after the installation, click on “Activate Plugin” to activate it.
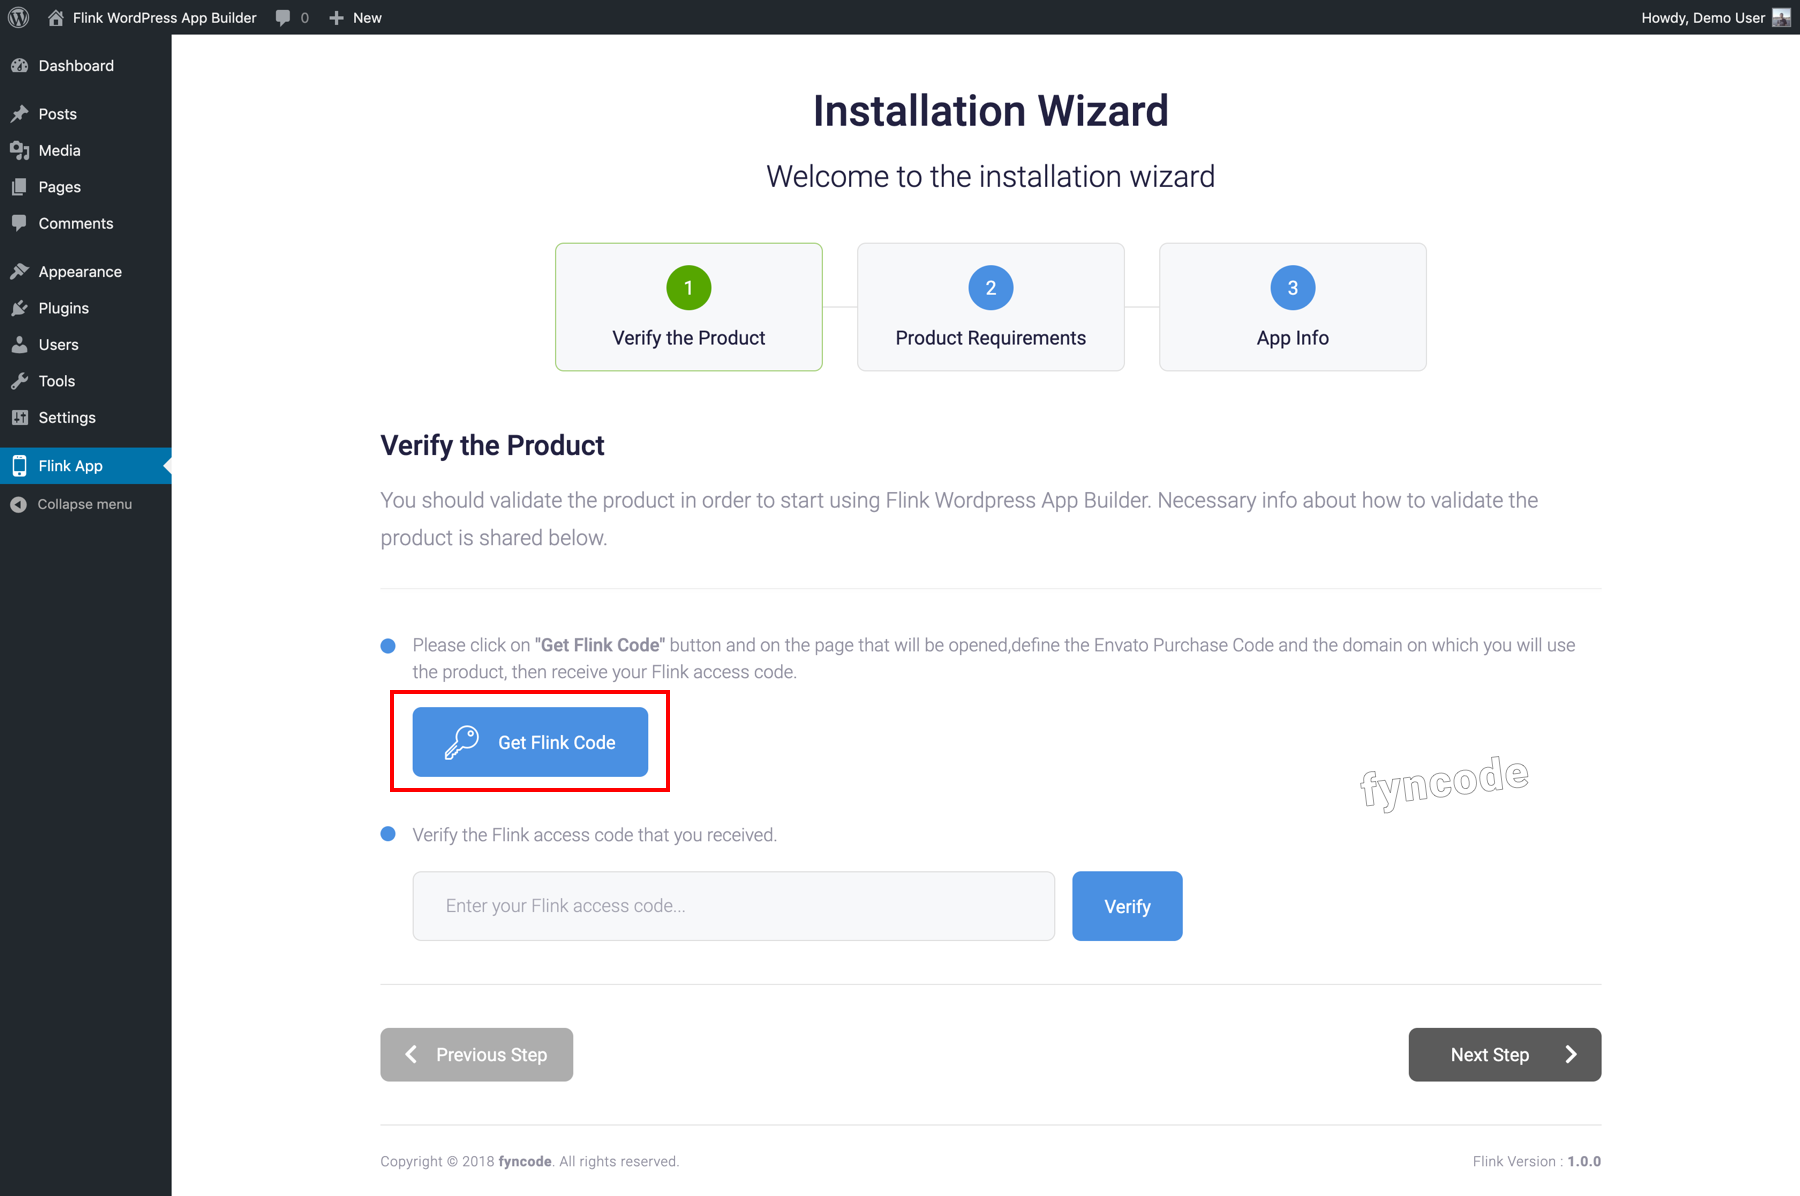
- Click on “Flink App” located in the left-side menu of your WordPress admin dashboard. Then, click on “Get Flink Code” that can be found in the first page of the installation.
- On the opened “Fyncode” page, click “Login with Envato Account” button.

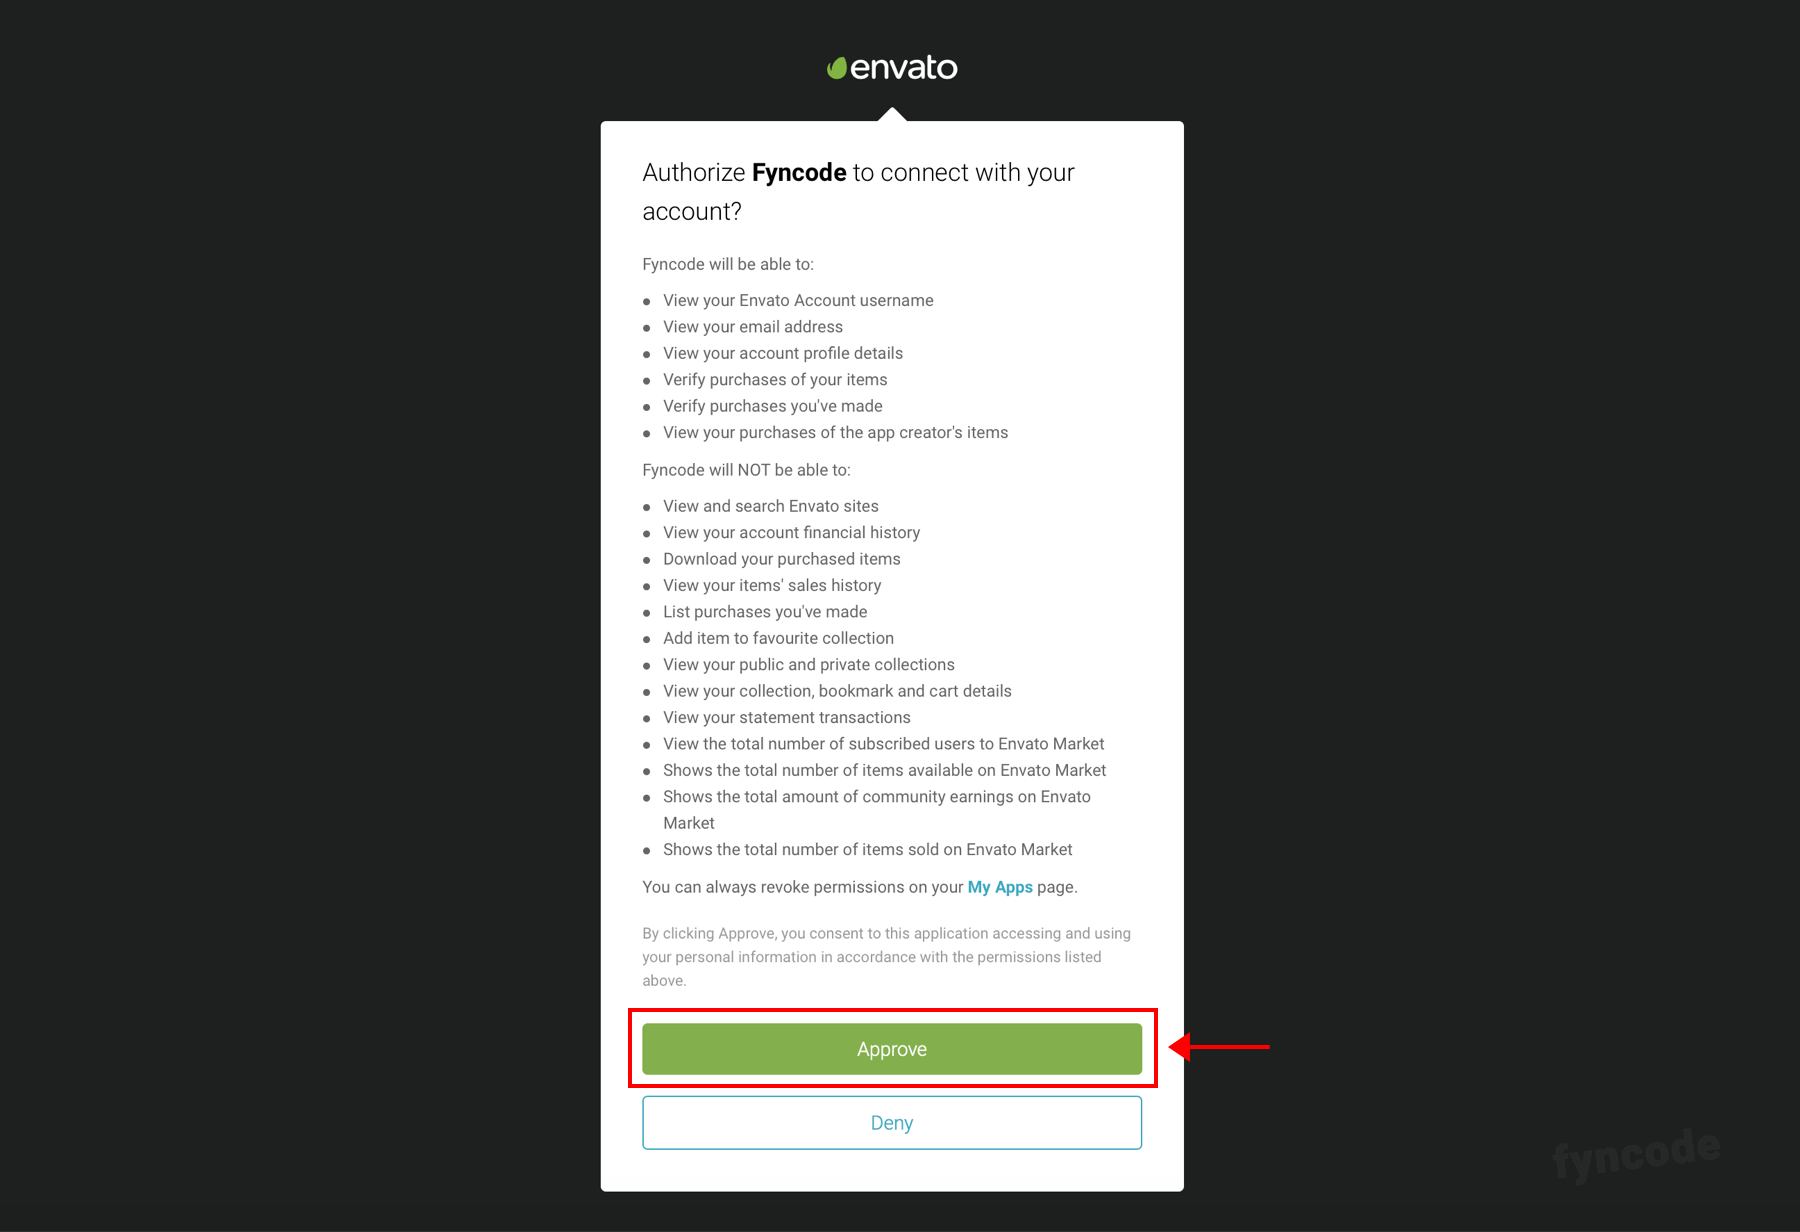
- For the access with “Envato API”, click “Approve” button.
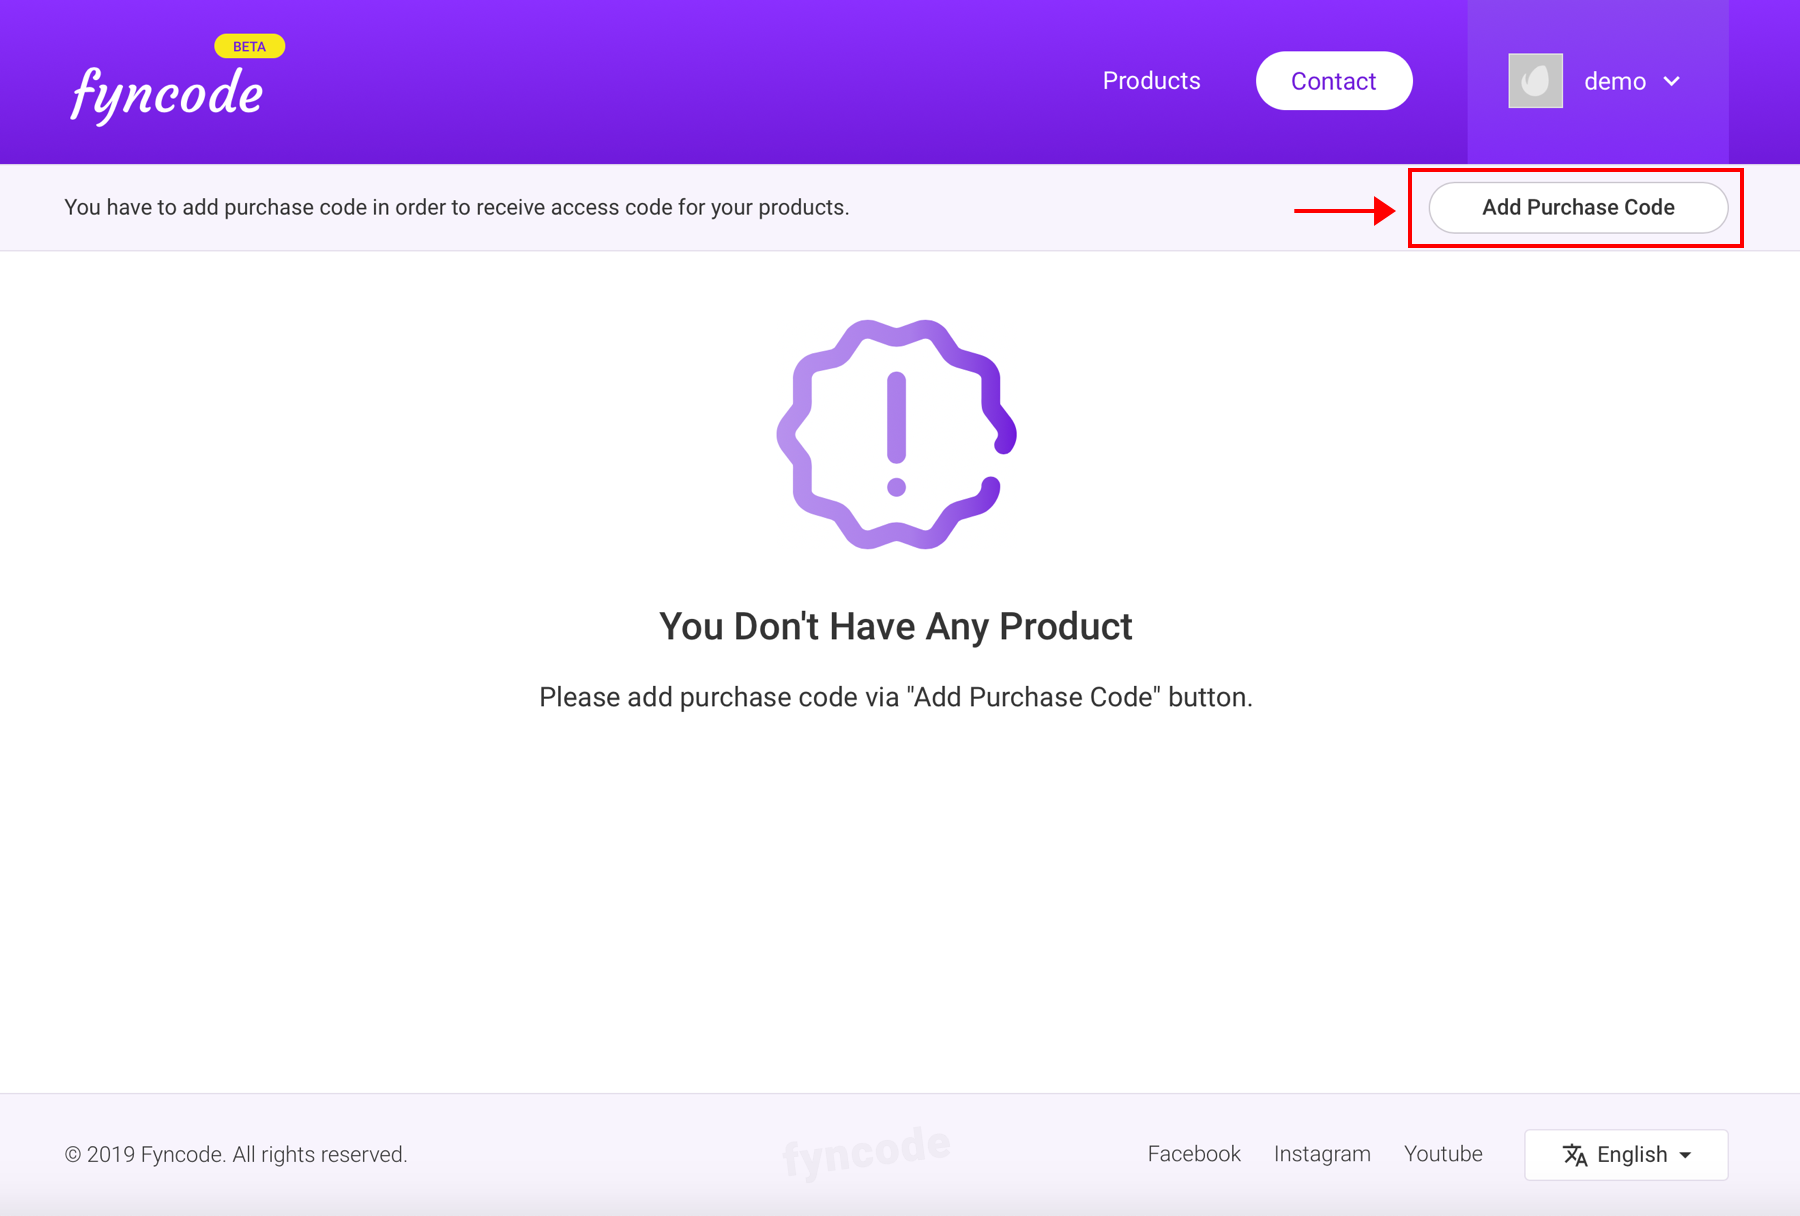
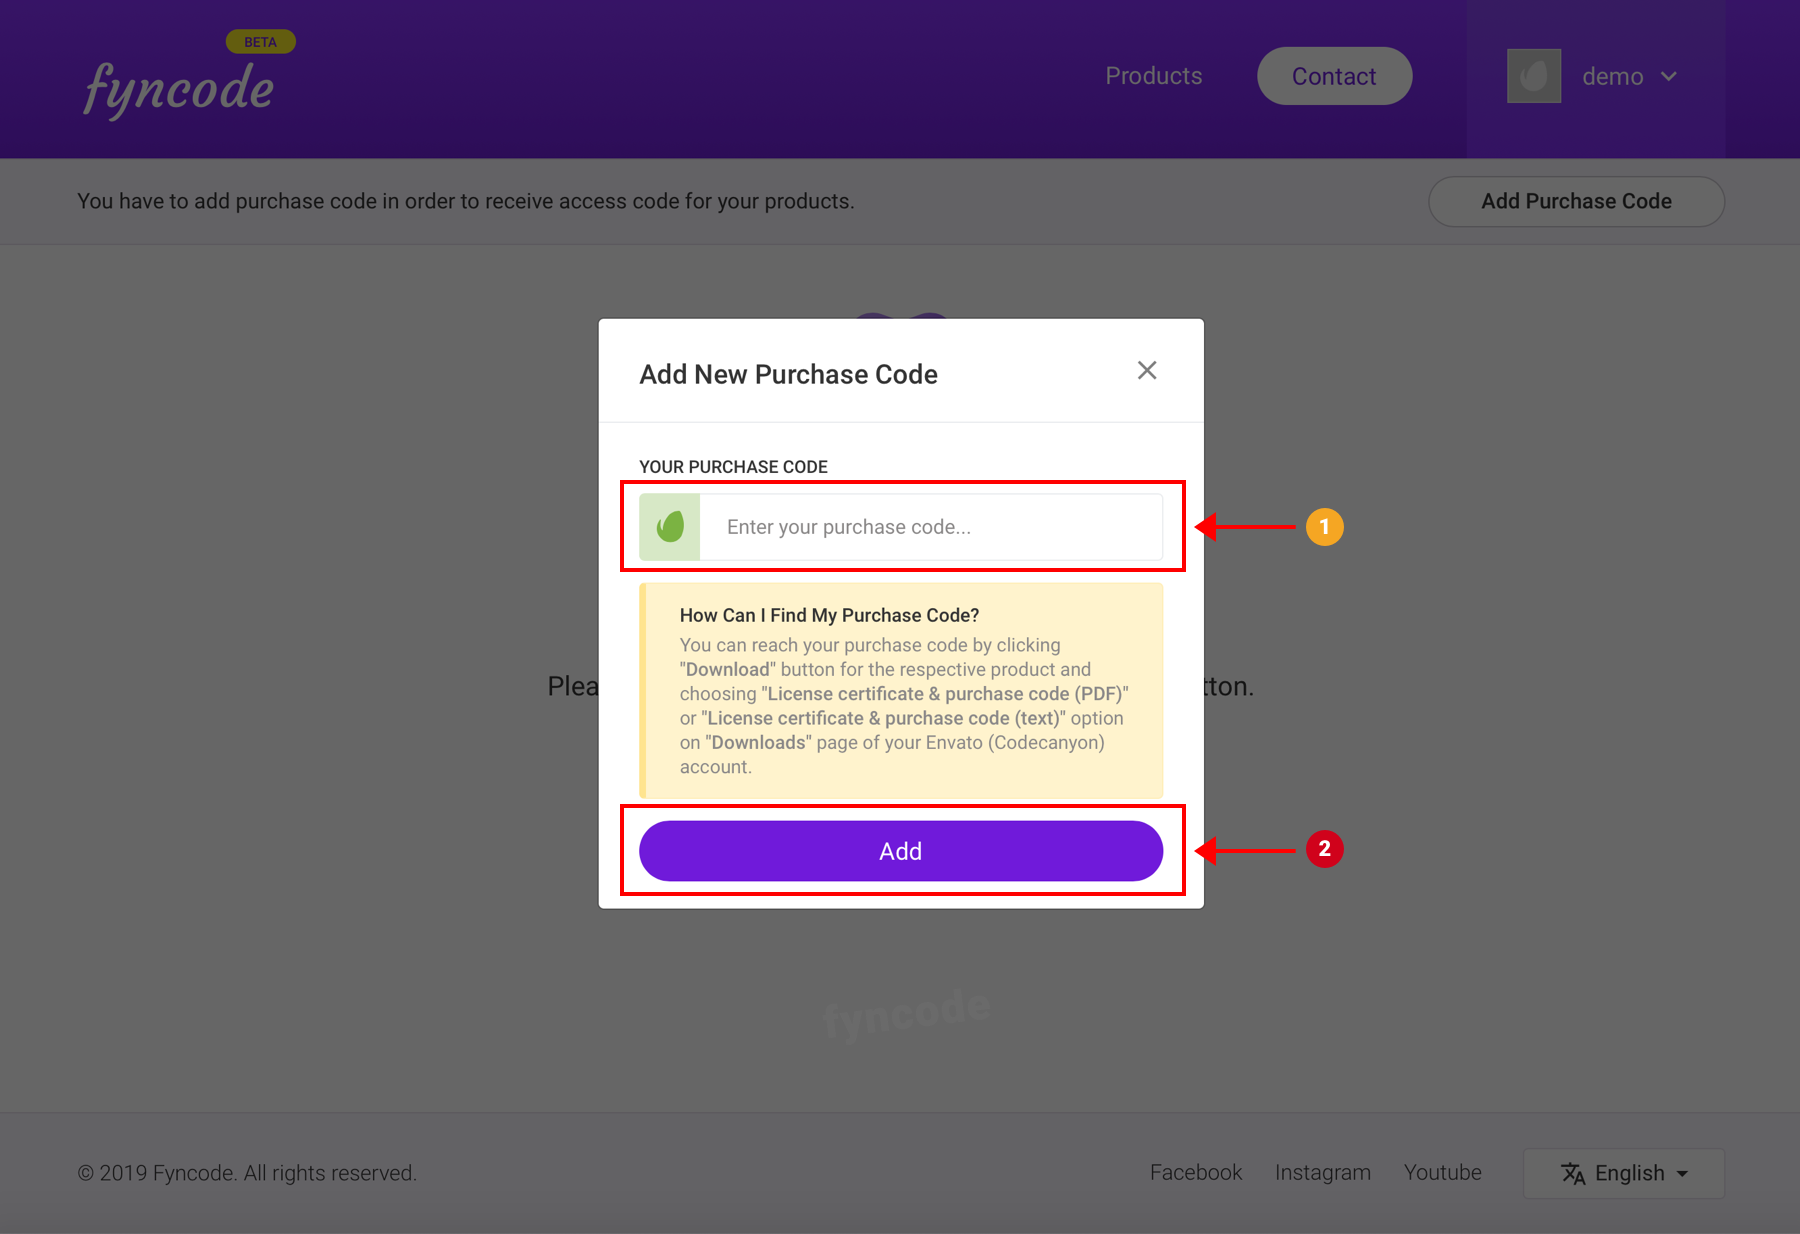
- Click “Add Purchase Code” button.
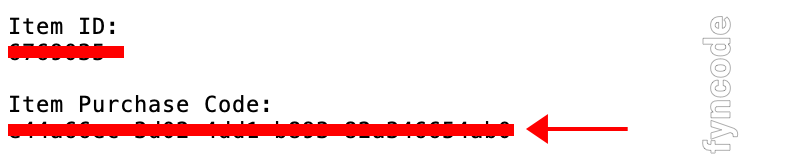
- Go to “Downloads” page on Codecanyon.net and find “Flink - Wordpress App Builder” product. Click on “Download” button and then download your license file by clicking “License certificate & purchase code (text)” option. Copy the “Item Purchase Code” that can be found in the file you just downloaded, enter it to the related field and then click “Add” button.
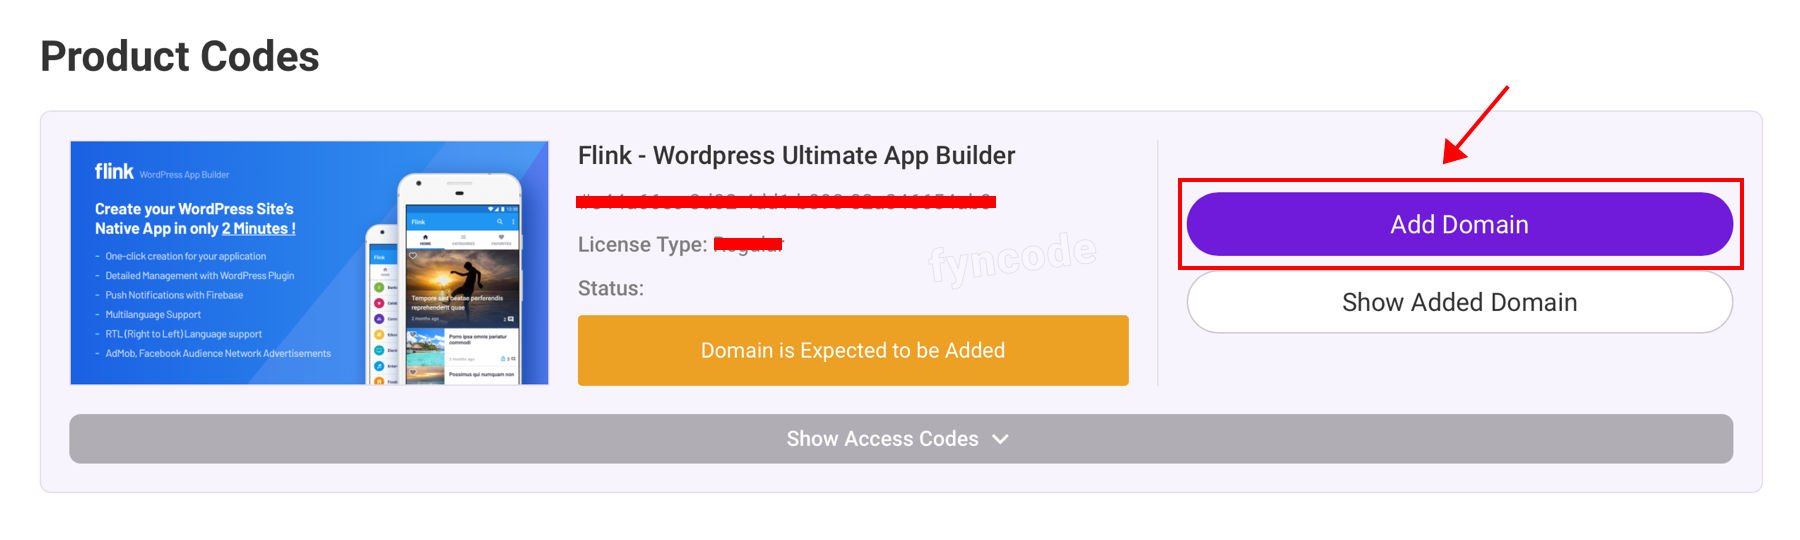
- From the “Flink - Wordpress App Builder” section, click “Add Domain” button.
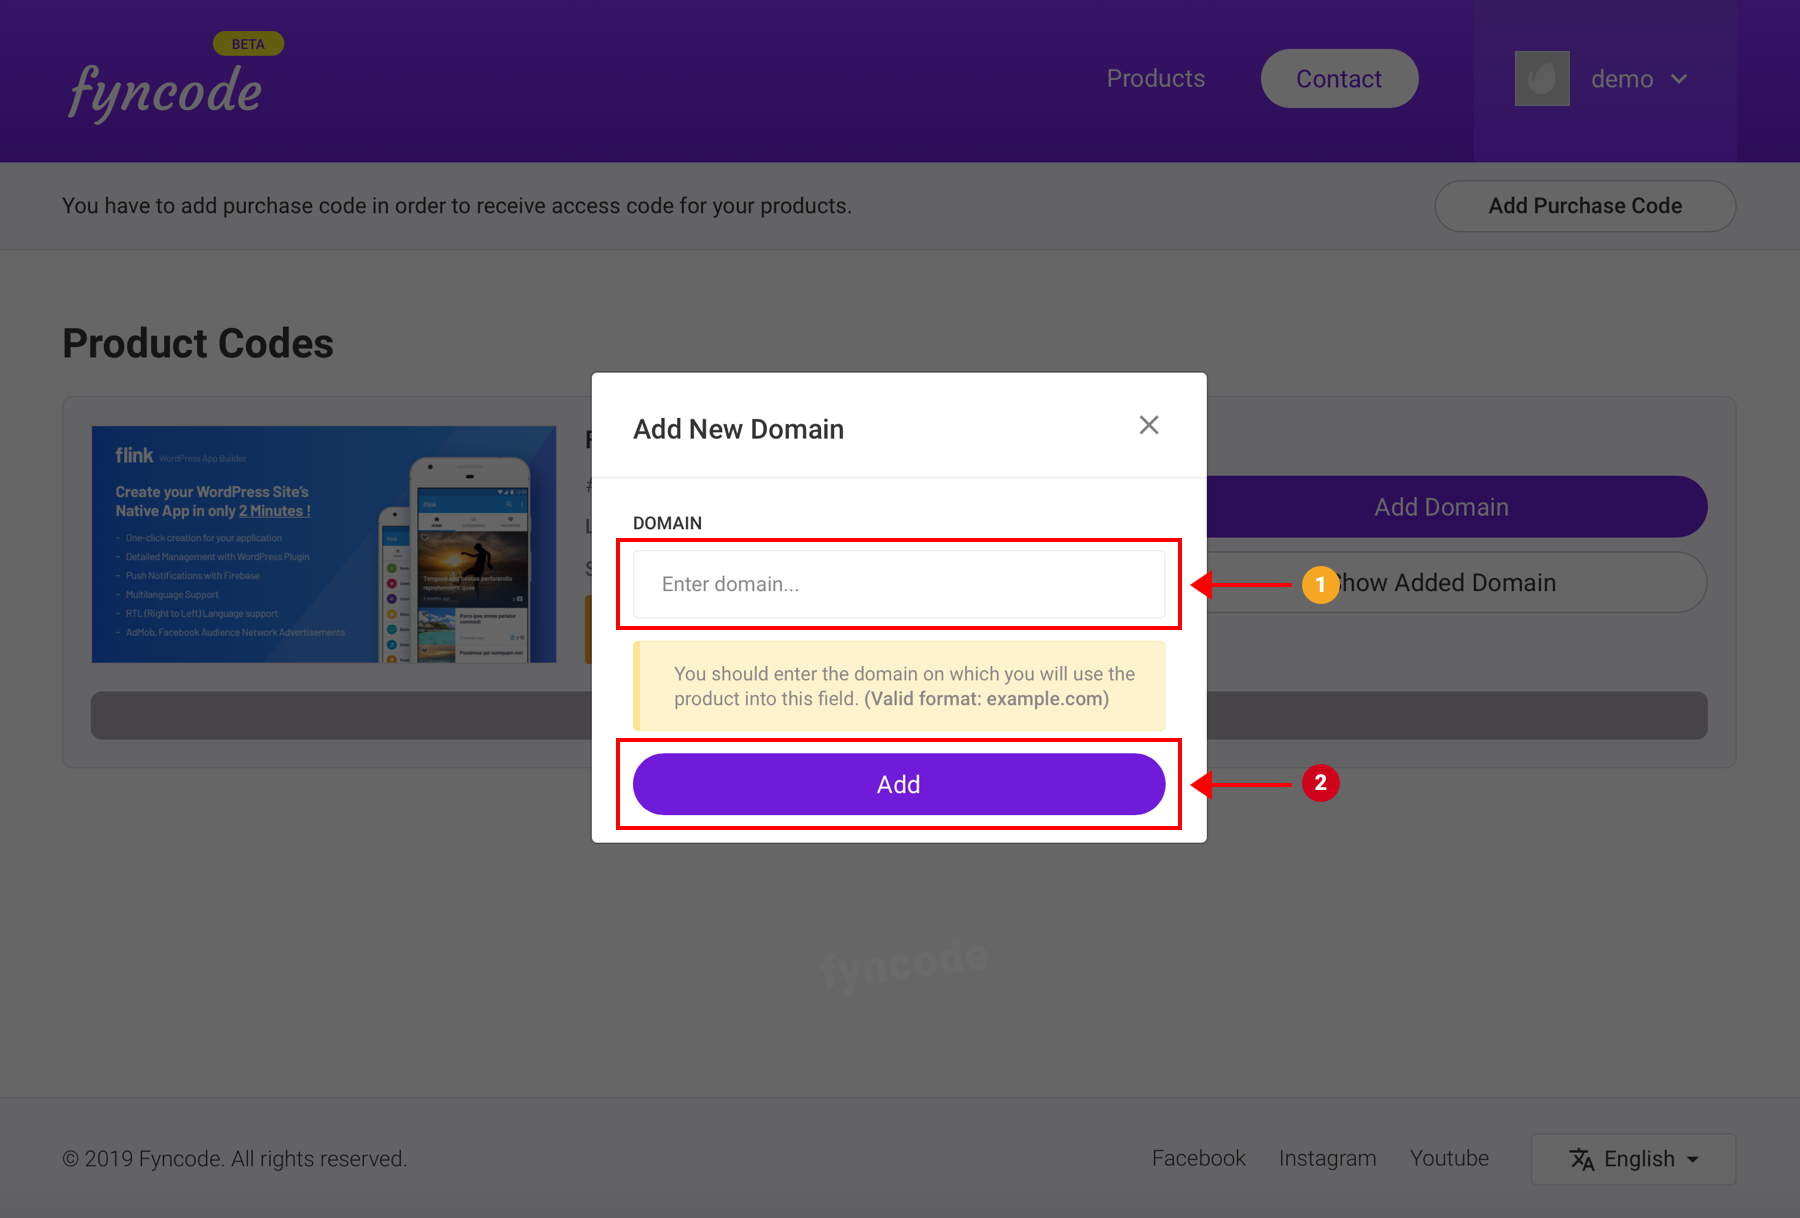
- To the “Enter domain” field, enter the domain of your website in which you want to use Flink - Wordpress App Builder and click “Add”. (Example: yourwebsite.com)
- Click “Show Access Codes”. Then, you will see the access code that belongs to your domain, copy it.


- Go back to the installation page. Copy the access code that you got from the previous step into the “Enter your Flink access code...” field and click “Verify”.
When you see the green-colored “The access code you provided is valid.” notification, you can click “Next Step” button and proceed with the next step.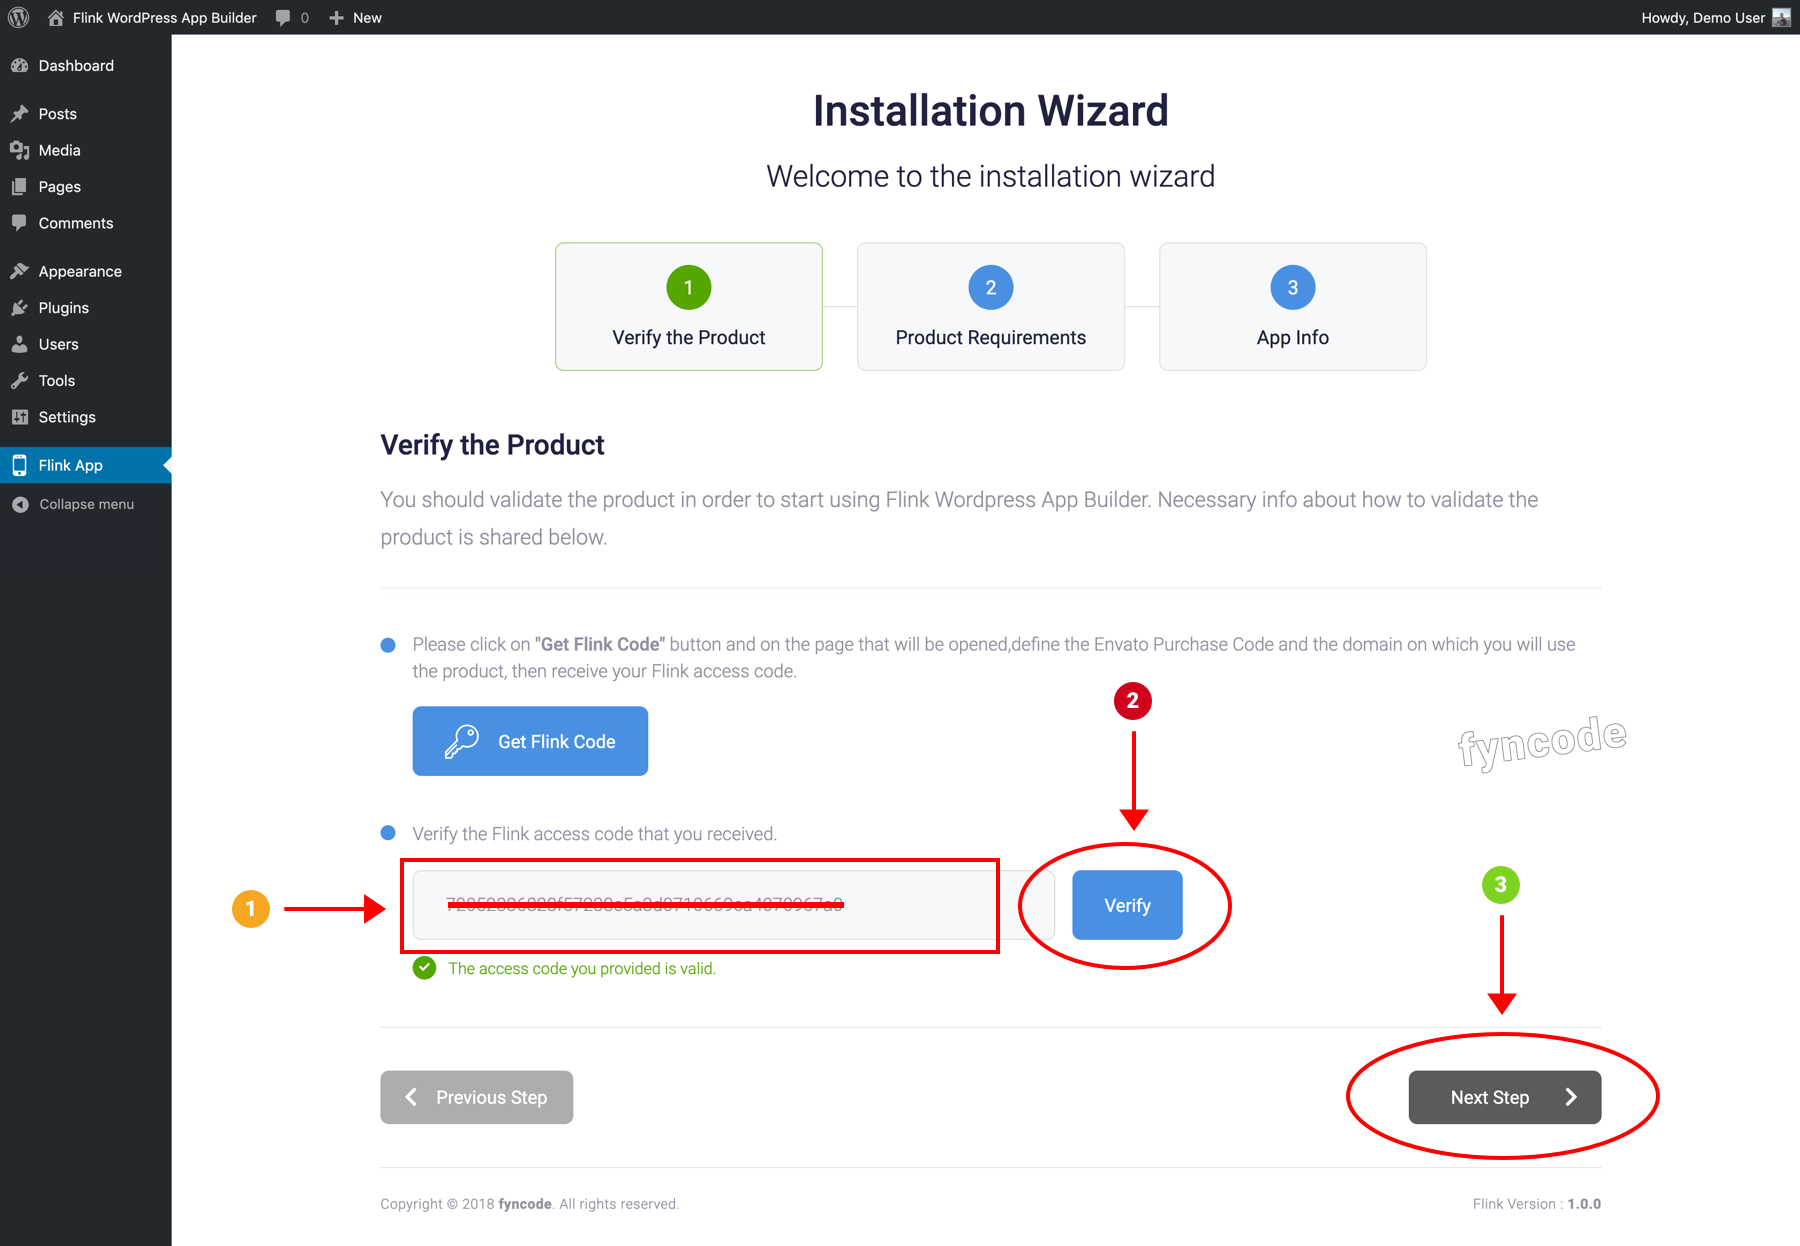
- If all requirements are met by your server (if green tick can be seen next to each requirement line), then you can proceed by clicking “Next Step” button.
If there is any requirement that can’t be met, you cannot proceed with the installation in order not to experience a problem with your plugin. In such a case, you can contact your hosting provider and request information.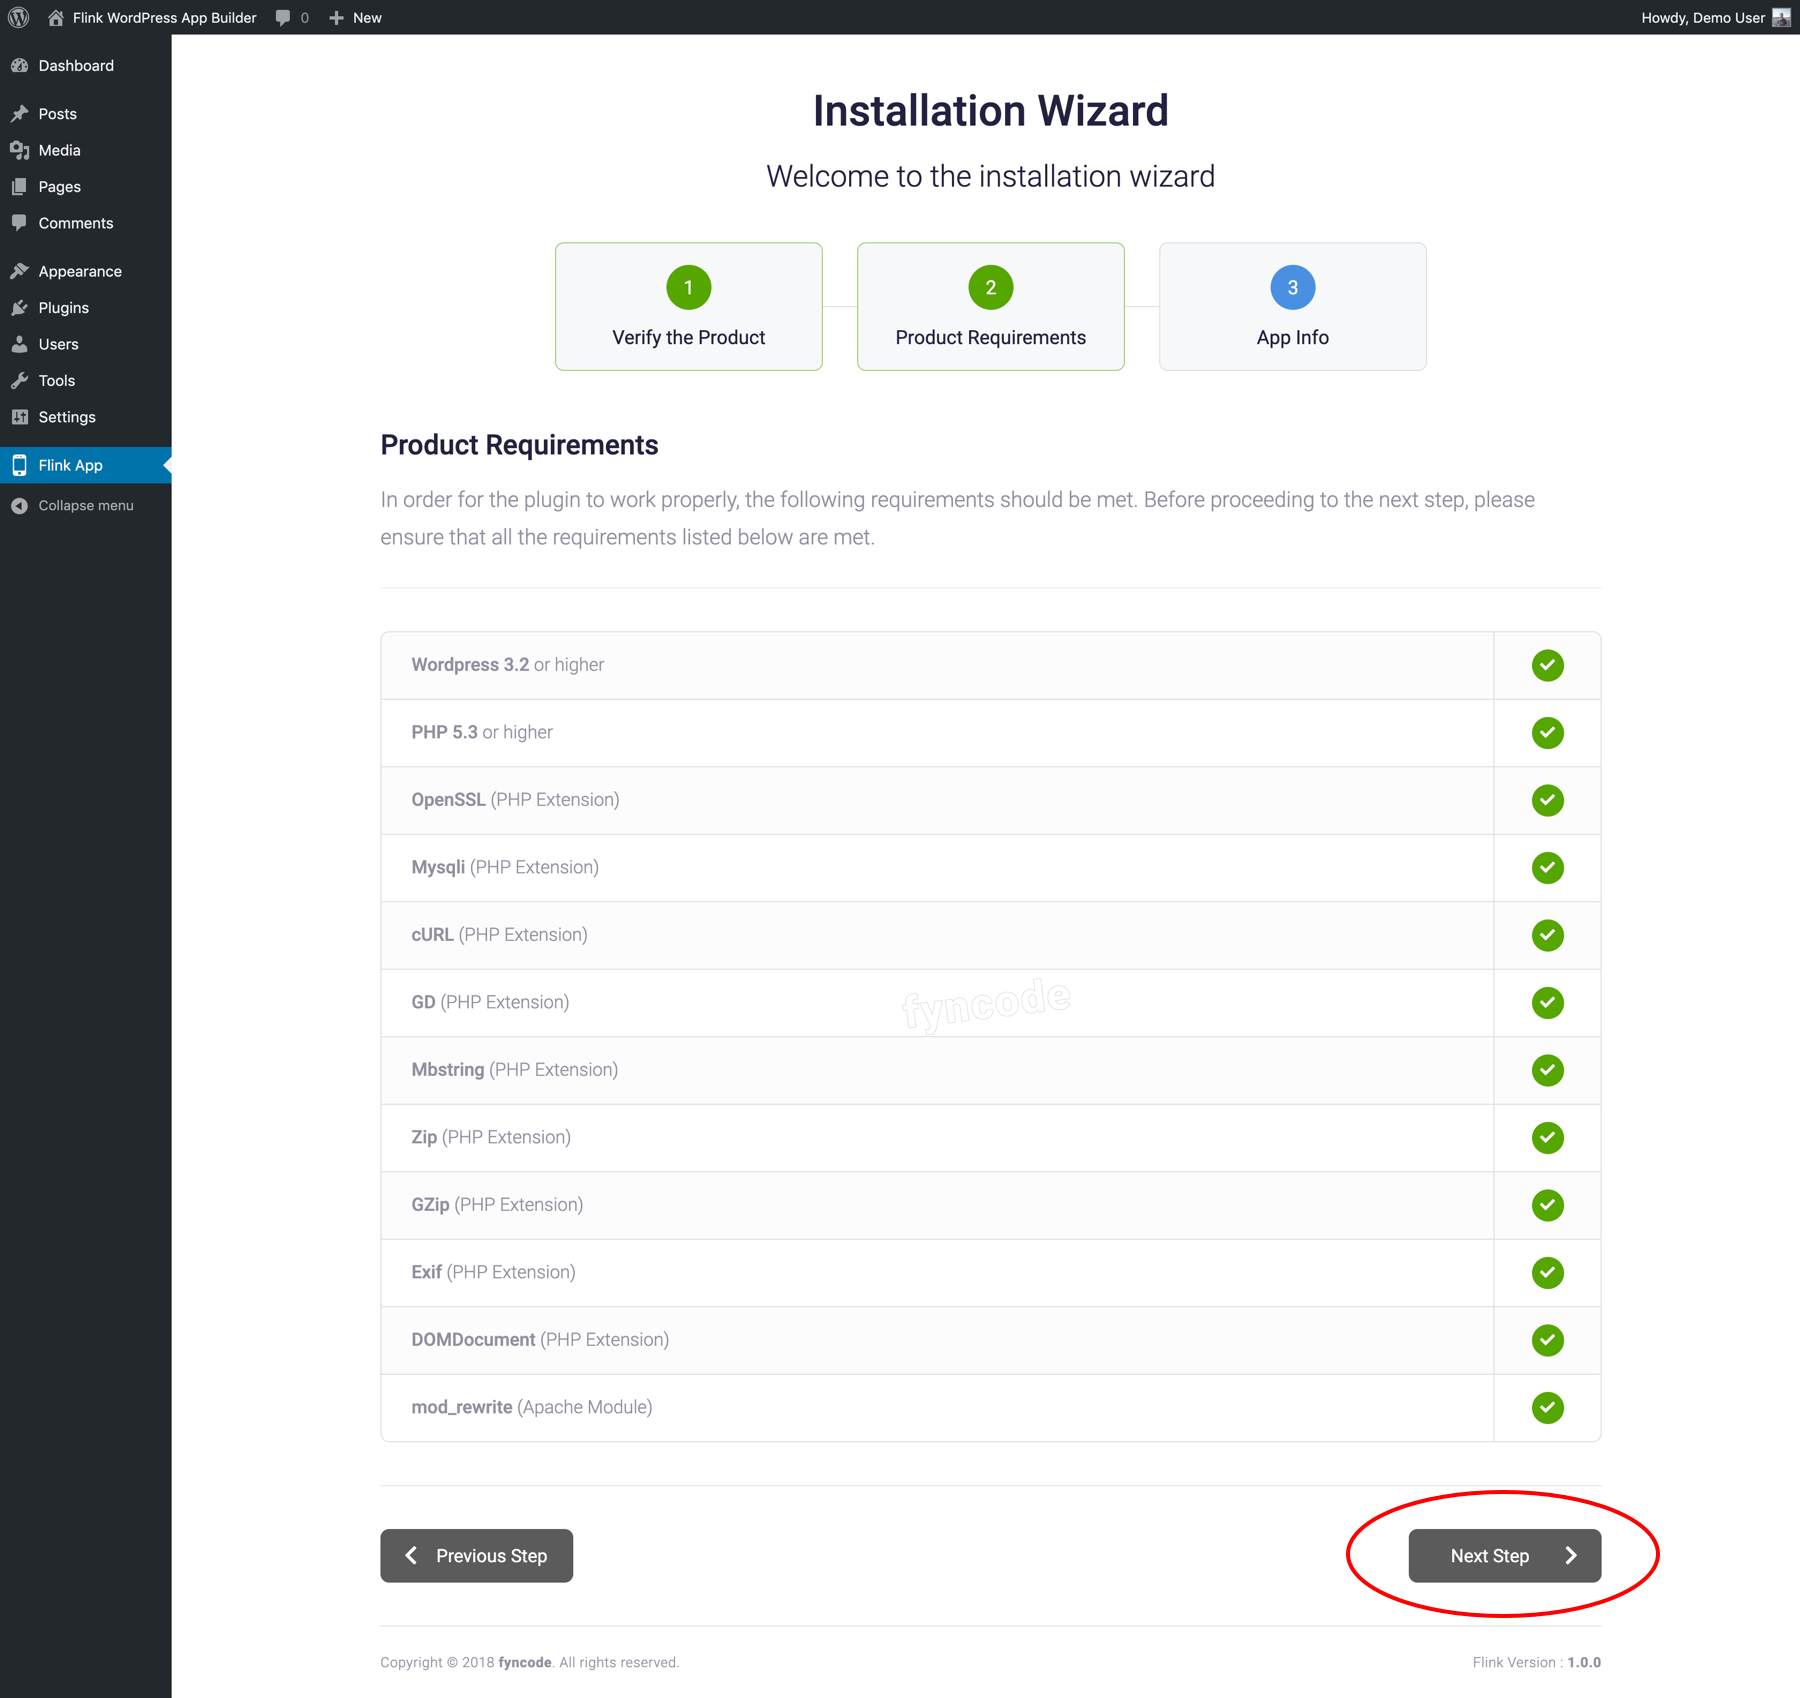
- Complete all information regarding your app and complete the installation by clicking “Complete” button.
(Please note the value in “App Package Name” field down. You will need this value later.)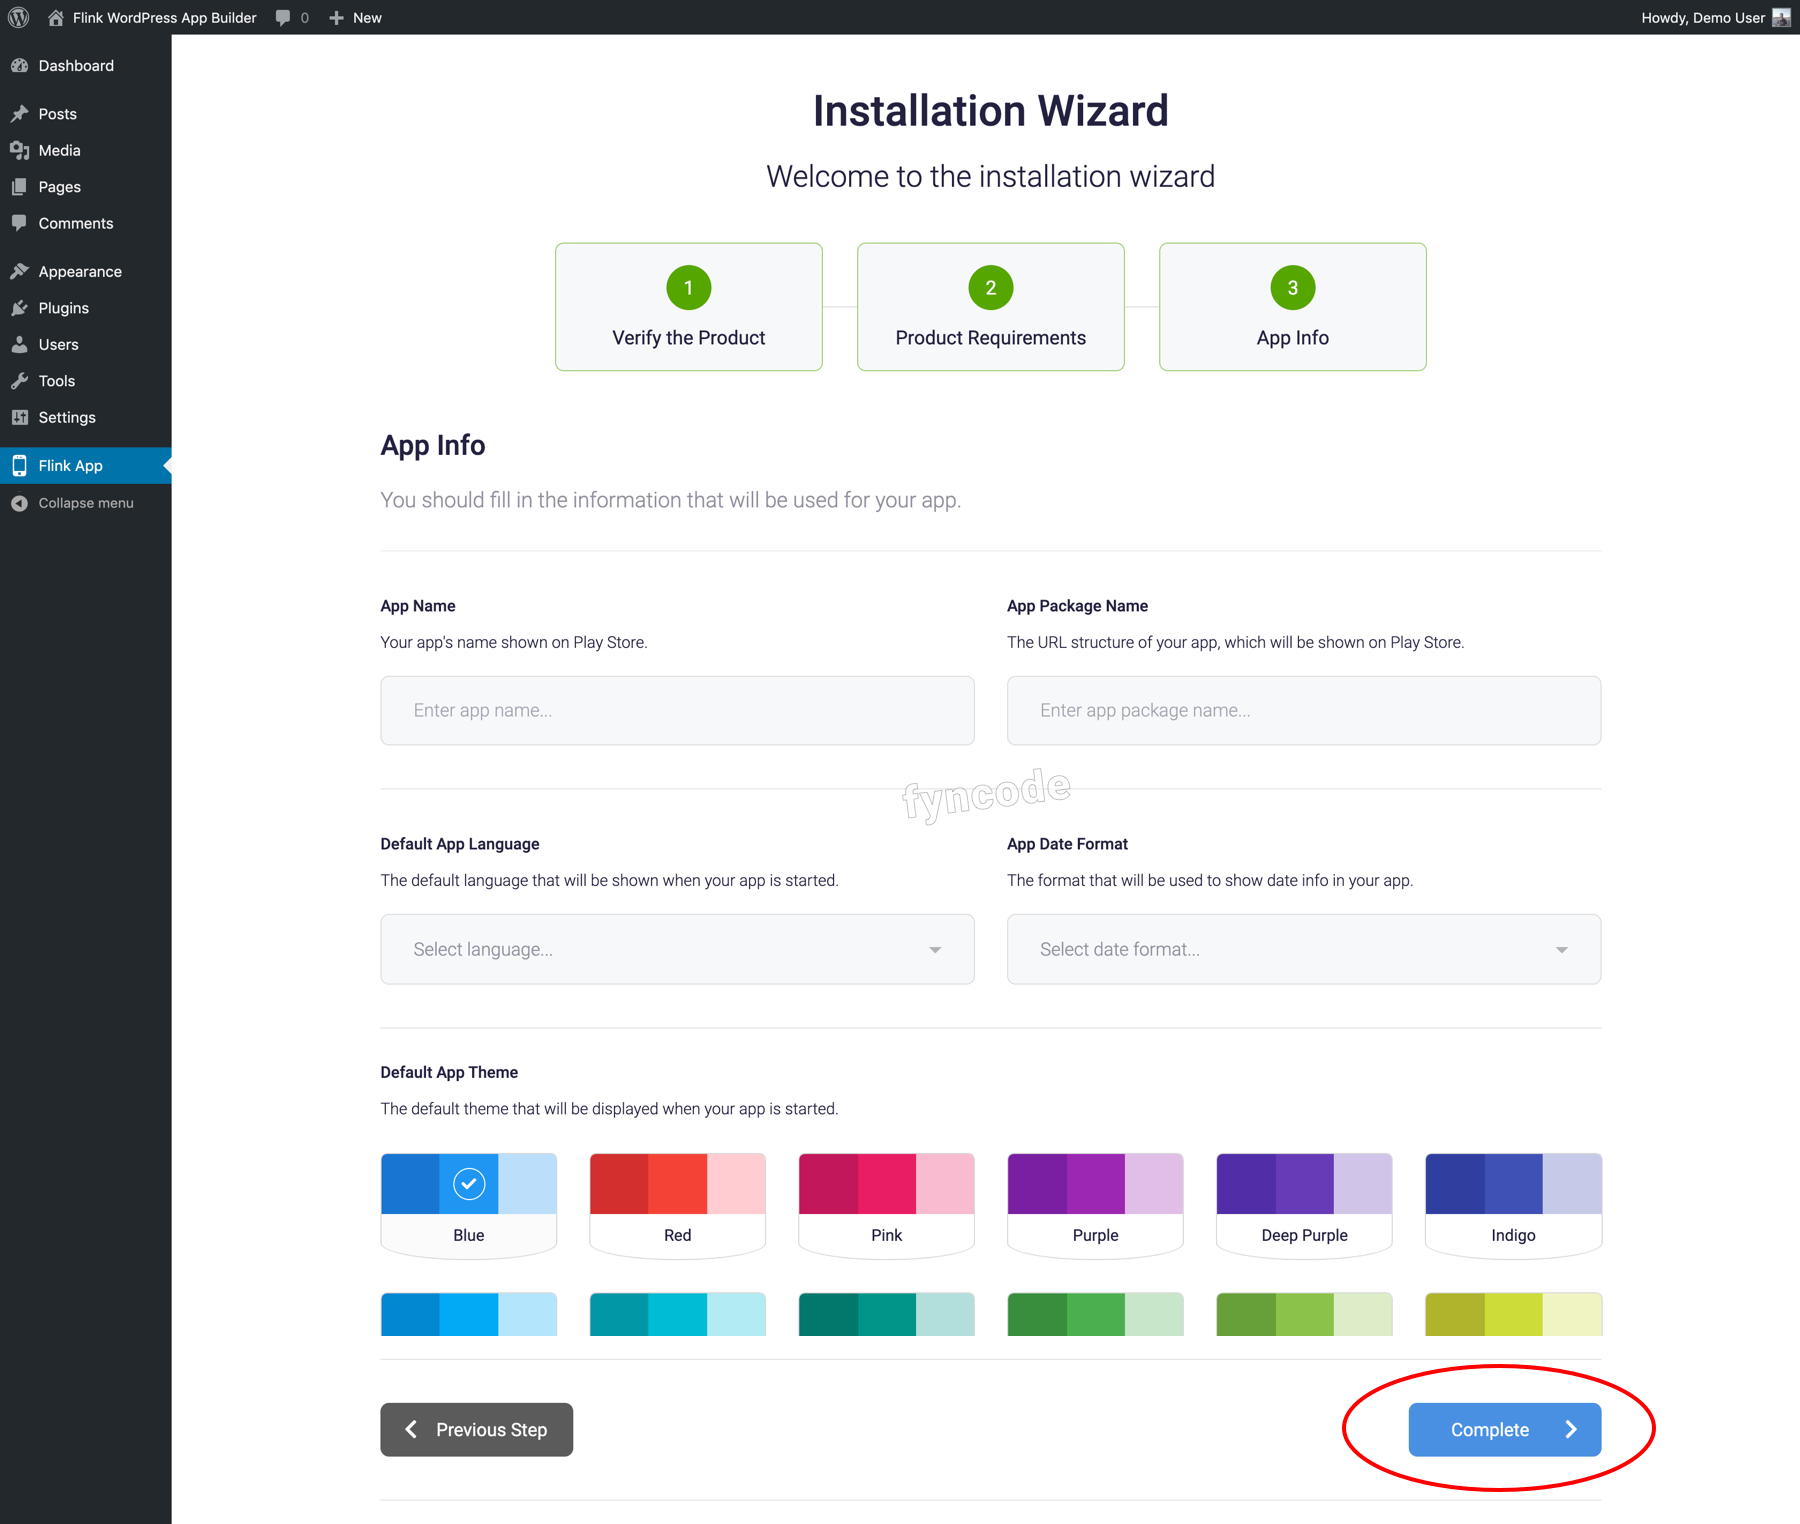
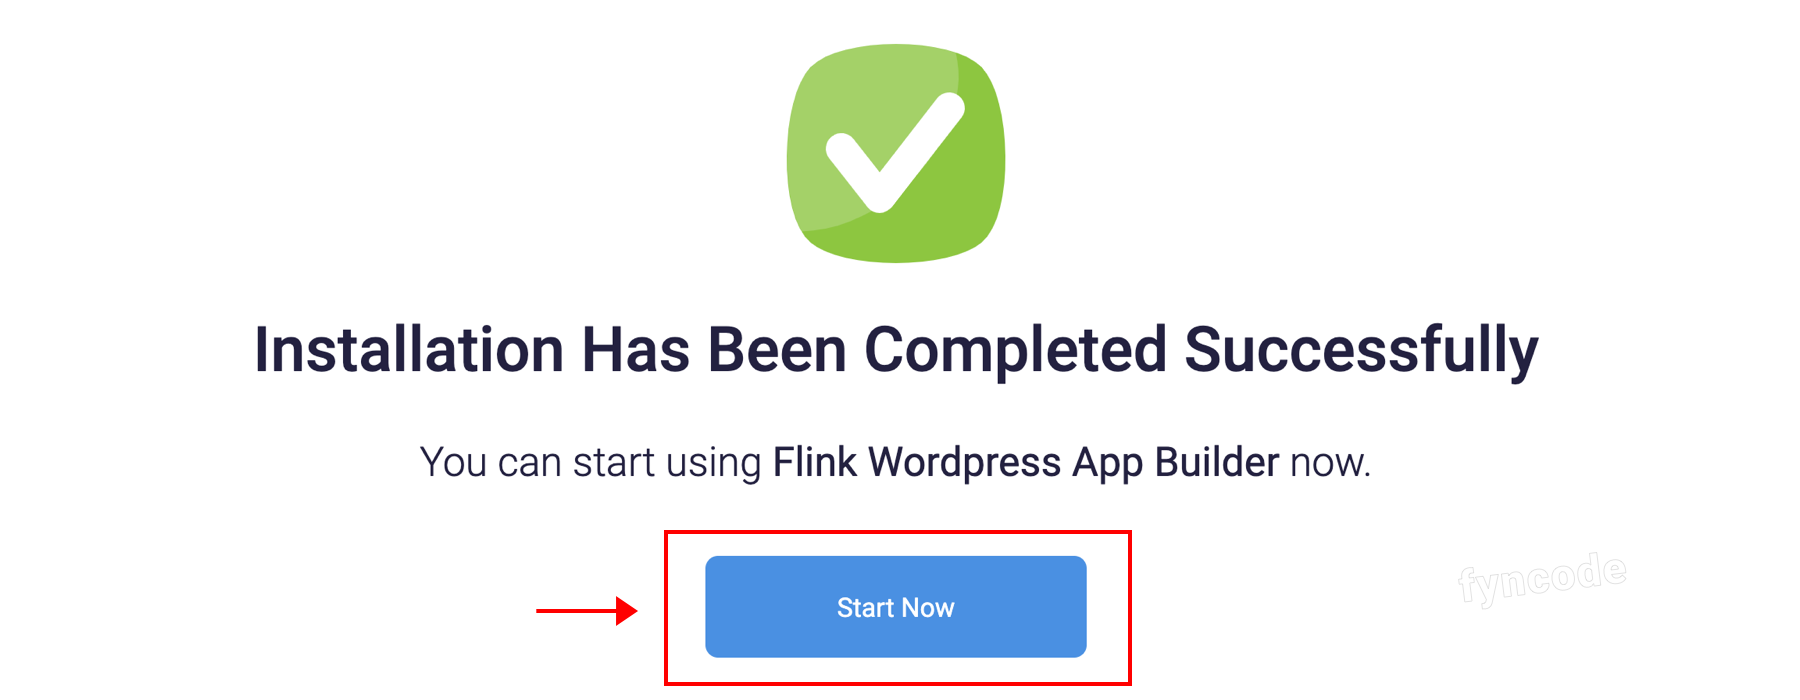
- Finish the installation process by clicking “Start Now” button. Now, you are ready to use Flink - Wordpress App Builder!
|
← Previous Section | Next Section → |
| Overview | Step 2 - Creating Firebase Project |