

AdMob is an advertisement service by Google that provides the chance for mobile app developers to earn money.
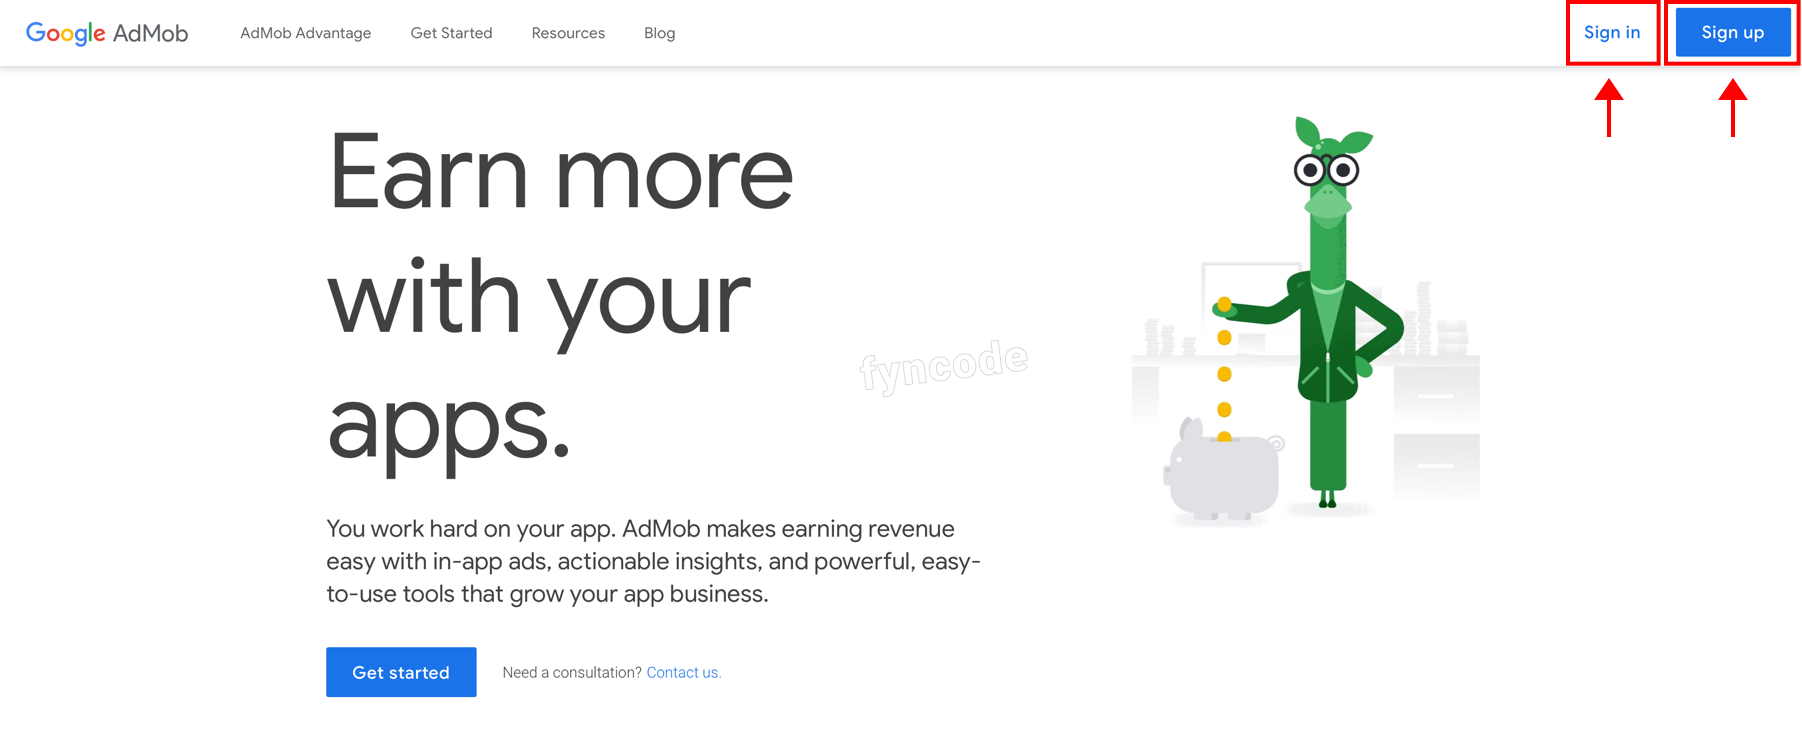
- Go to https://admob.google.com/home/?hl=en. If you have a Google account, click “Sign in” button located on top of the page and login. If you don’t have a Google account, click “Sign up” to register first and then login.
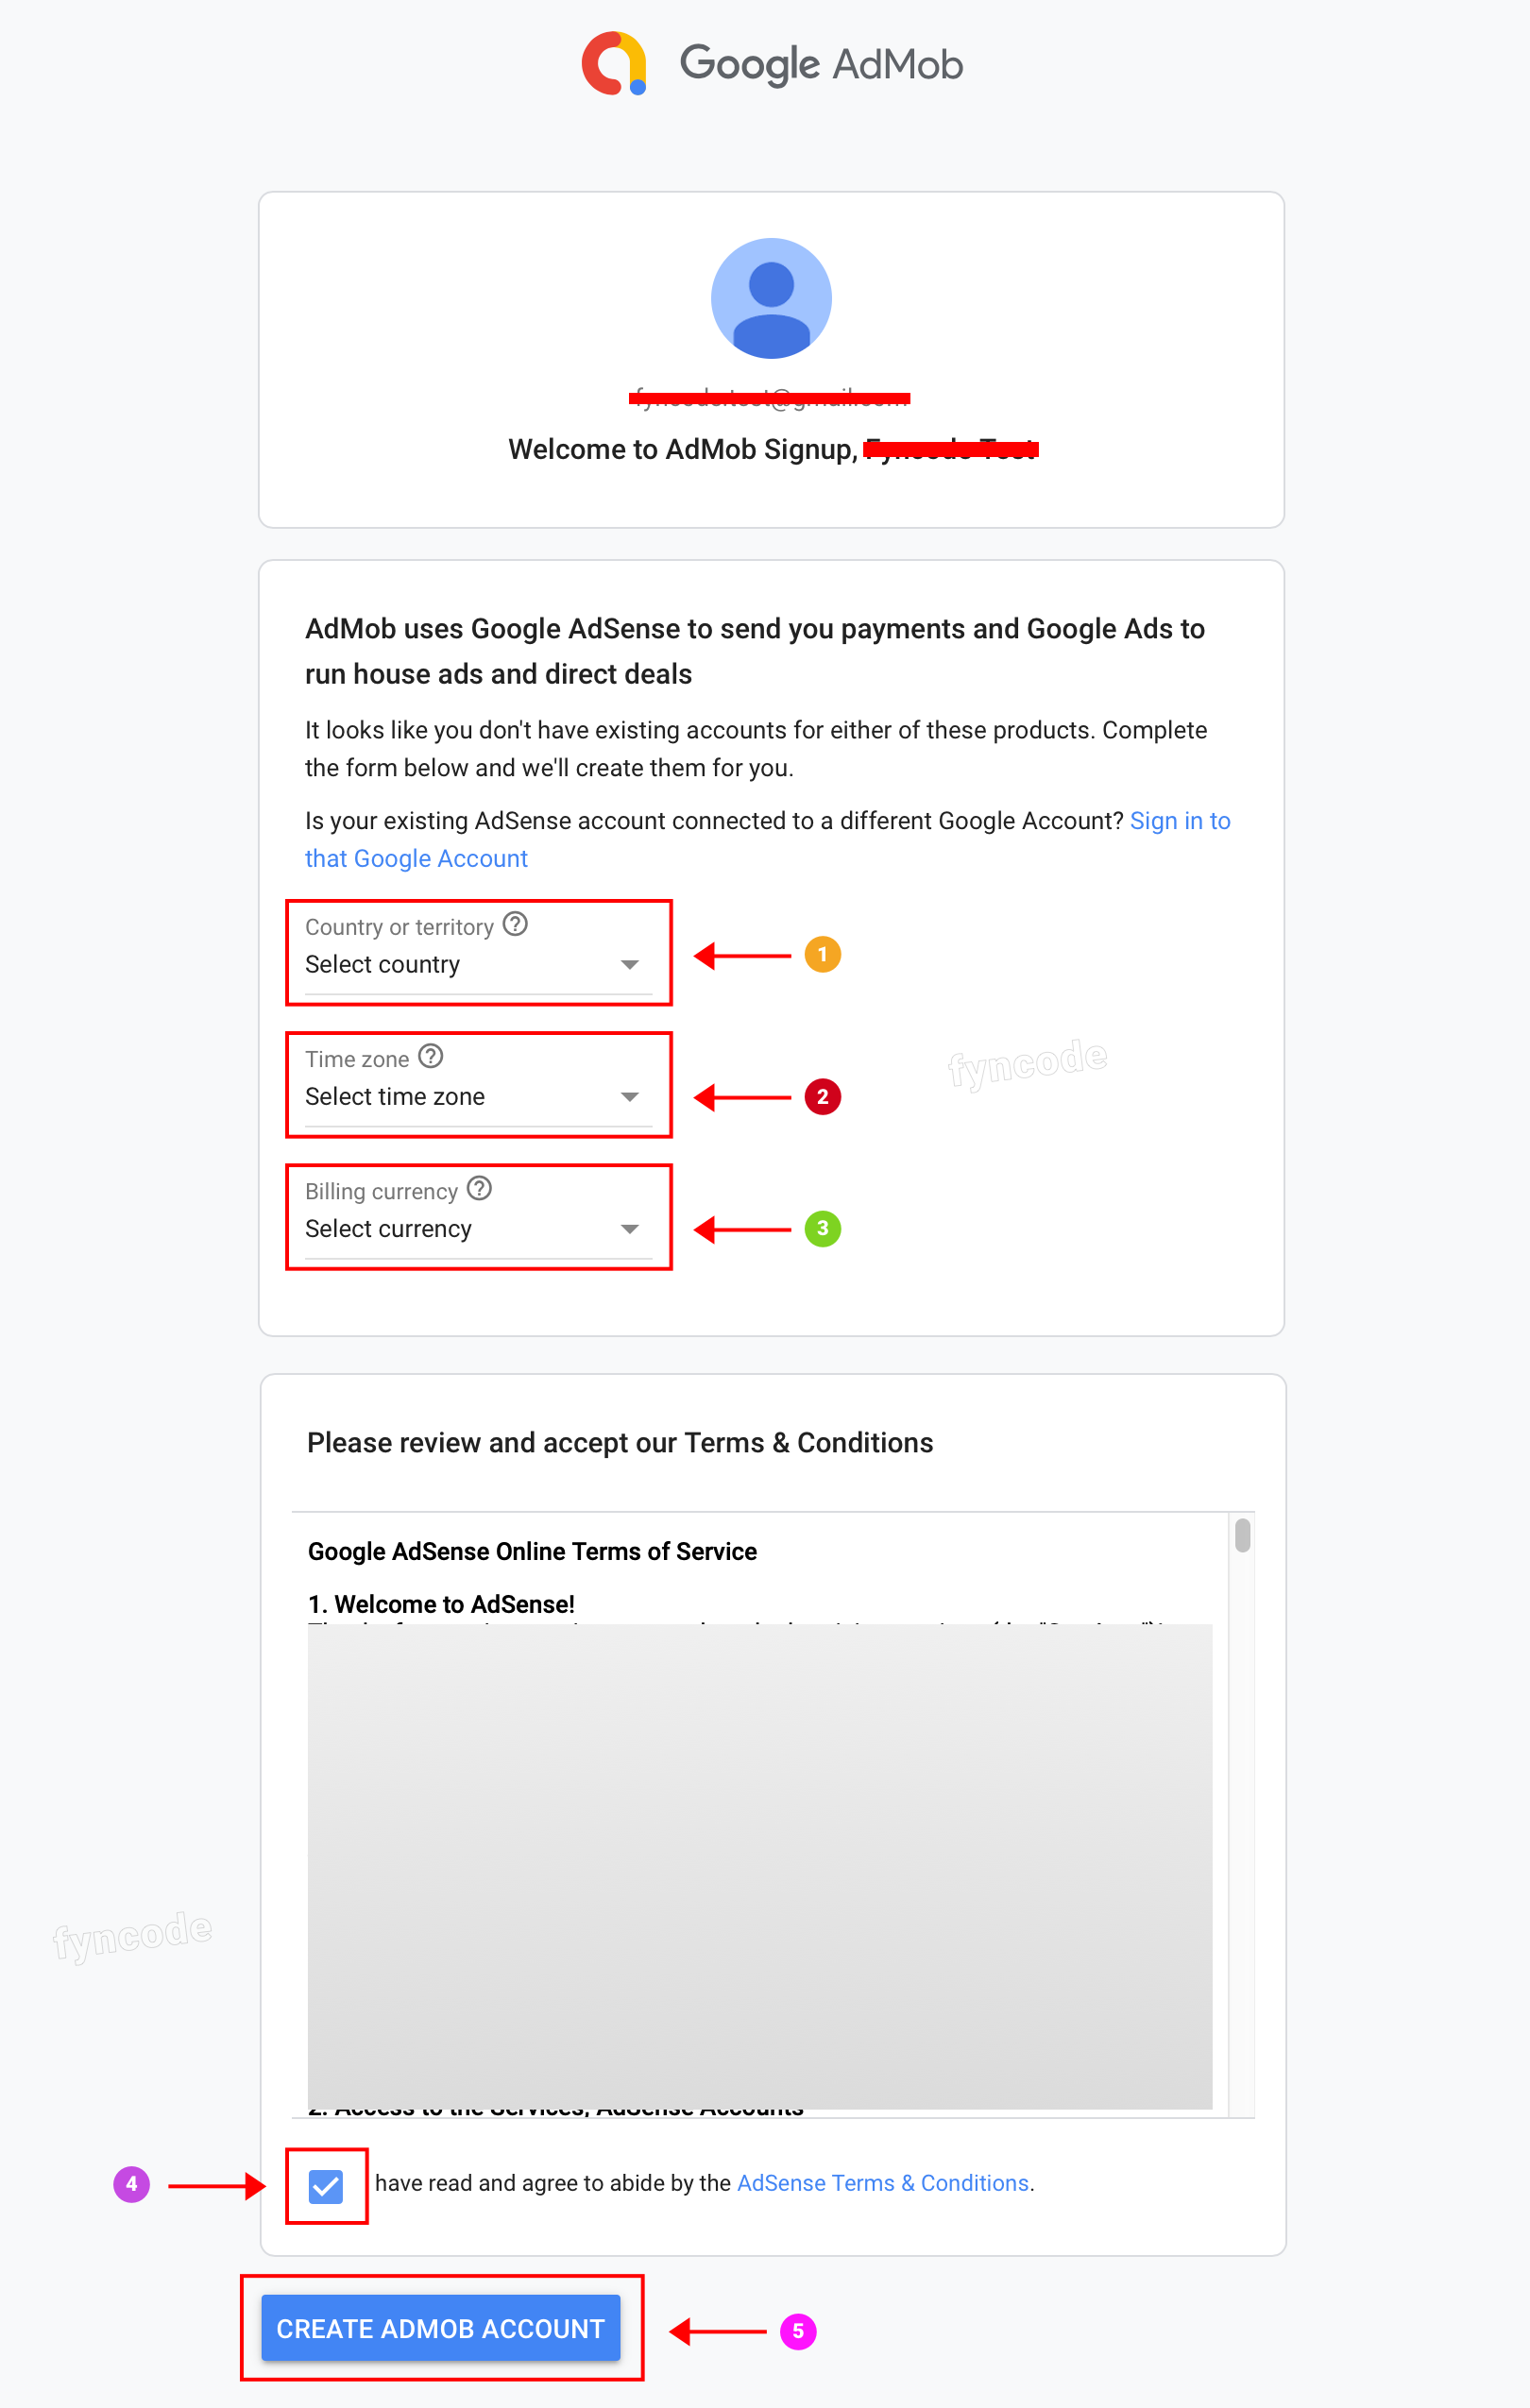
- If you are using AdMob for the first time, you will see the screen below (if you used AdMob in the past, skip this screen). Enter all necessary information, tick the approval box and click “CREATE ADMOB ACCOUNT”.
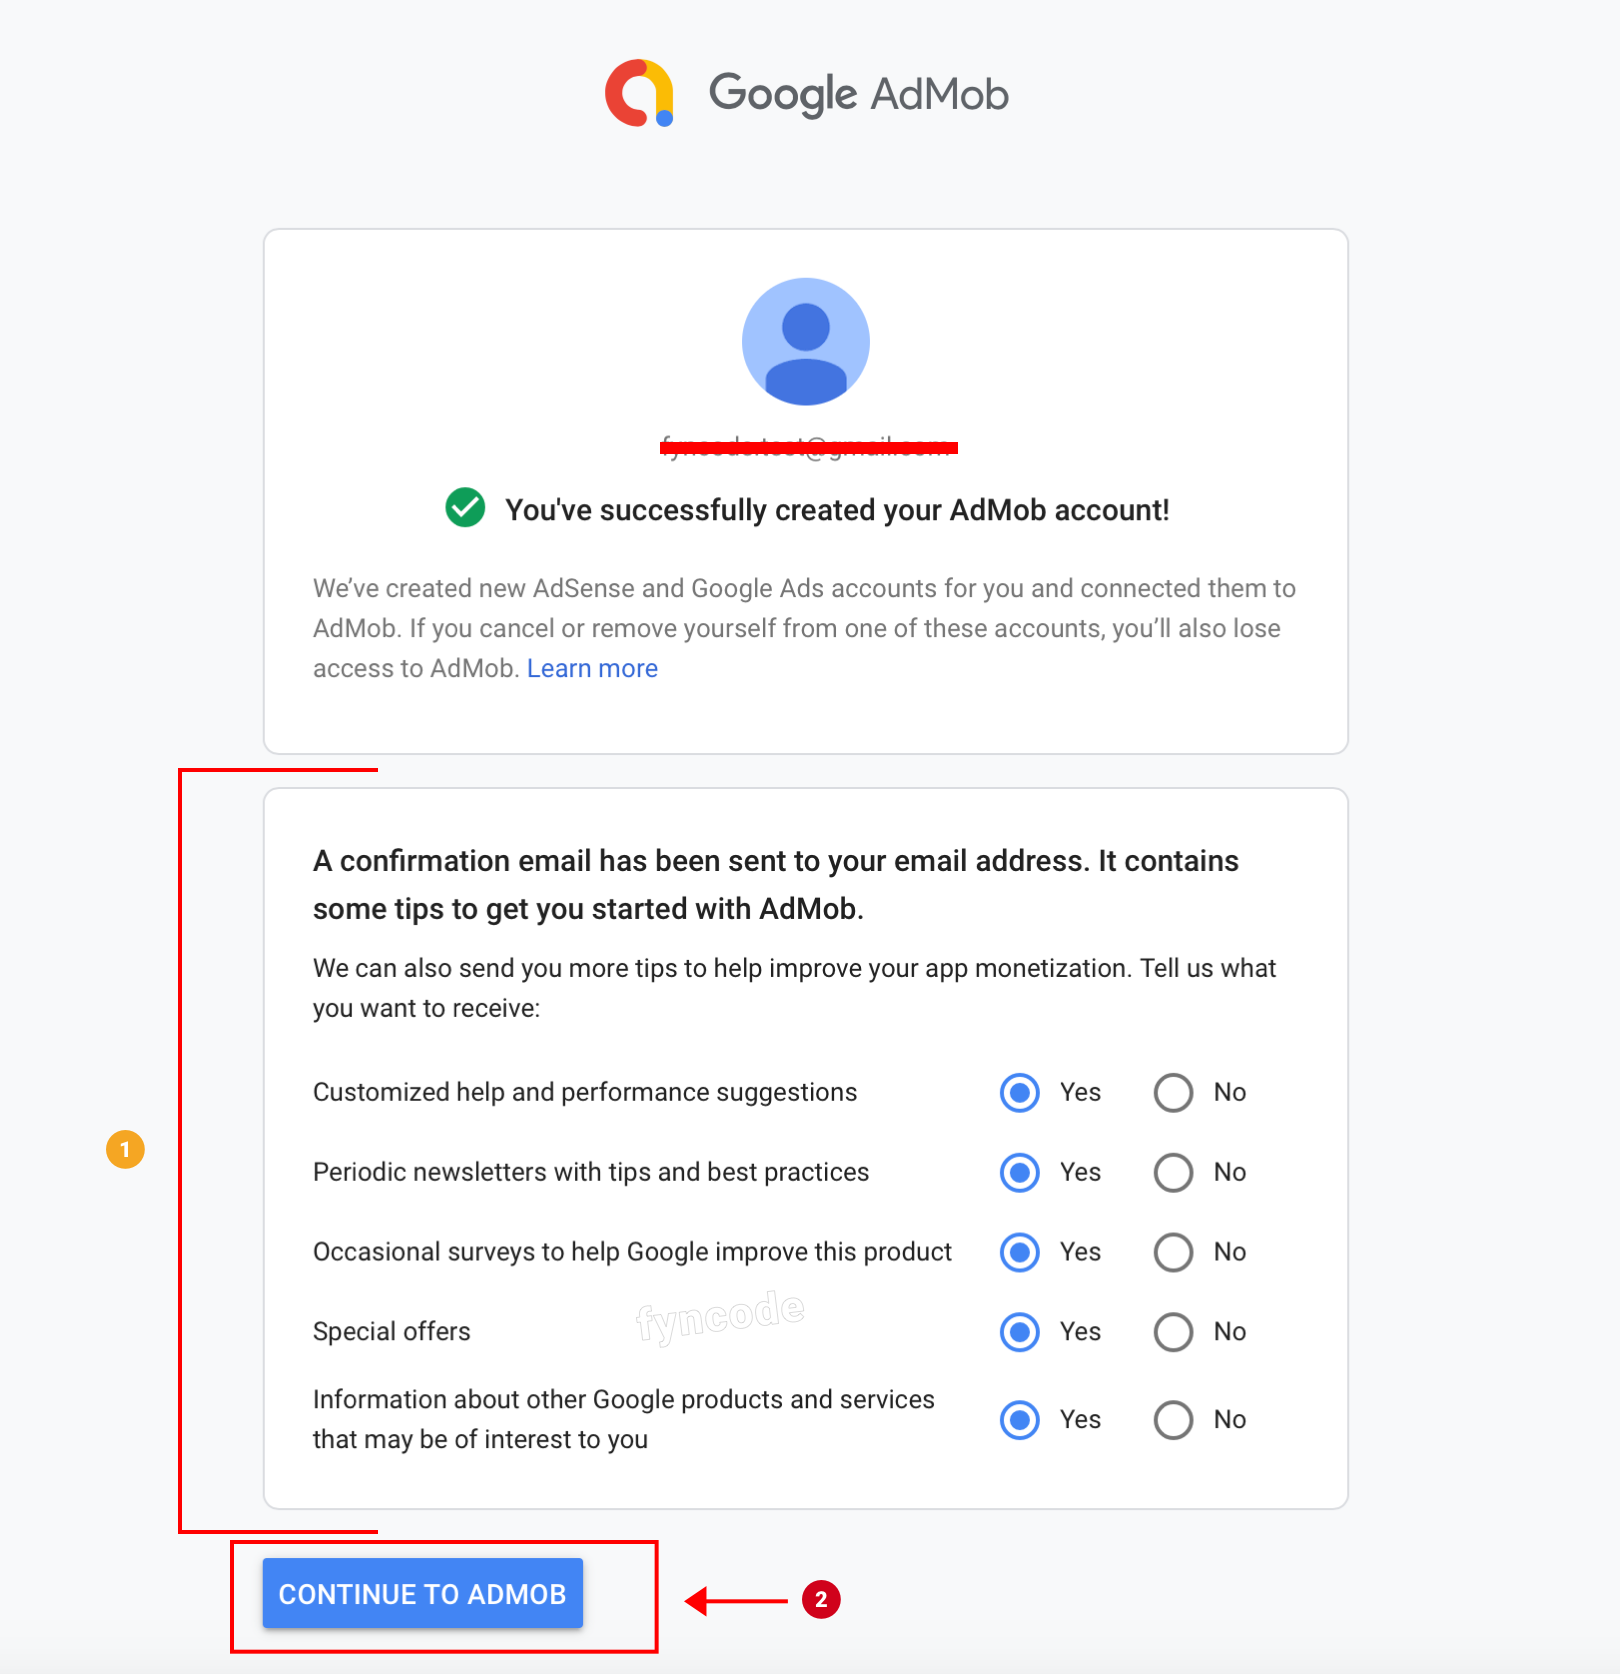
- A confirmation email will be sent to your email address. Click the button in this email to verify your email address. Then, select the options that you see in the screenshot below as you wish and click “CONTINUE TO ADMOB” button.
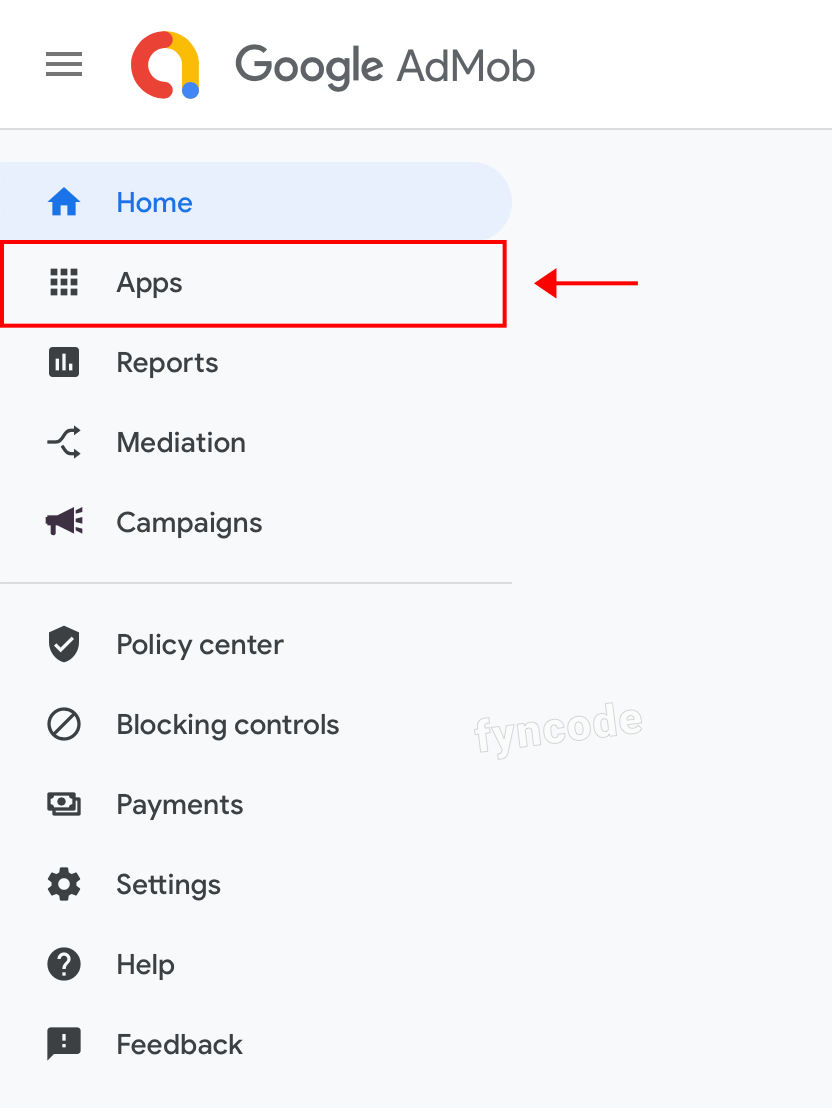
Adding Your App
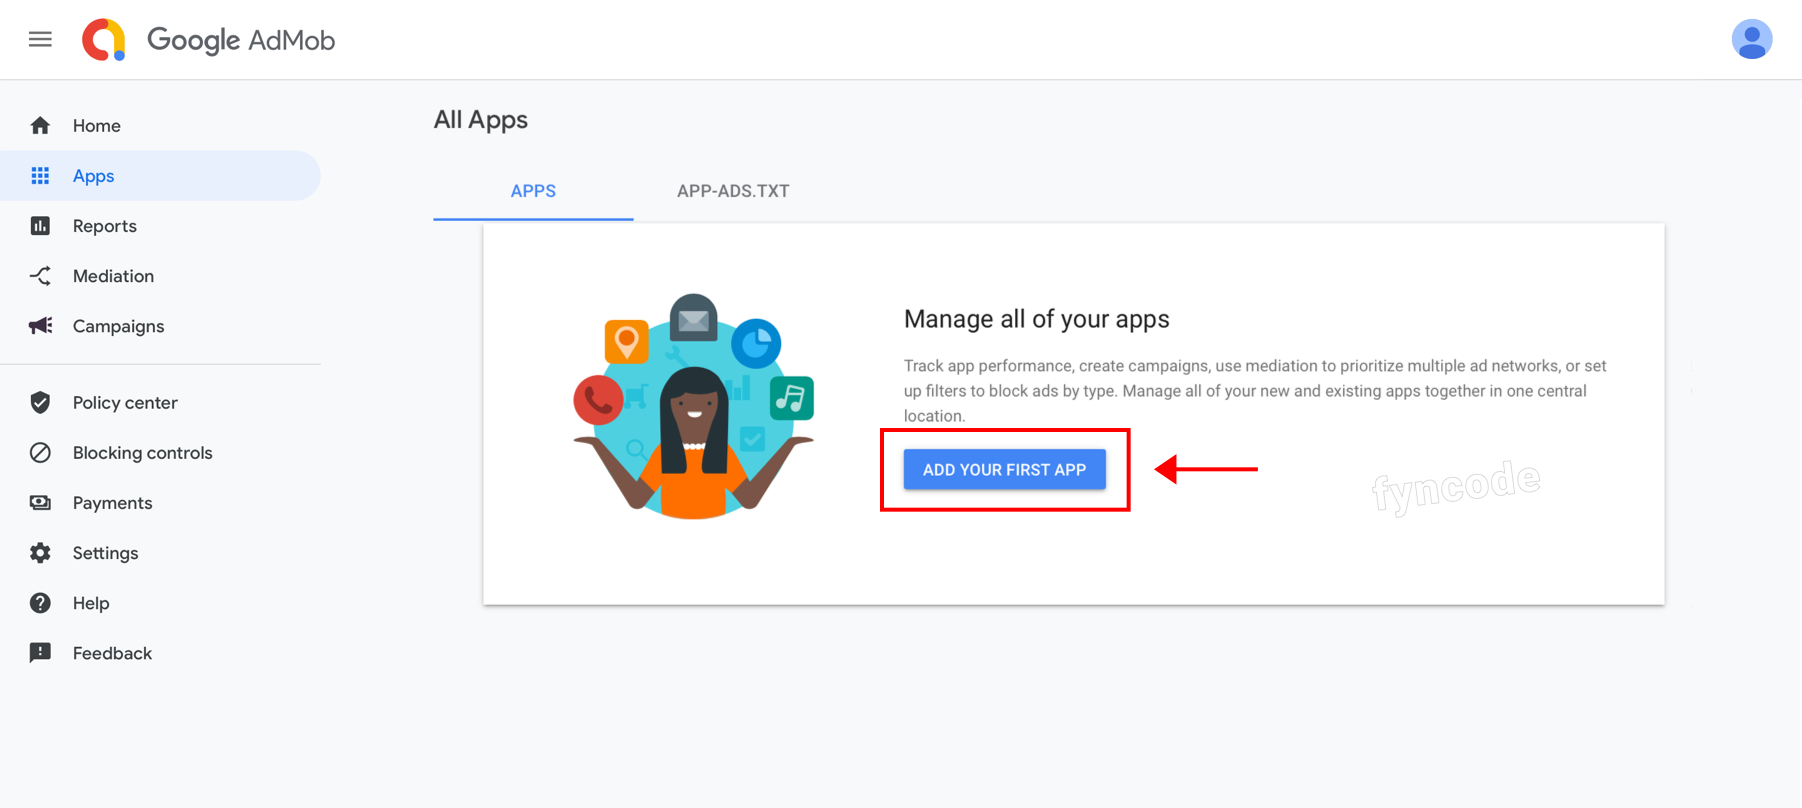
- Click “Apps” in the left-side menu.
- Click “ADD YOUR FIRST APP” button. (If you used AdMob before and if there is an app that you previously added, you will see “ADD APP” button instead - in this case, click that button.)
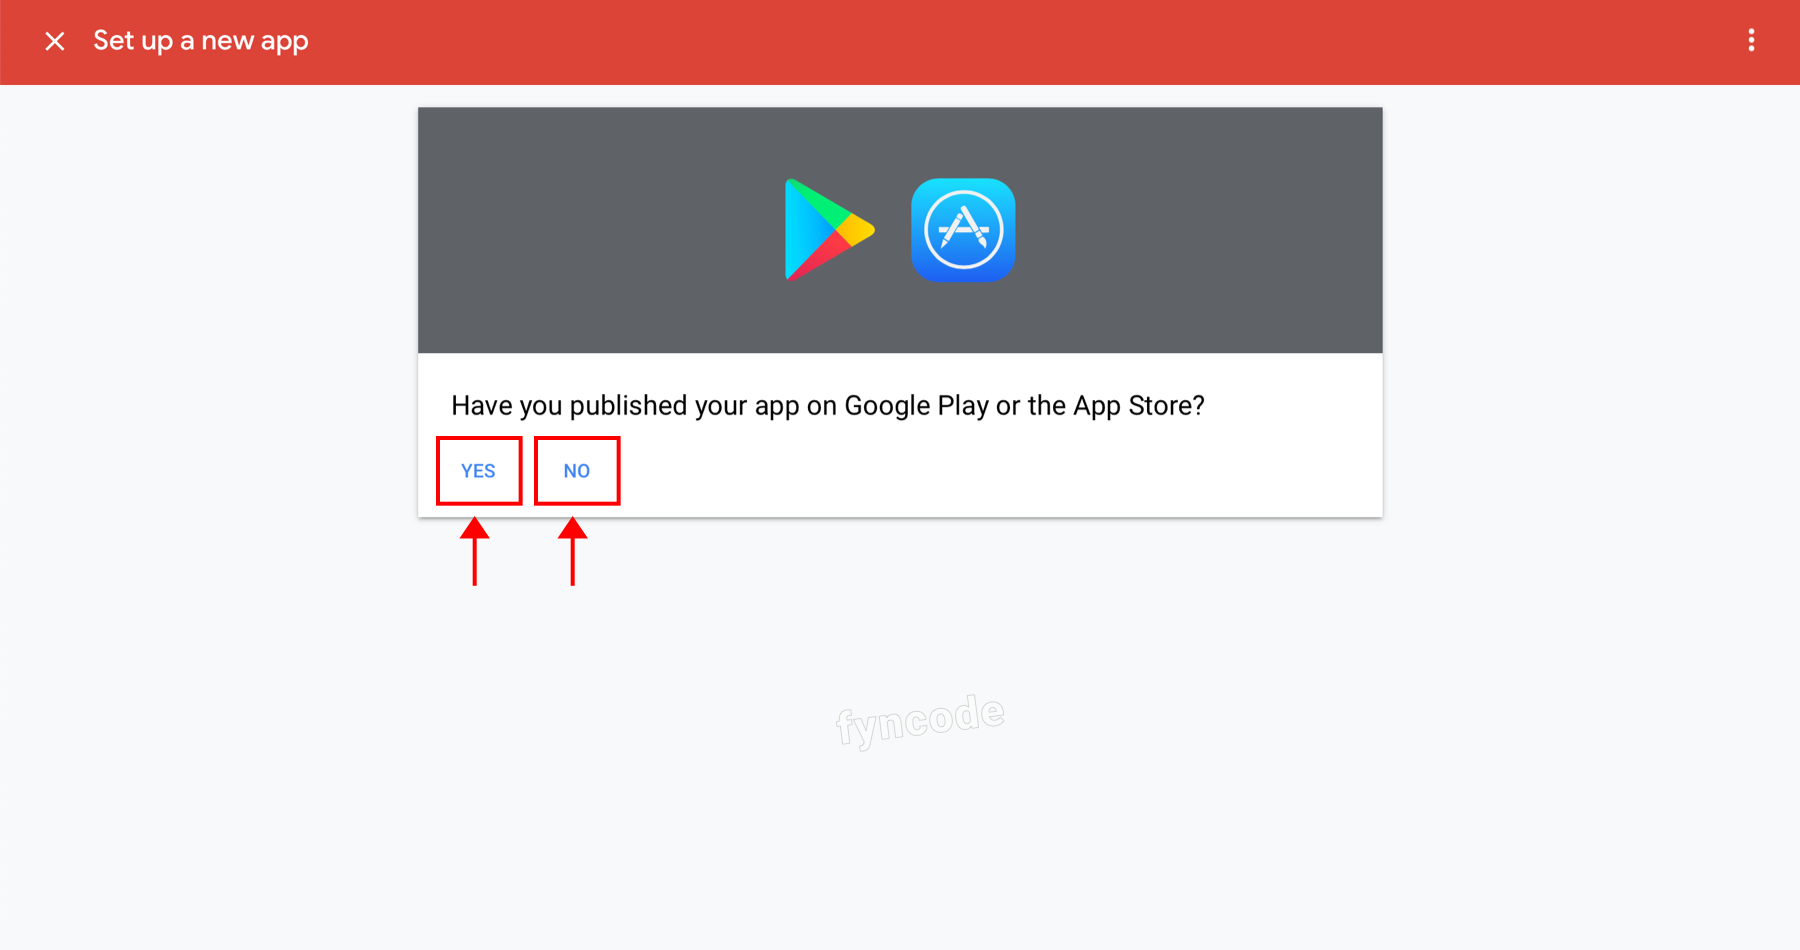
- If you already published your app in which you will use AdMob advertisements on Play Store, click “YES” button, otherwise click “NO” button.
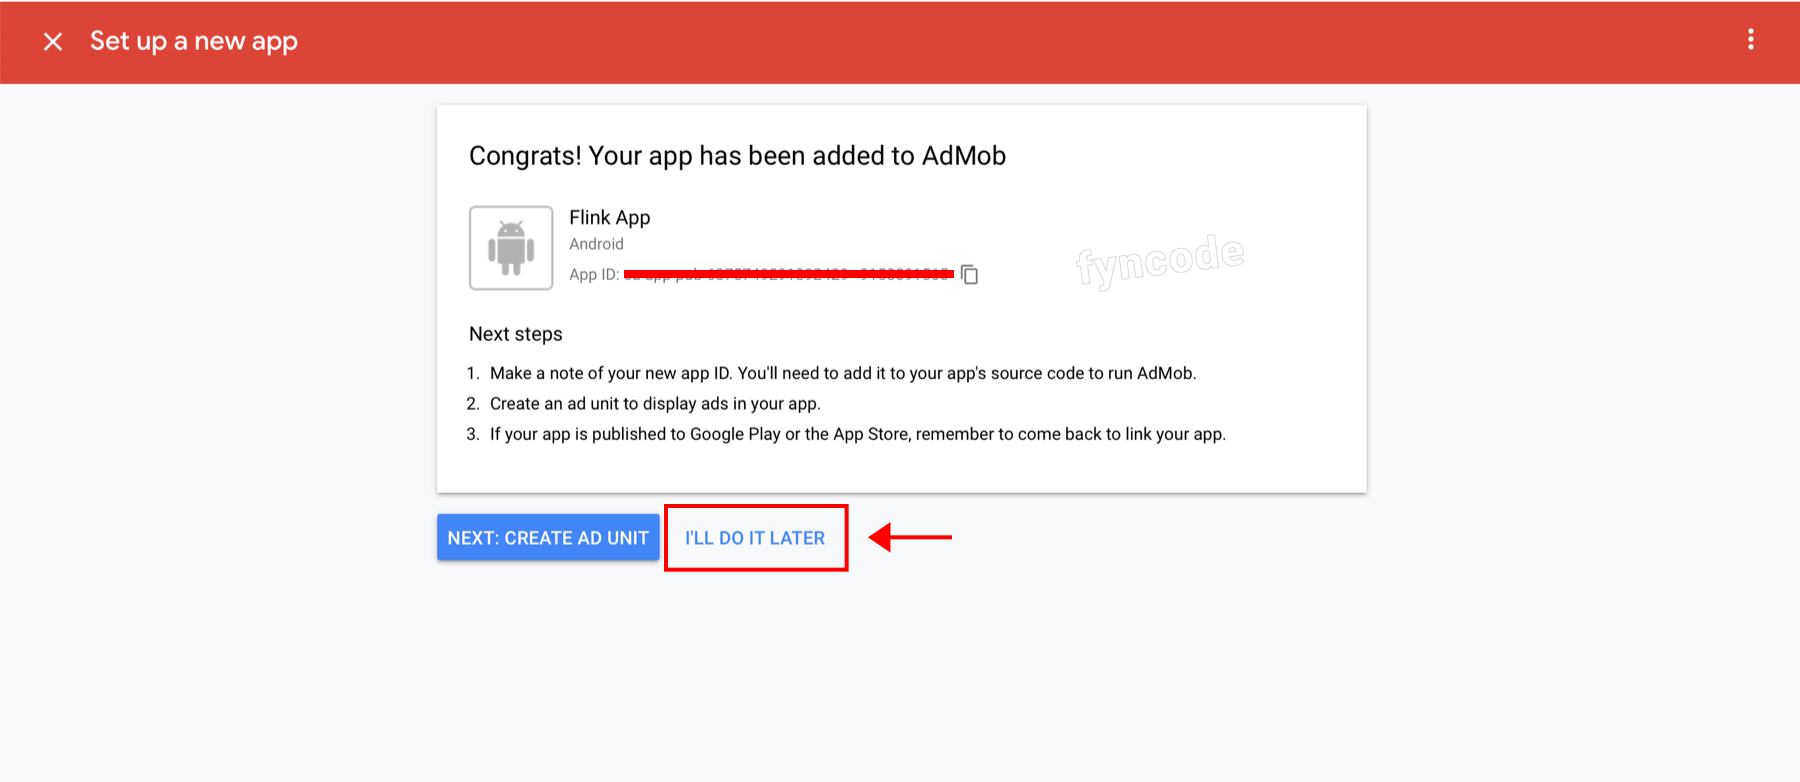
If you clicked “YES” button, search for your app name, find it and click “ADD” button. On the next screen, click “I’LL DO IT LATER” and complete this step.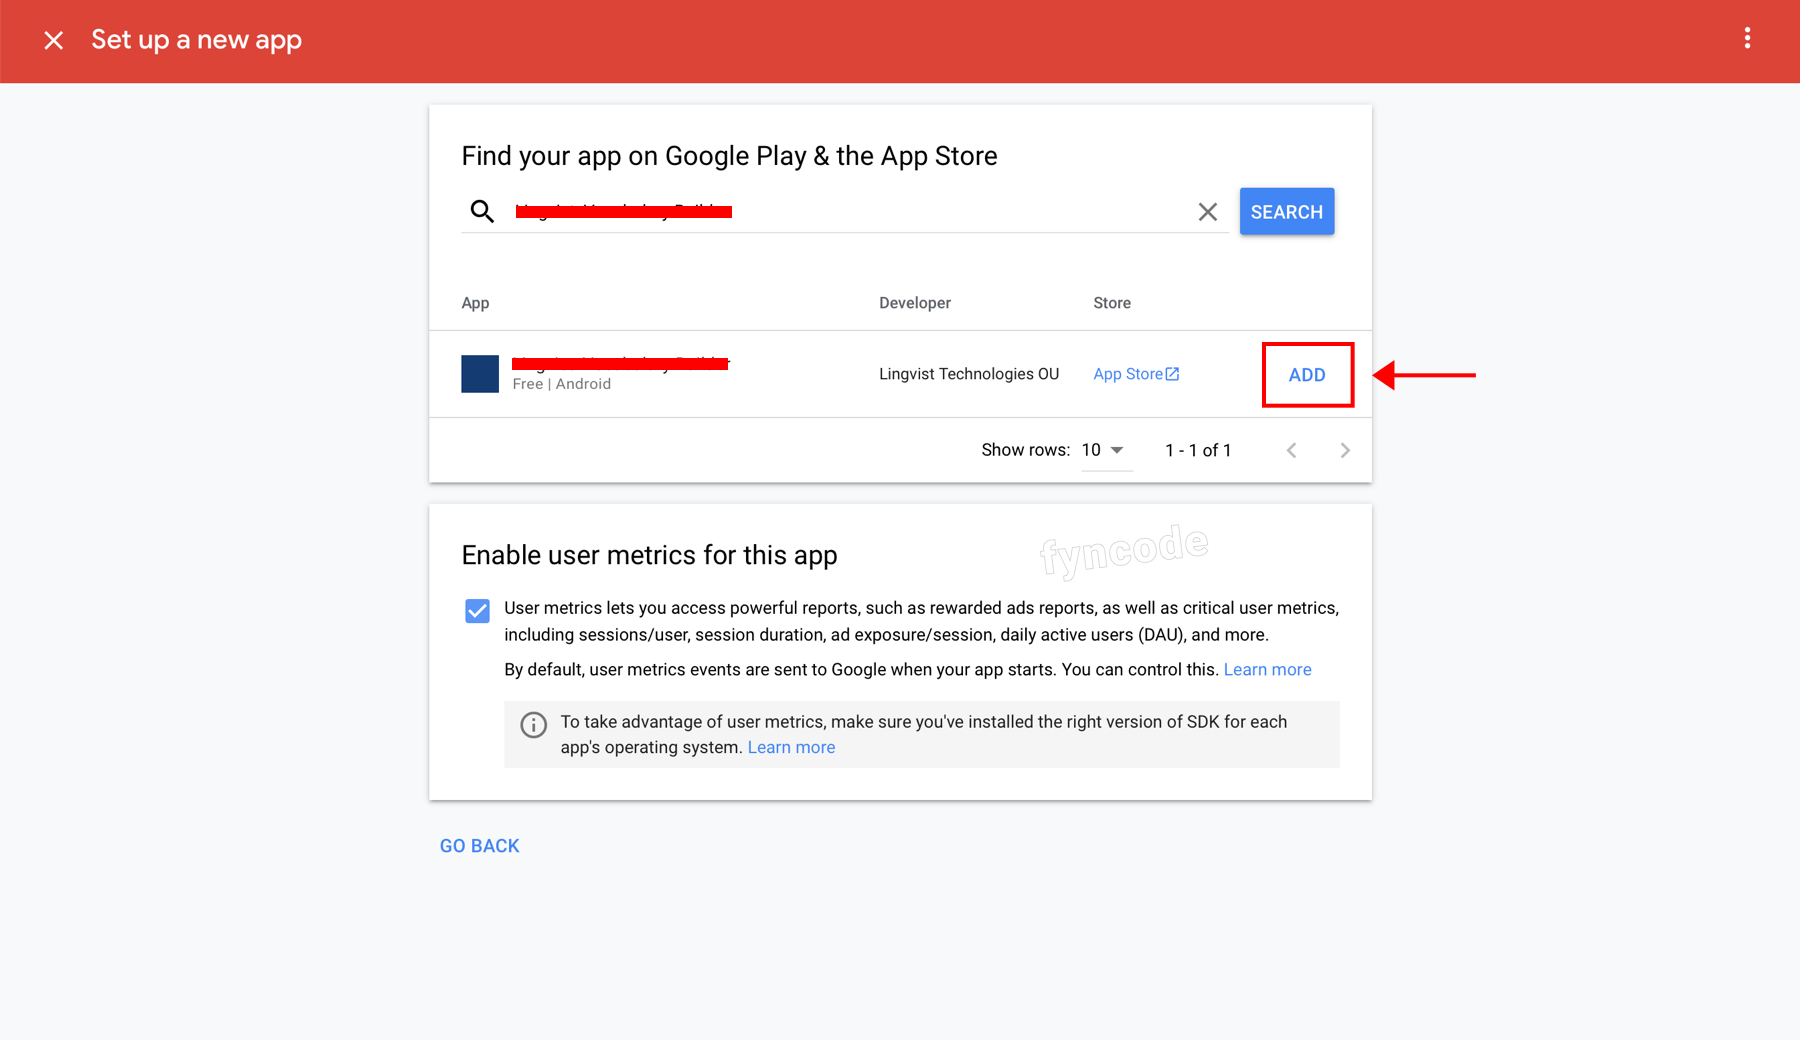
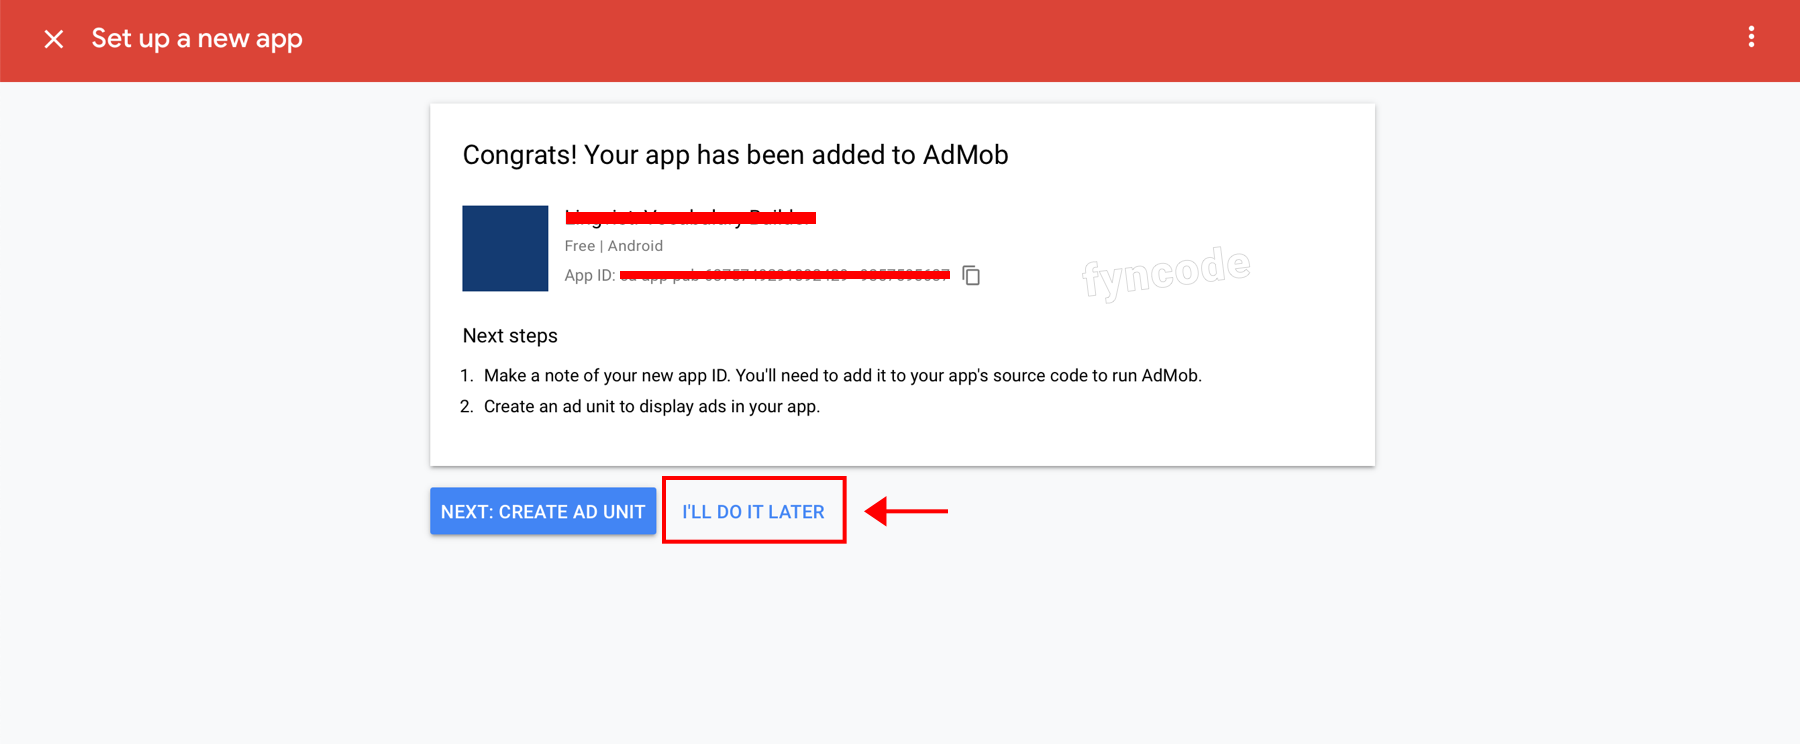
If you clicked “NO” button, enter your app’s name, select “Android” as platform and click “ADD” button. On the next screen, click “I’LL DO IT LATER” and complete this step.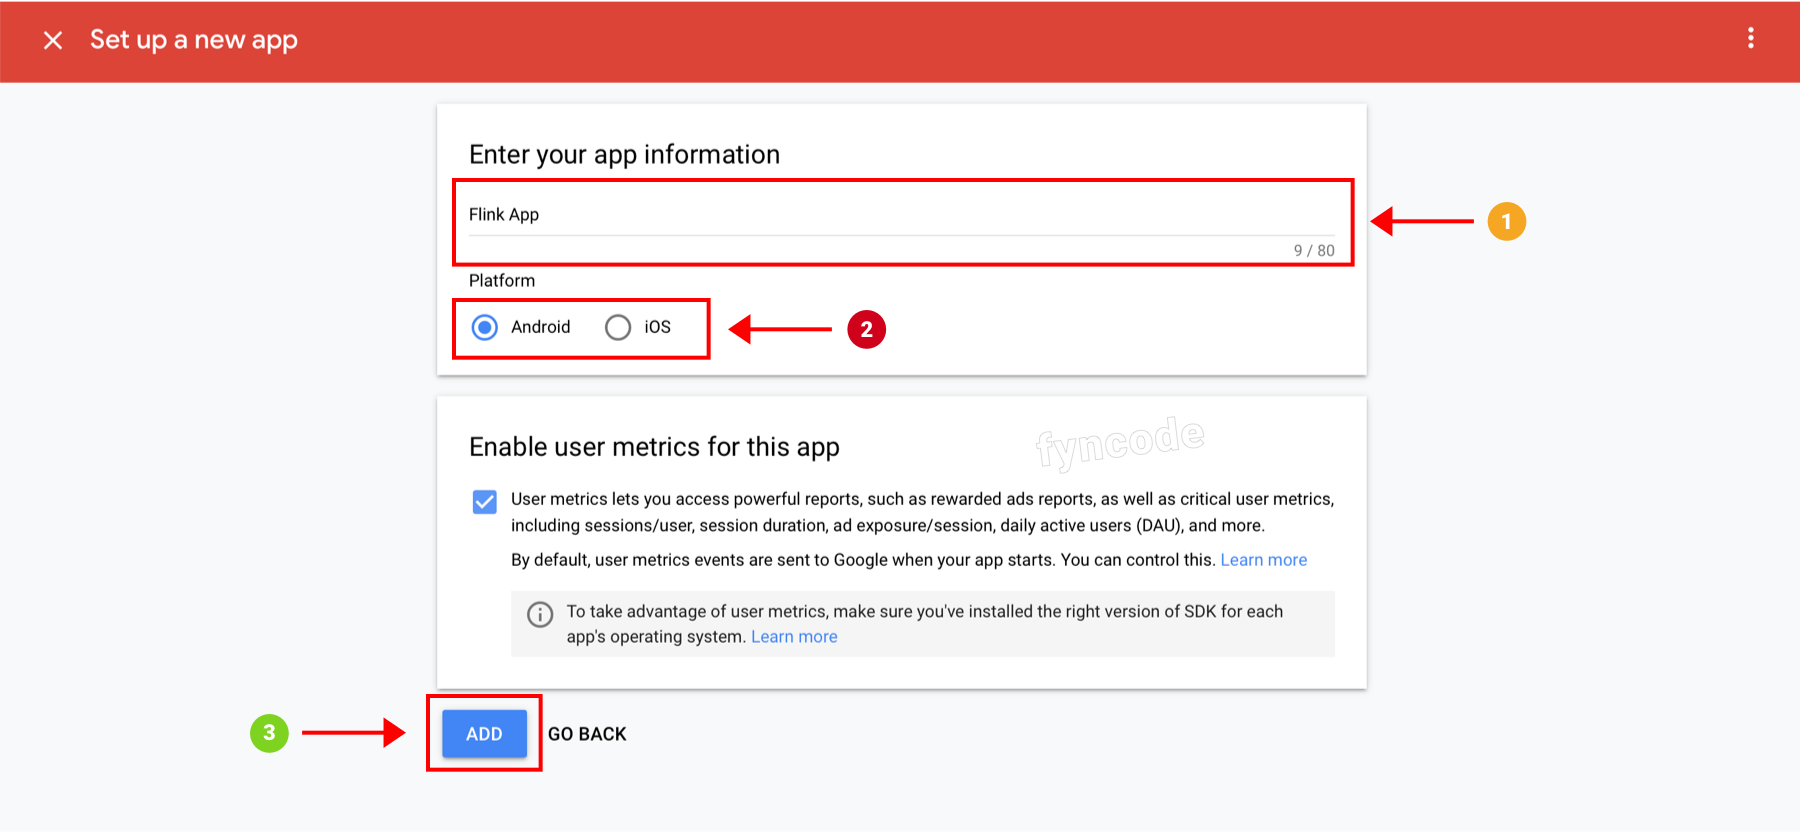
*** IMPORTANT: ***
If you clicked “NO” button, you have to synchronize your app in AdMob and your app on Play Store when you published your app on Play Store. To do so, follow these steps:
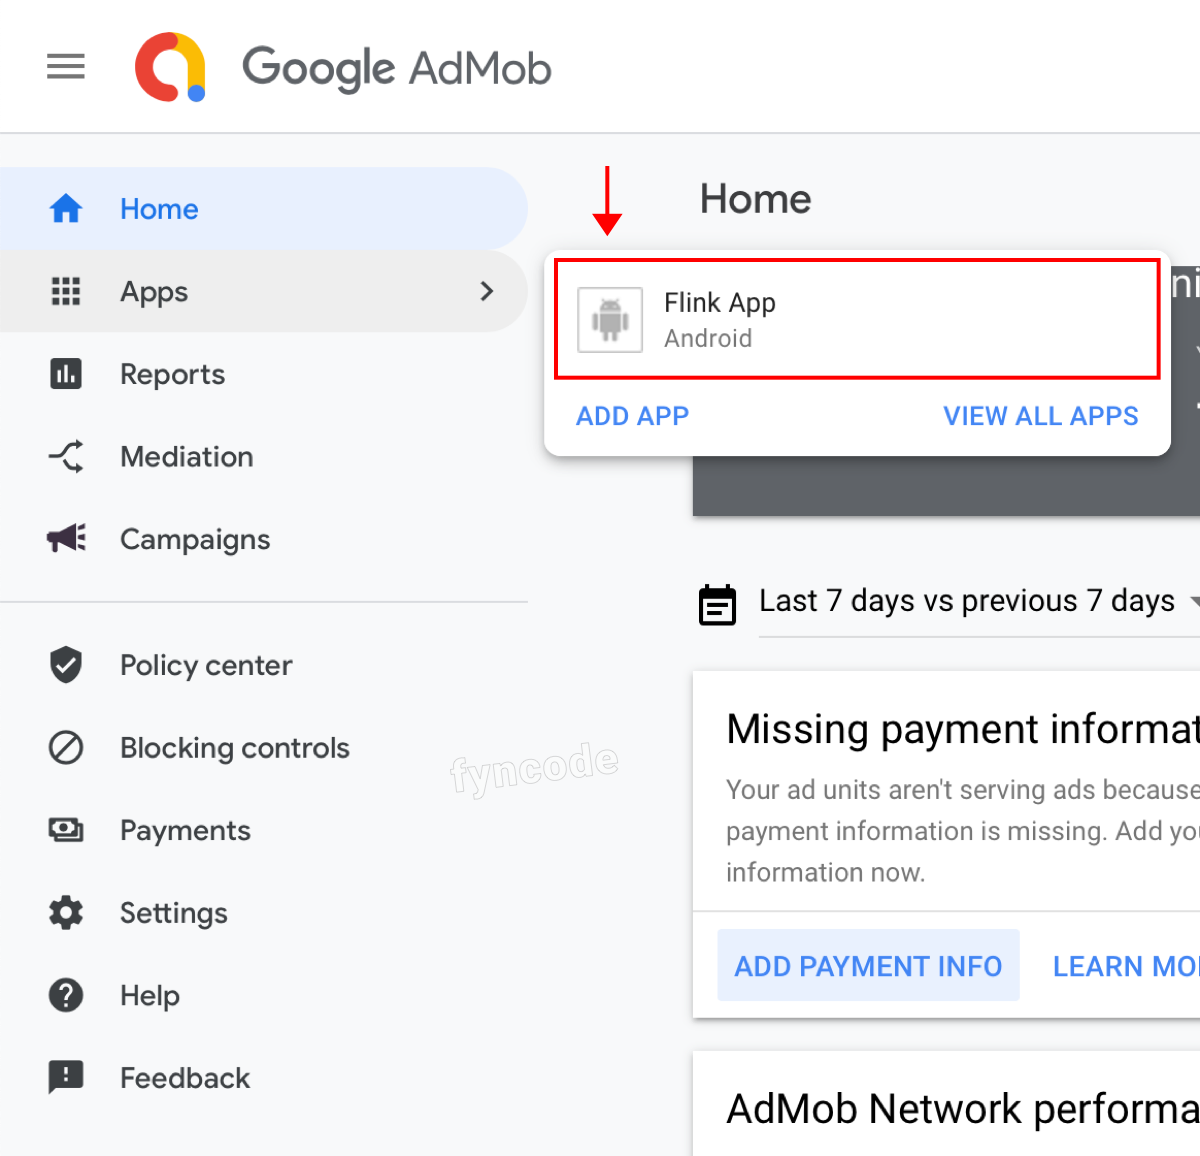
1. Click “Apps” in the side menu and select your app. From the submenu, click “App settings”.
In the “App name & store link” section, click the editing button in the section where you see “Not linked to Google Play” notification.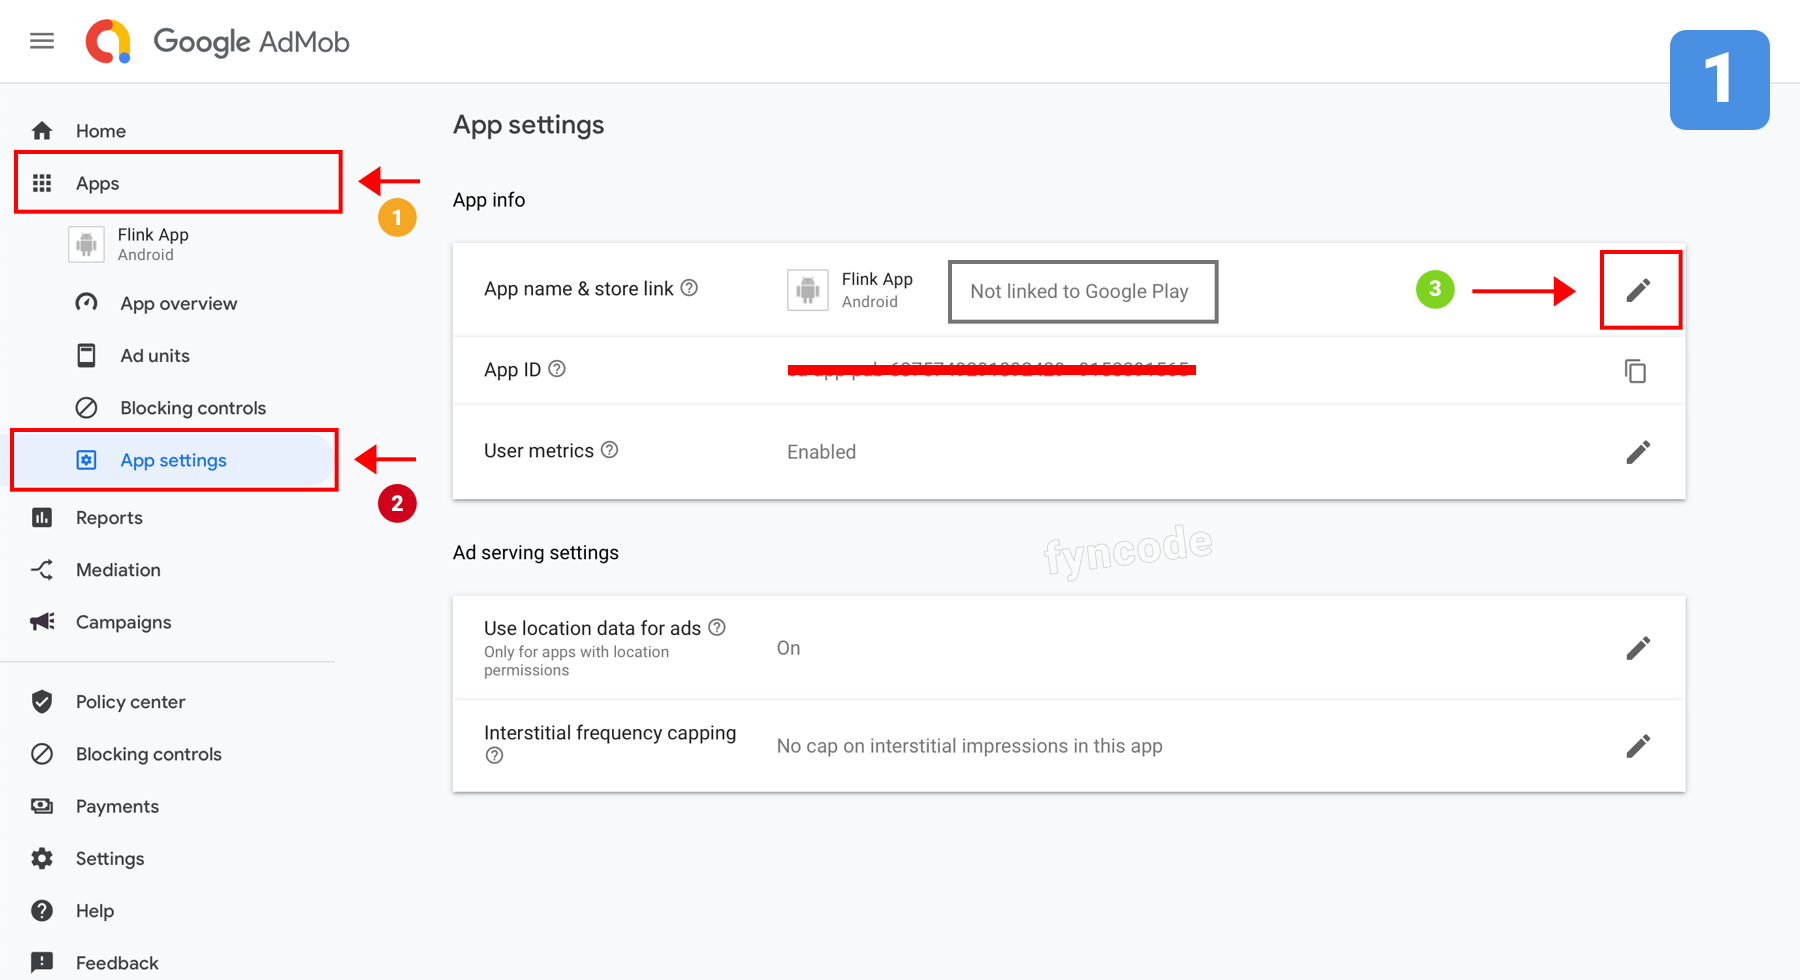 2. Click “LINK YOUR APP WITH GOOGLE PLAY” button.
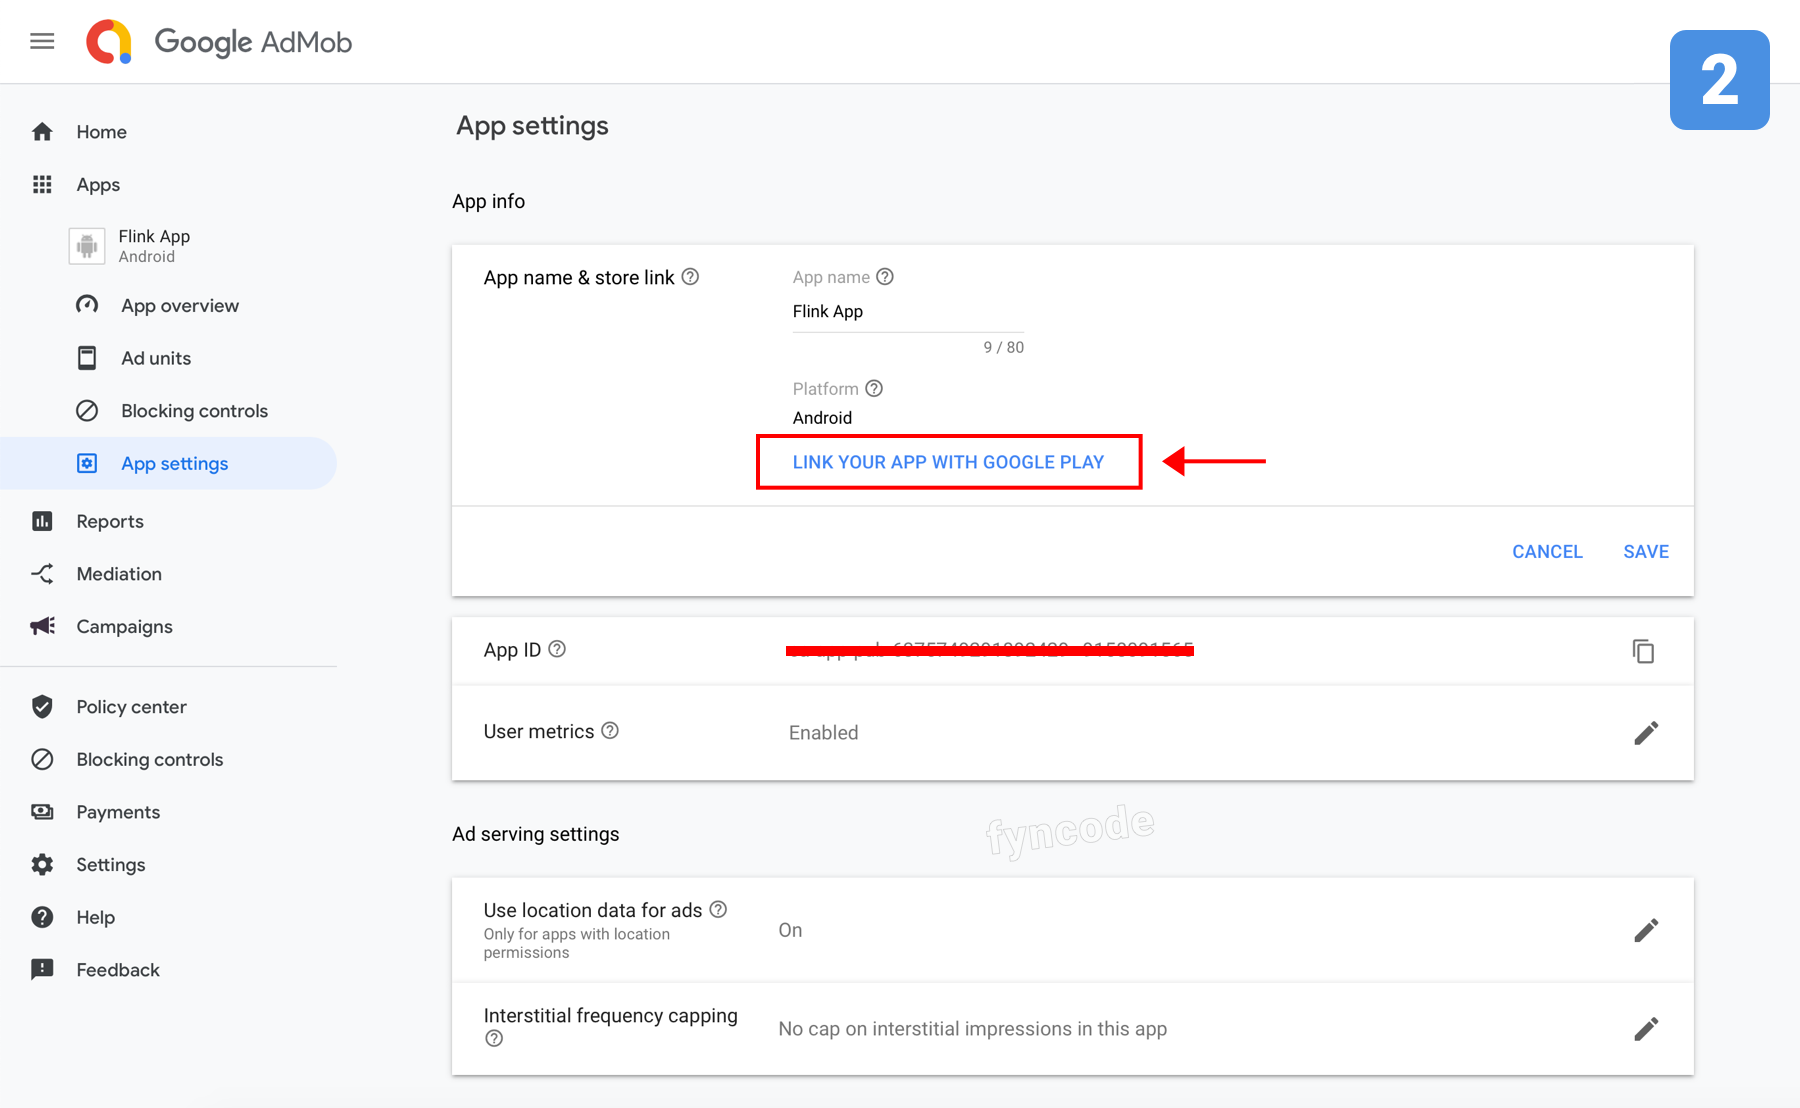 3. Search for your app’s name or package name, find your app and click “SELECT”.
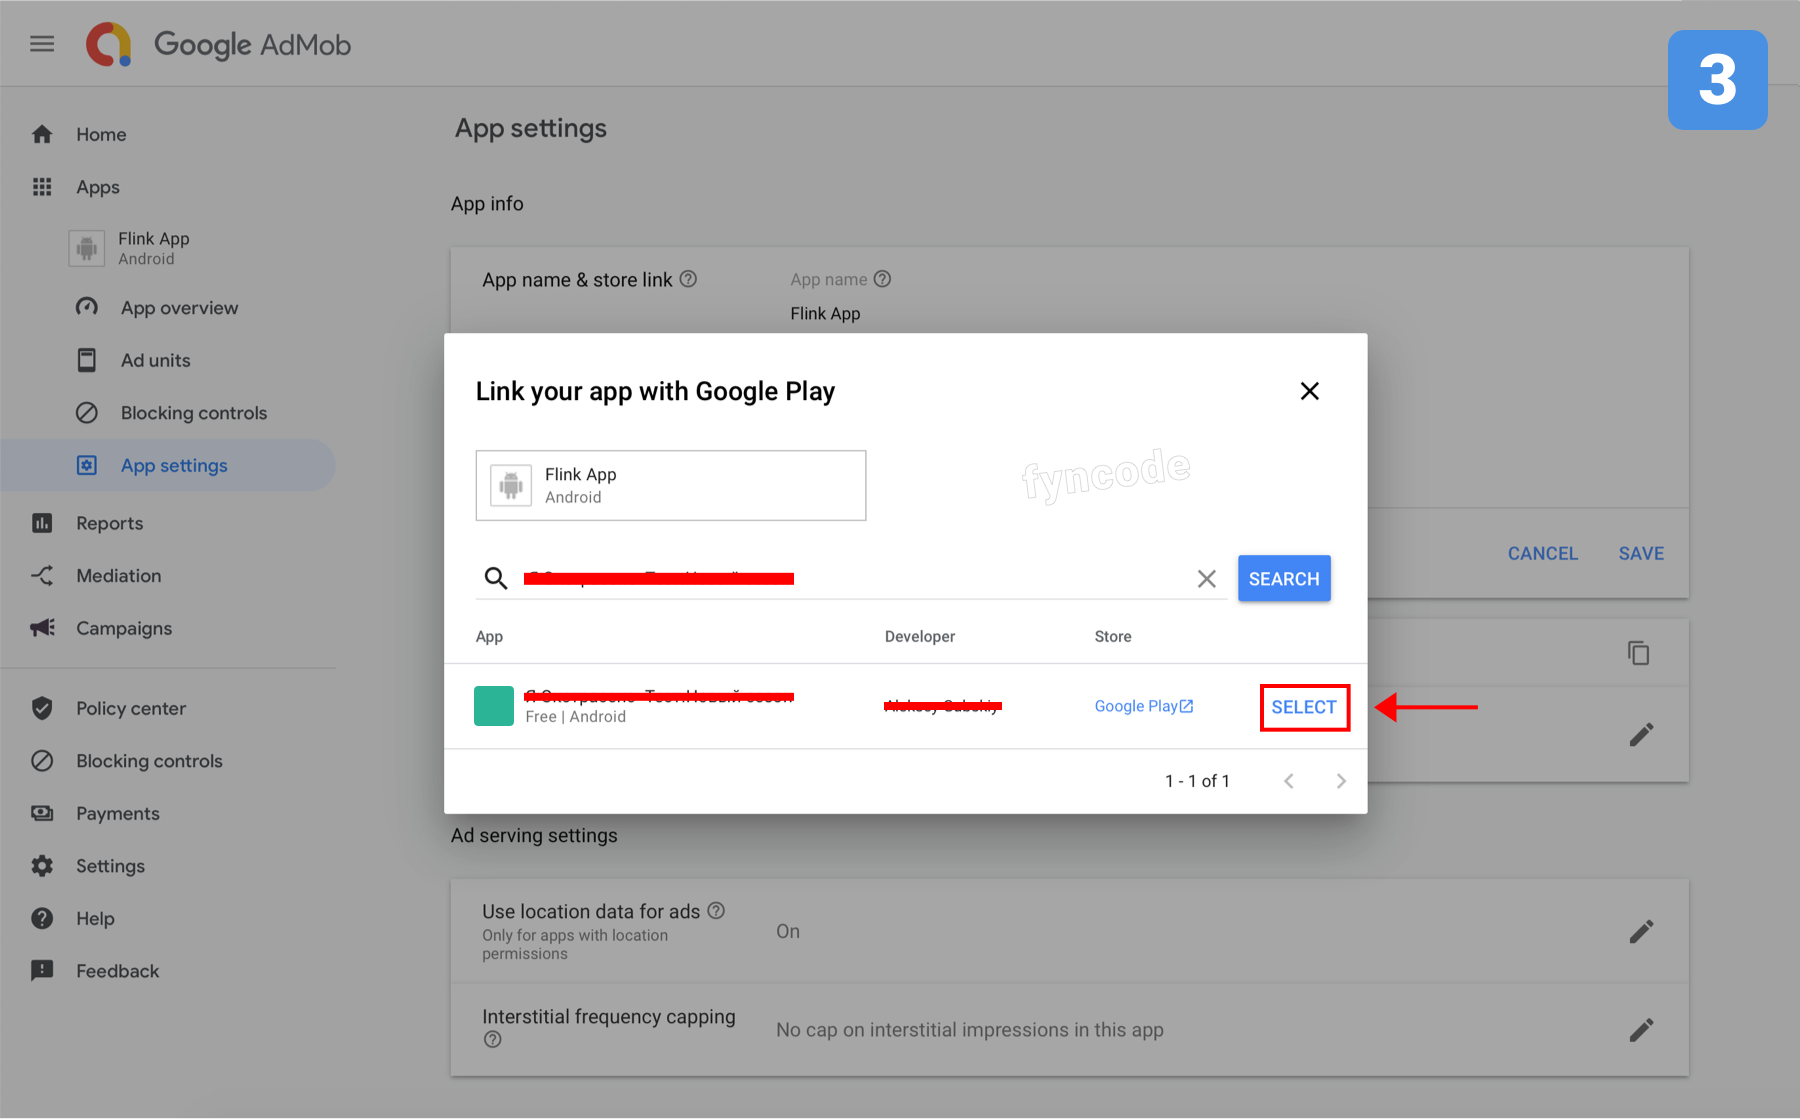 4. Complete the process by clicking “LINK APP” button.
Creating Ad Unit
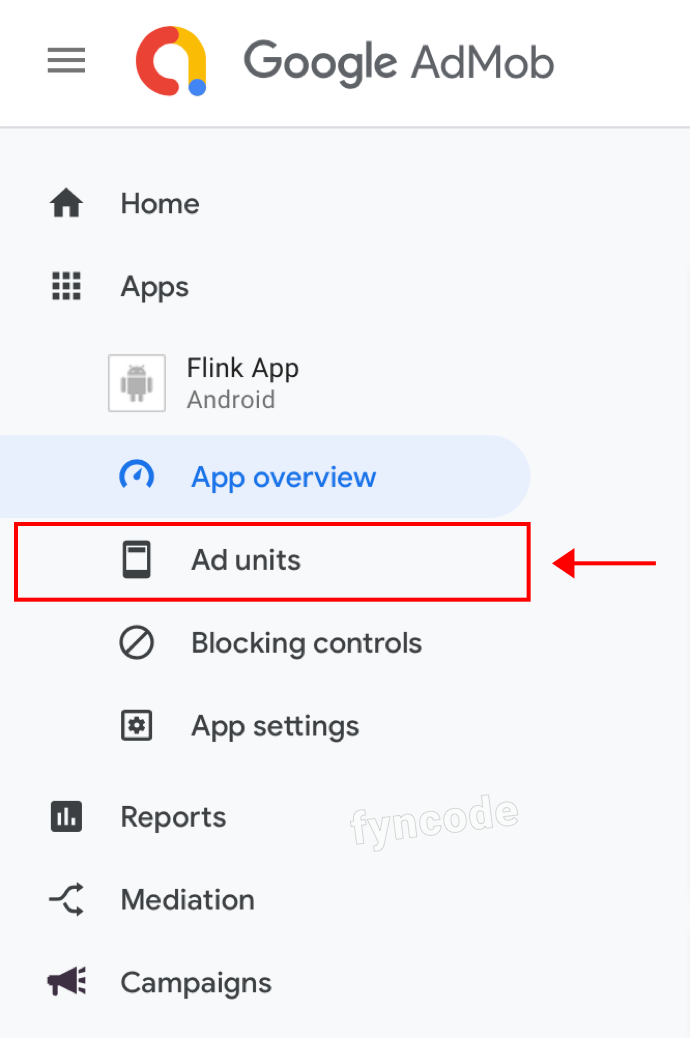
- Click “Apps” in the side menu and select your app.
- Click “Ad units”.
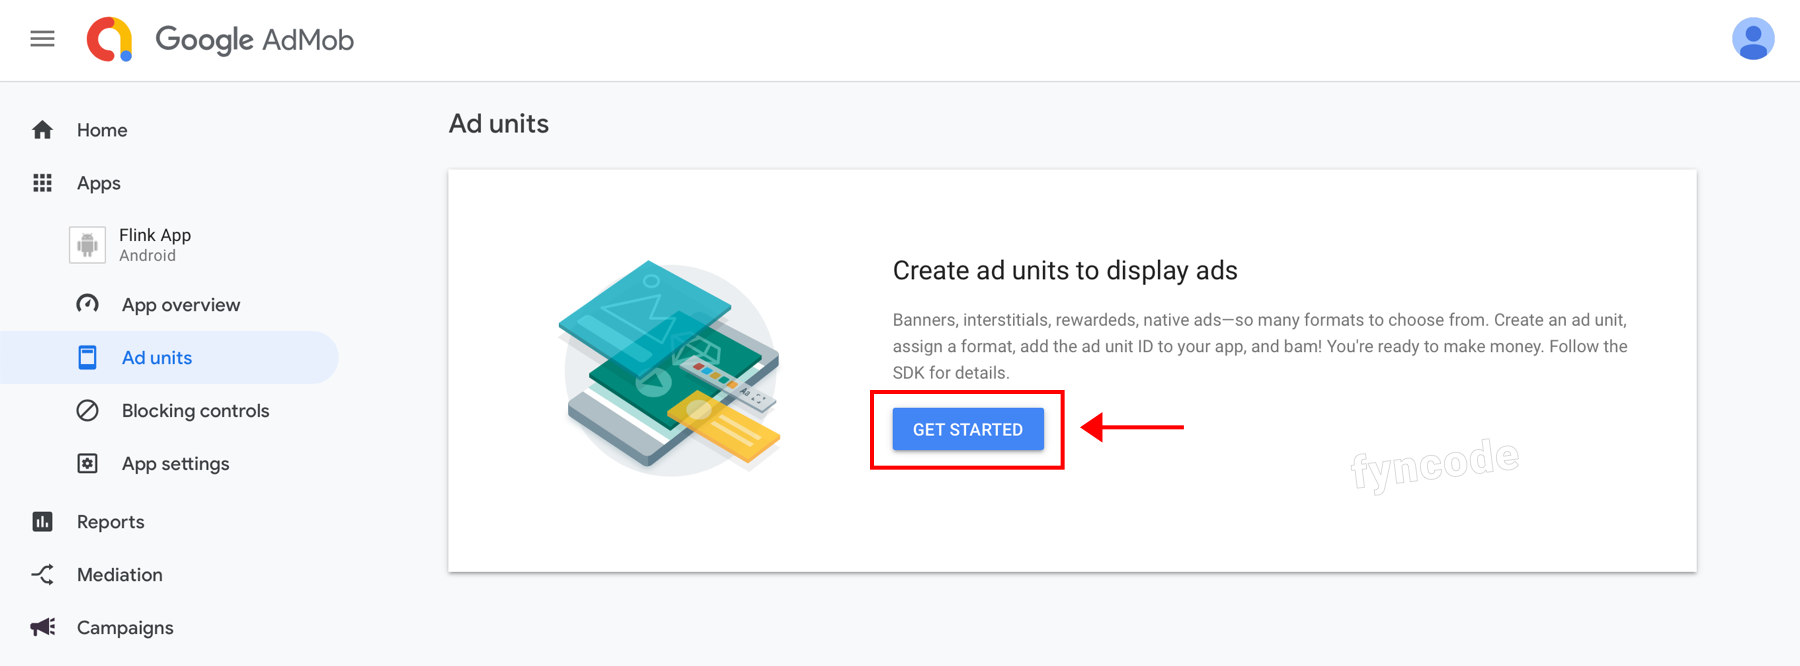
- Click “GET STARTED” button.
- In order to select the advertisement type that you want to create, click “SELECT” button in the respective box.
- For the “Bottom Banner” area of your app, you should choose “Banner” and for the “Native Ad” area of your app, you should select “Native advanced” option.
- Define a name for the ad unit that you are creating and enter it to the “Ad unit bame” field (example: Flink App - Bottom Banner).
Click “CREATE AD UNIT” button and finish ad unit creating process.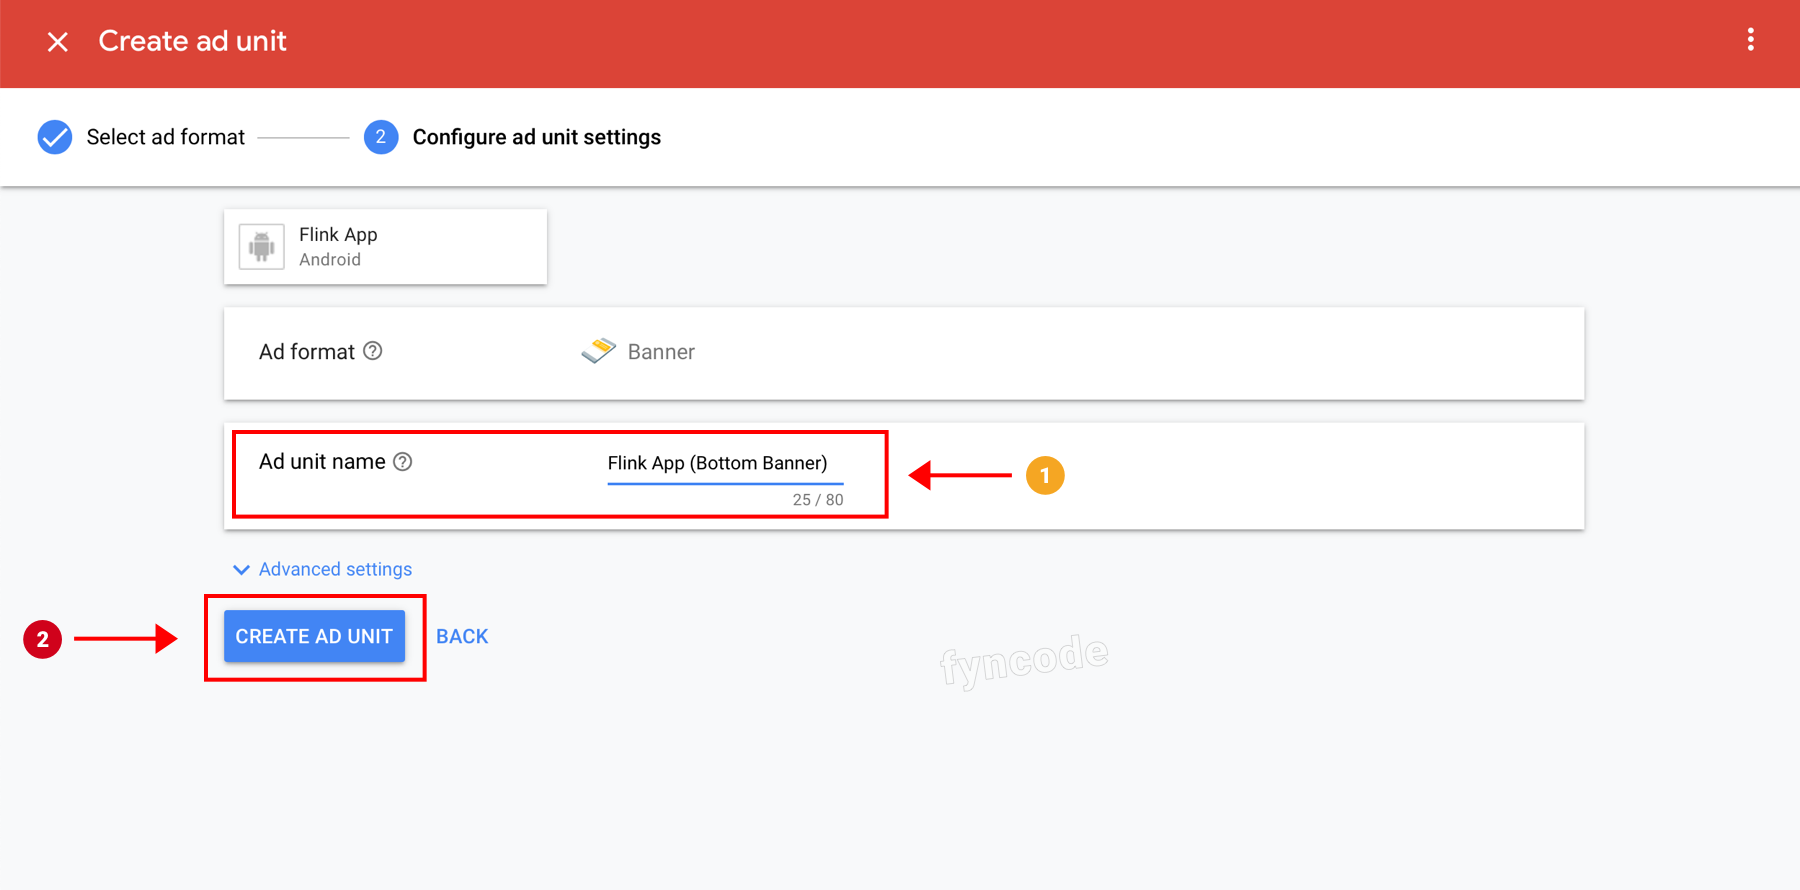
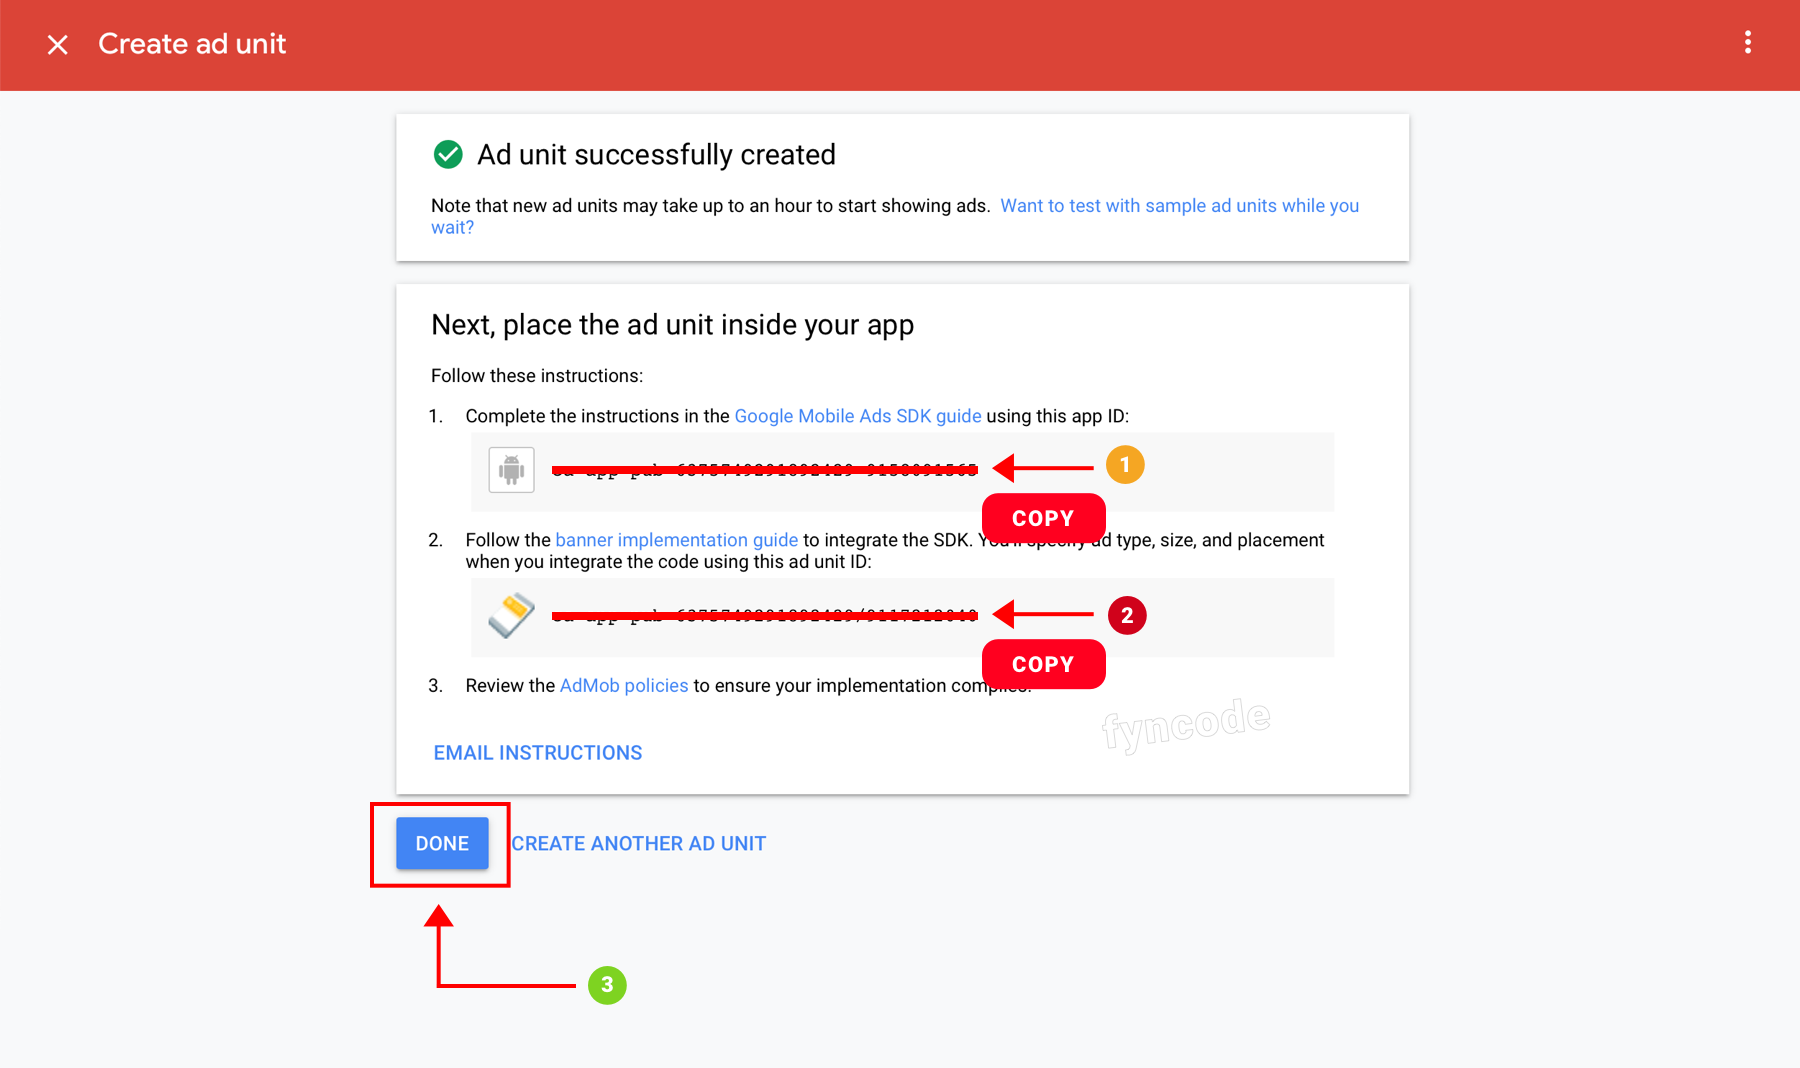
- Note the codes in “........app ID:” and “.......unit ID:” sections down and click “DONE” button.
- Go to your Wordpress Admin Dashboard and in the side menu, click “Flink App” to open the page for Flink Wordpress App Builder.
1. Find the “Ad Management” tab on the opened page and click.
2. Click the ad type, of which data you want to update (bottom banner, native ad etc.)
3. Enter the “App ID” and “Advertisement Unit ID” values that you previously noted down to the respective fields in “Advertisement Platform” section (while AdMob is selected).
4. Click “SAVE” button.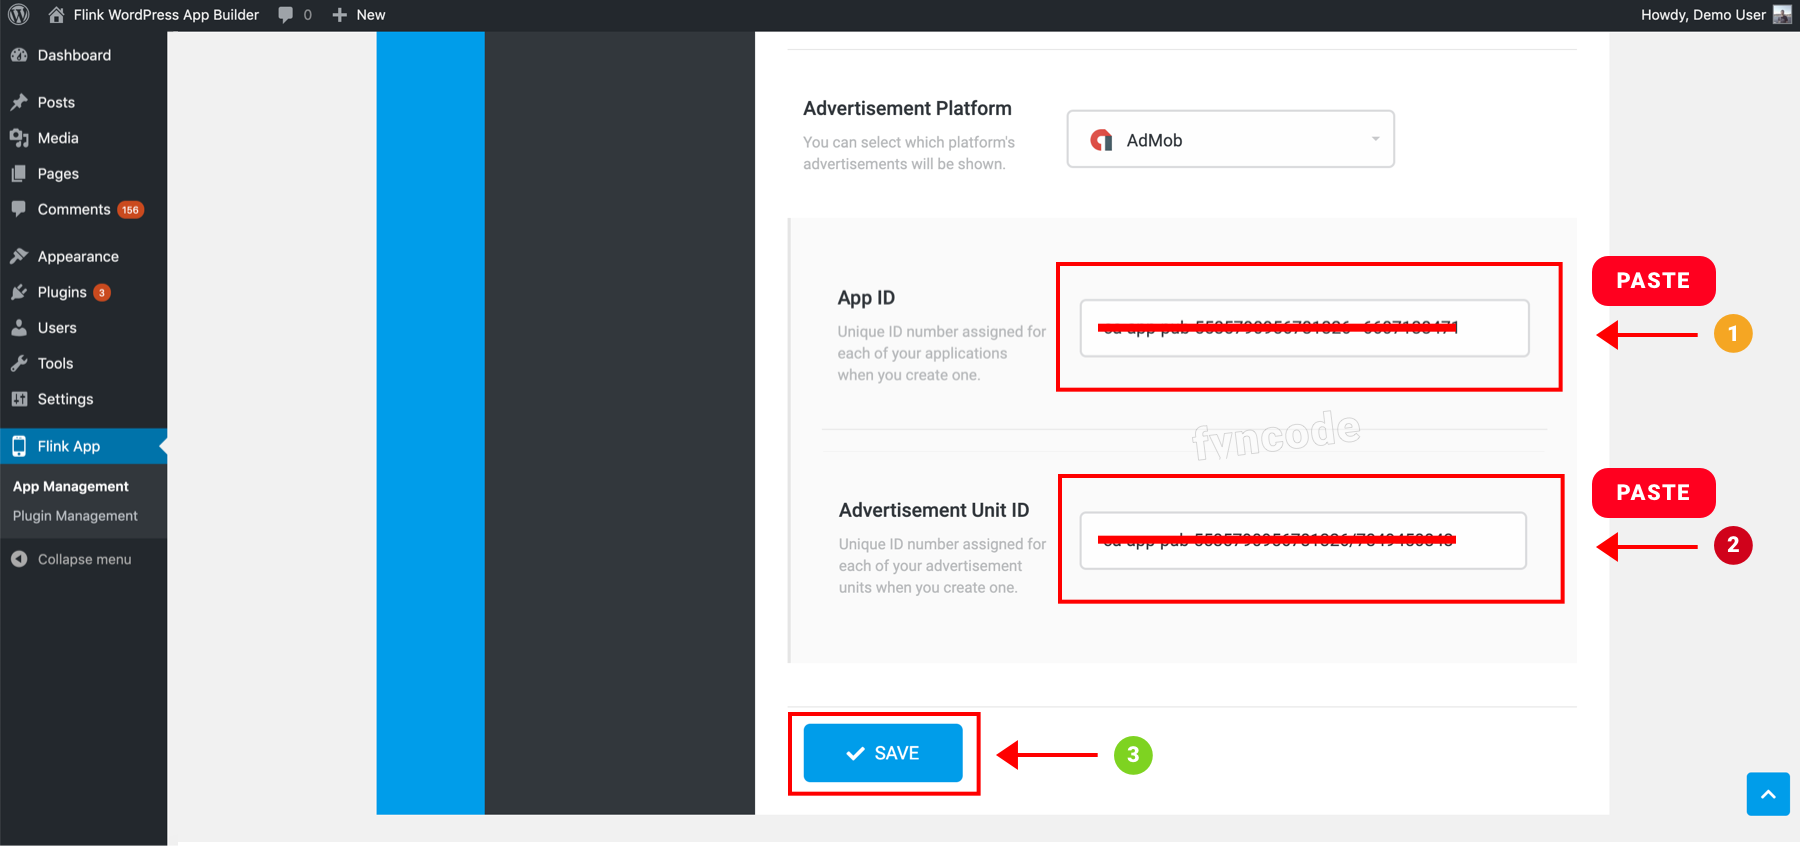
|
← Previous Section | Next Section → |
| Step 2 - Creating Firebase Project | Step 4 - Integrate Facebook Audience Network Advertisements |